
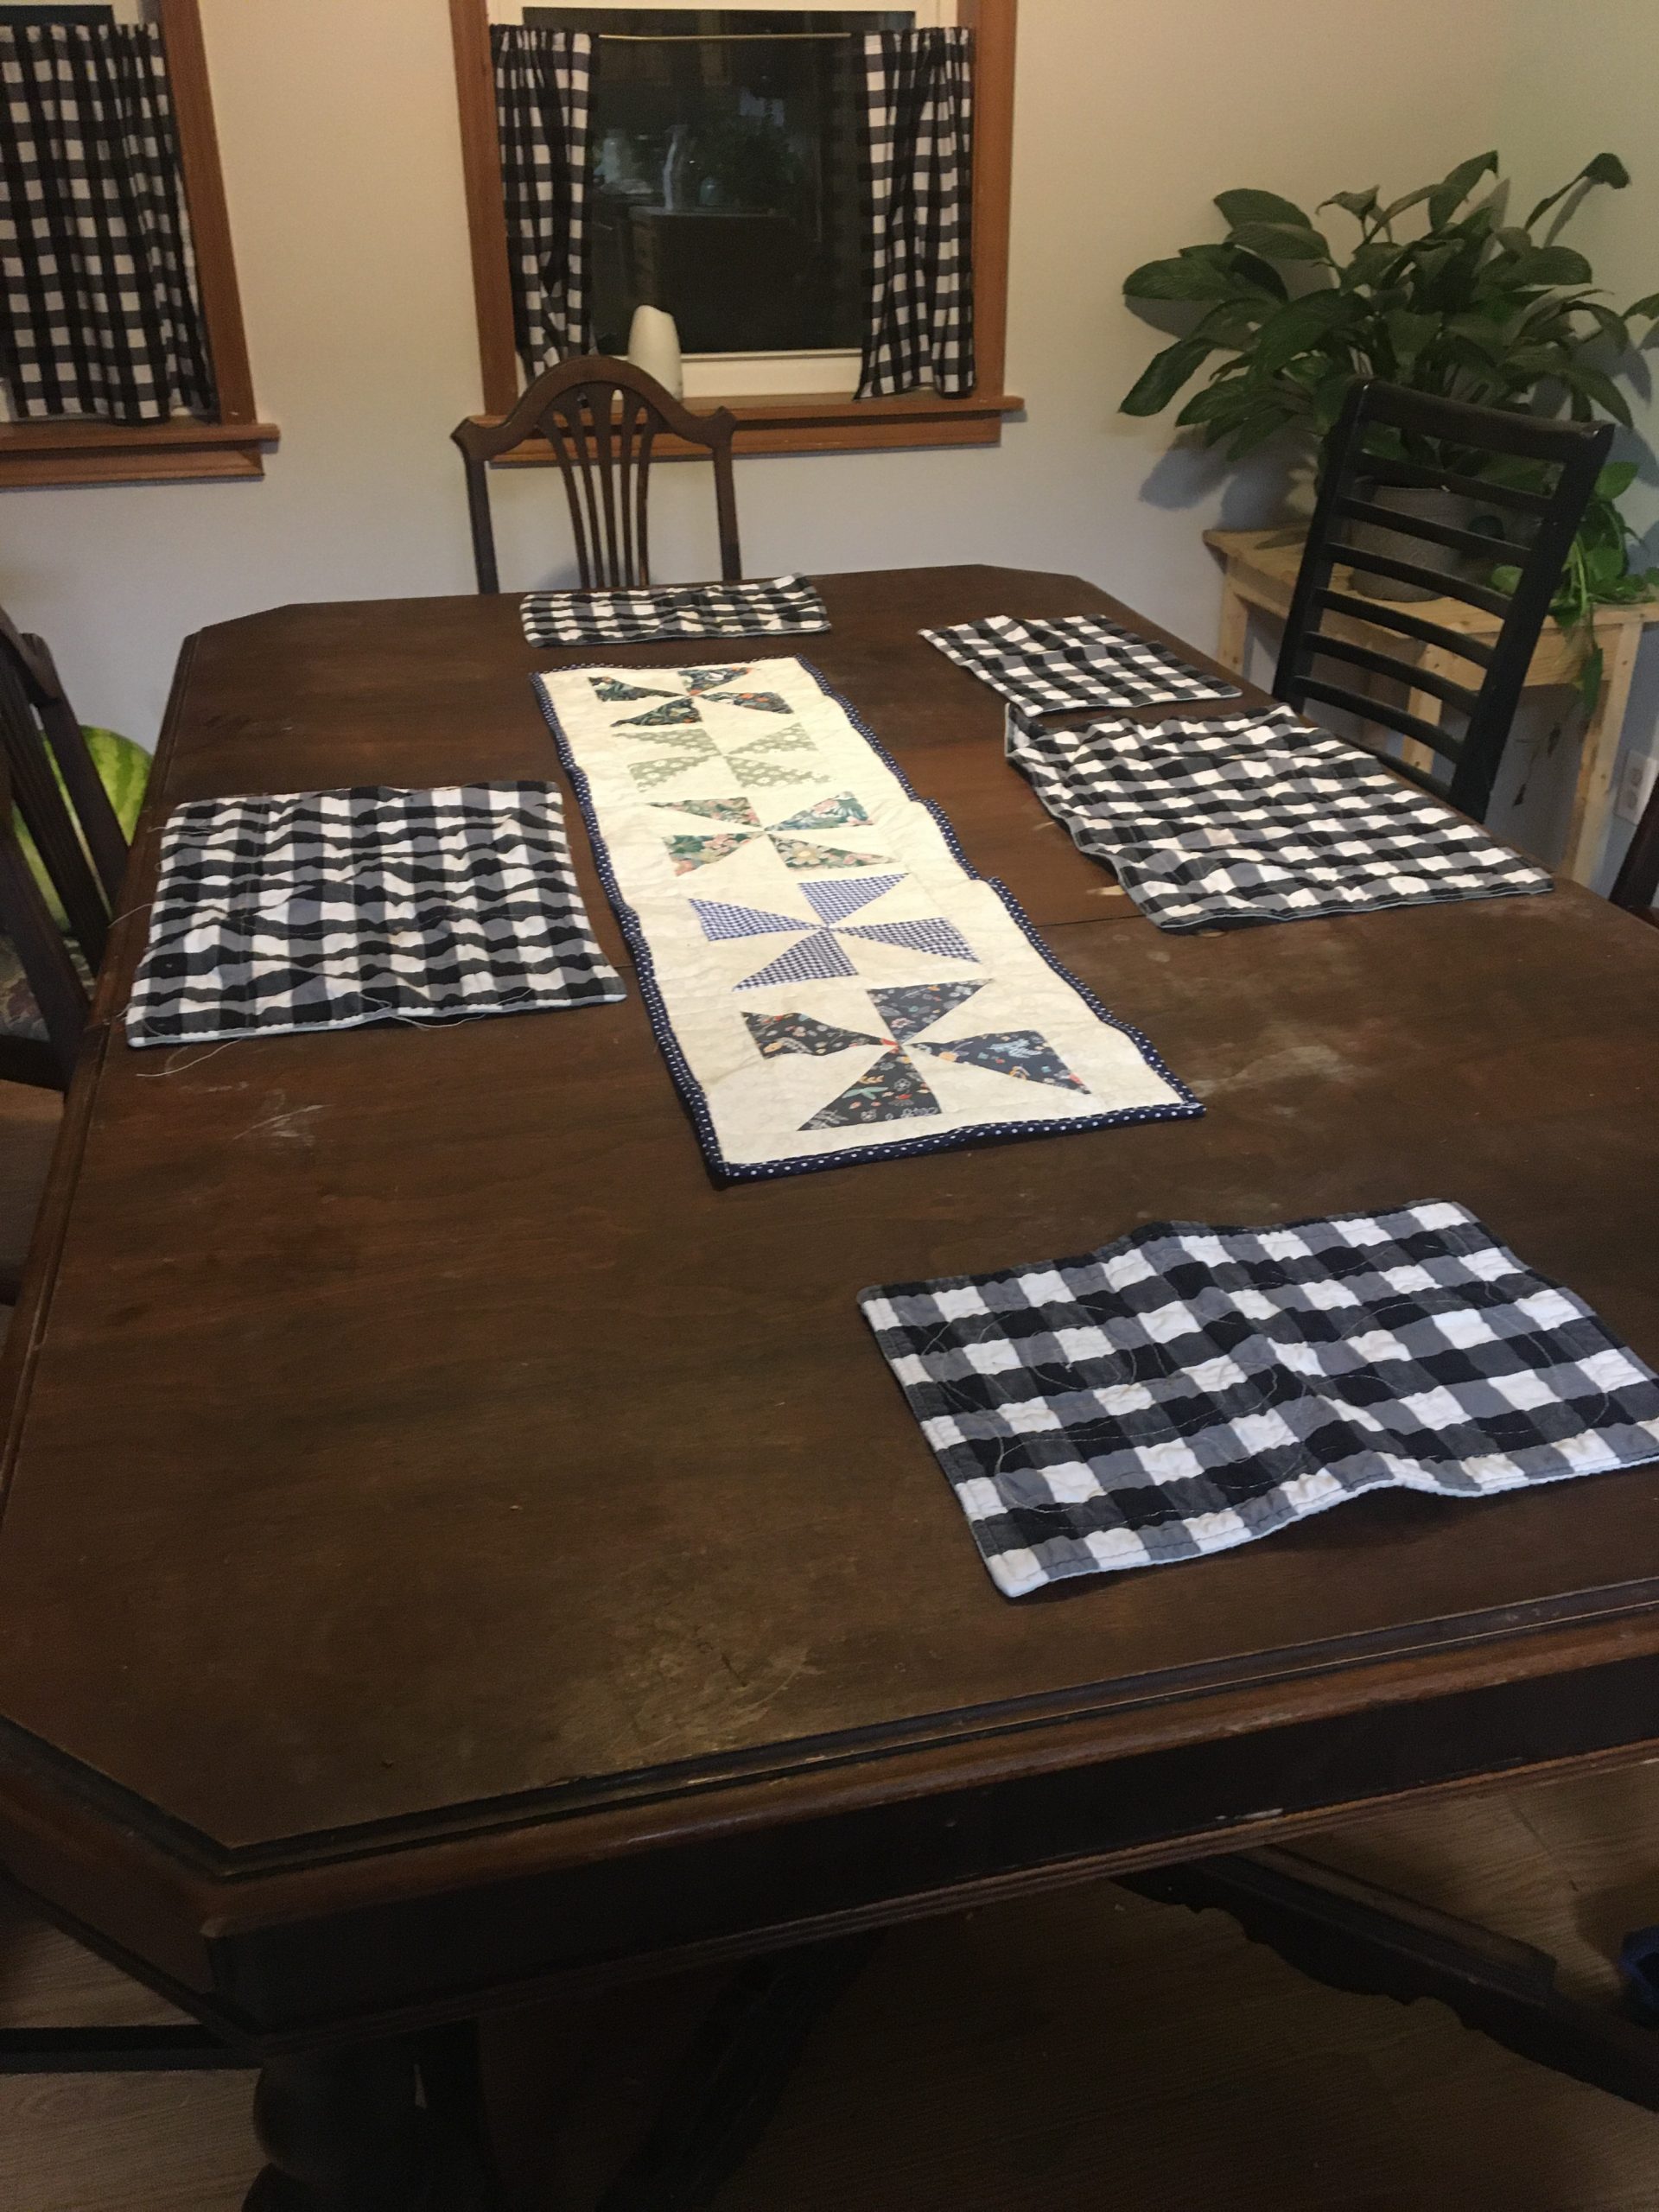
I love the pinwheel block. And that is why I put together this table topper for my table. It took about 2 hours to make, so it’s a great project for finishing quickly, and instant gratification! It makes a 12 x 46 inch table topper. You can easily change the size by adding or subtracting pinwheels or arranging them in multiple rows.

Cut:
- 5- 10×10 in patterned squares
- 5- 10×10 in background squares
- 6- 1 1/2 x8 in background fabric
- 2- 2 1/2 x 46 in background fabric
- 1- 13×47 rectangle for the back, you may have to sew on a piece to make it long enough
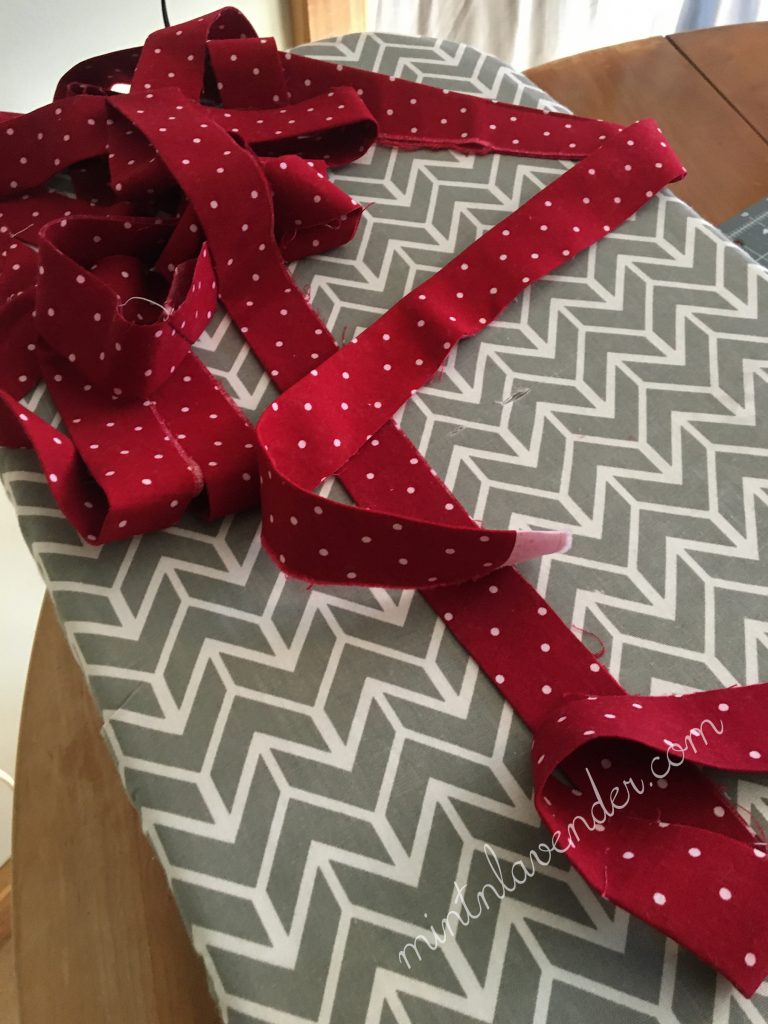
- 3- 2 1/2×44 inch strips of binding fabric joined to make it long enough to go around the whole piece
- Cotton natural batting

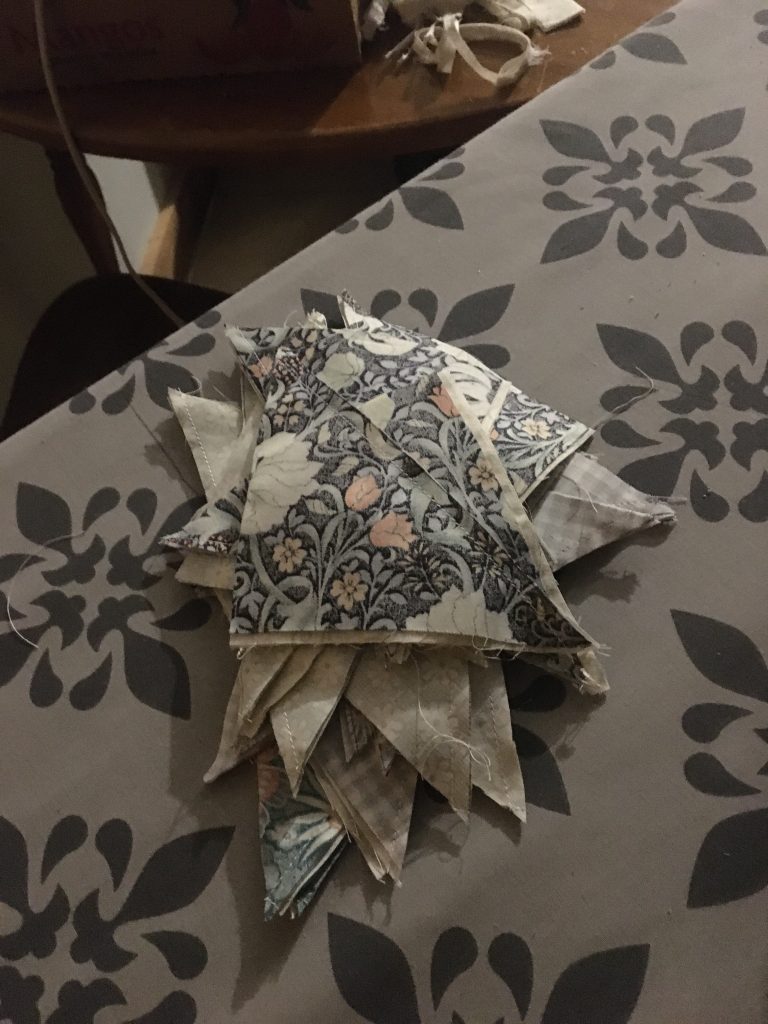
The first step is to make a bunch of half square triangles to turn into pinwheels out of the cut squares. We will make 8 half square triangles (HST) of each patterned square, you only need 4 HST per pinwheel block, so you will have 4 HST leftover of each patterned fabric to use in another project.
Pin one patterned square to one background square, right sides together. Draw a straight diagonal line from corner to corner of each square. This will be your sew line.

Sew 1/4 inch away from each sew line.
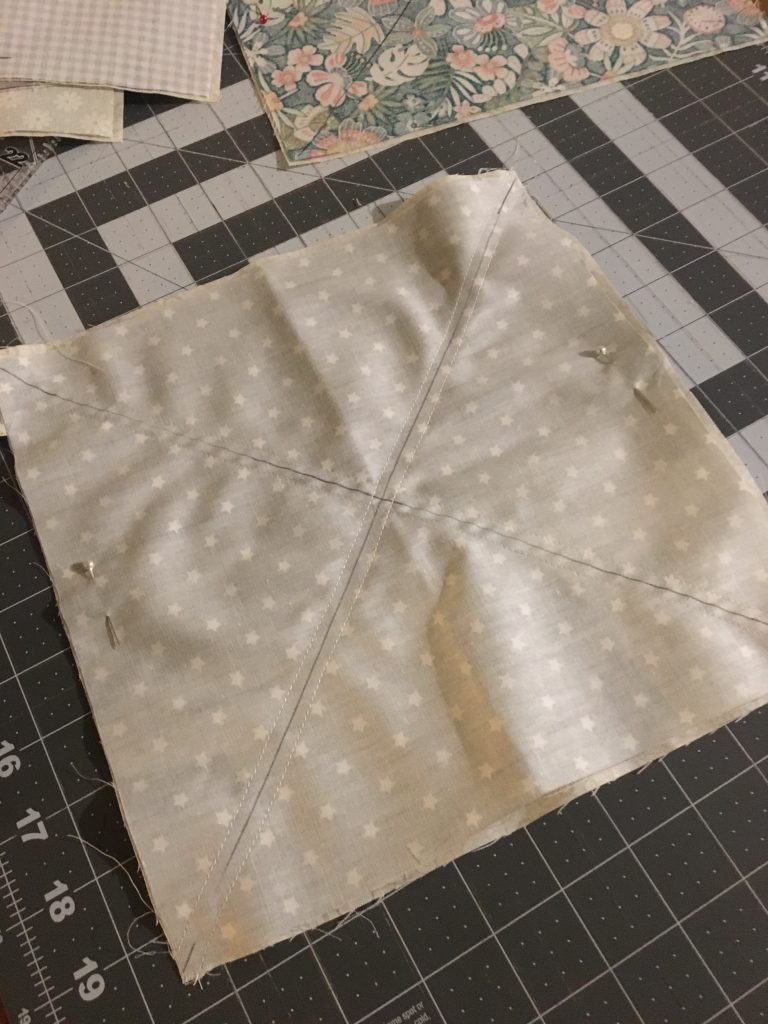

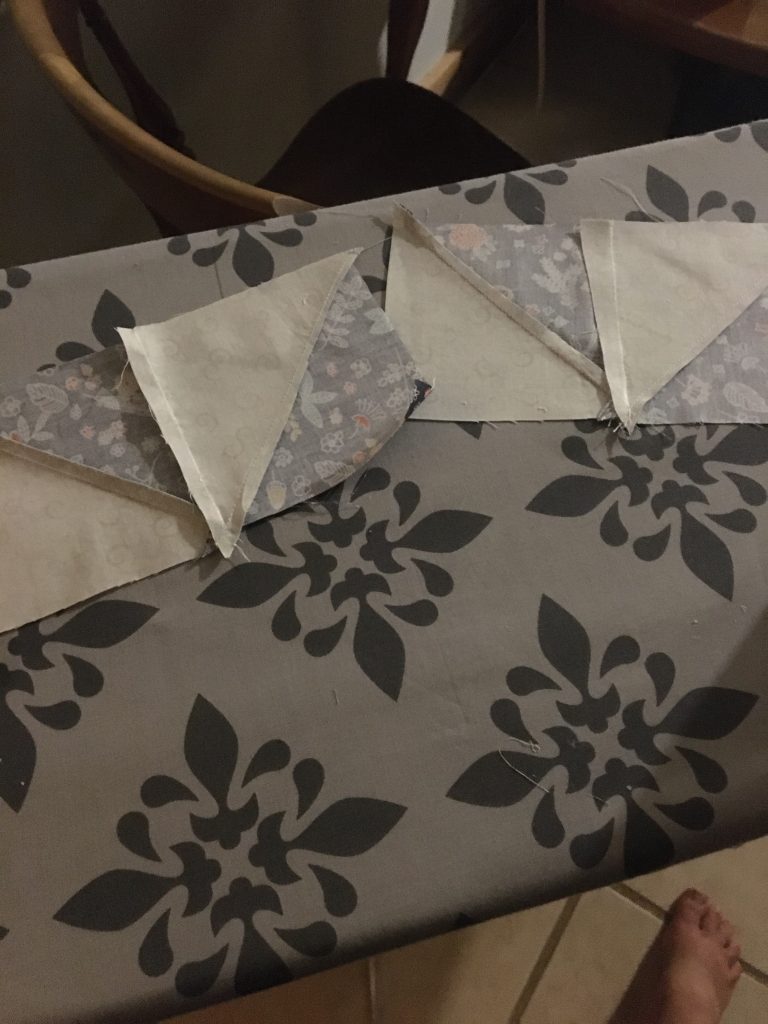
Cut along sew line and across perpendicular to the square both up and down as shown.


This gives us a stack of triangles to iron open and flat. It’s helpful to iron them to the darker fabric side.

Now you can lay the half square triangles into 5 pinwheel blocks.
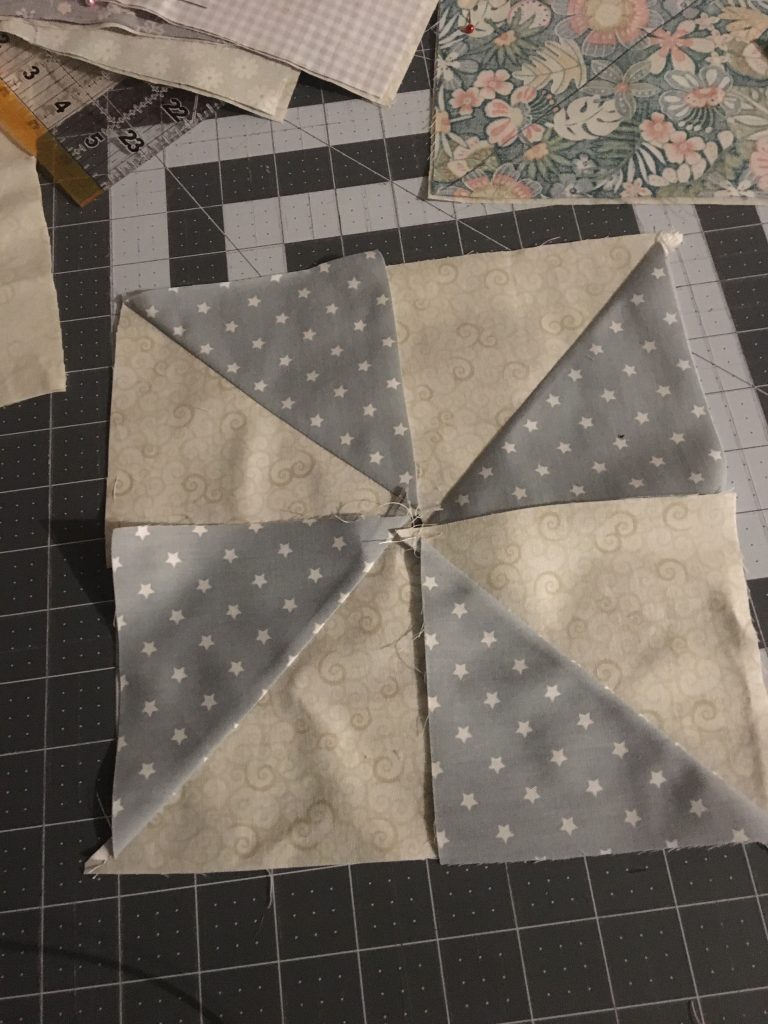
So basically, now all you do is sew the 4 squares together. The tricky thing though is that the there are 8 seams meeting in the middle which can cause a lot of bulk. So choose which side to iron the fabric towards. I continued to iron towards the dark side. Stitch 2 squares together and iron the seams flat.
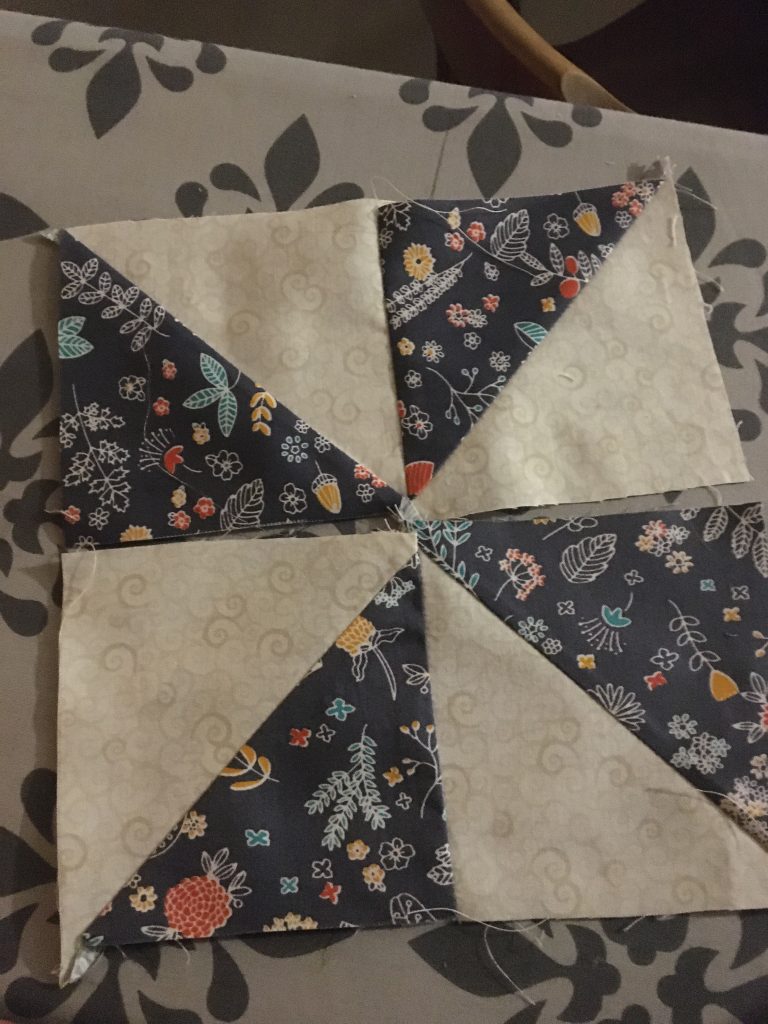
Then stitch those pieces together to form the pinwheel, but to reduce bulk, iron each side opposite one another, by color – you can see that everything has been ironed so that the seams are facing the darker fabric.
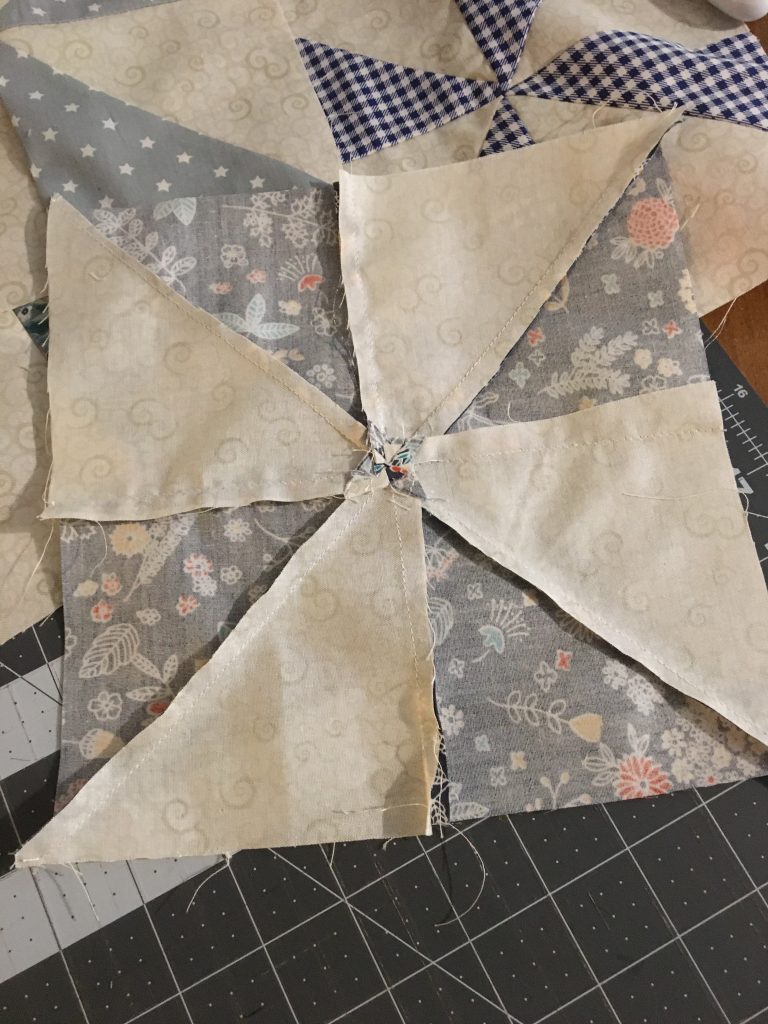
Remove the tiny seam left in the seam allowance in the middle, and with your finger open all the seams open forming a tiny star in the center. Iron it flat,
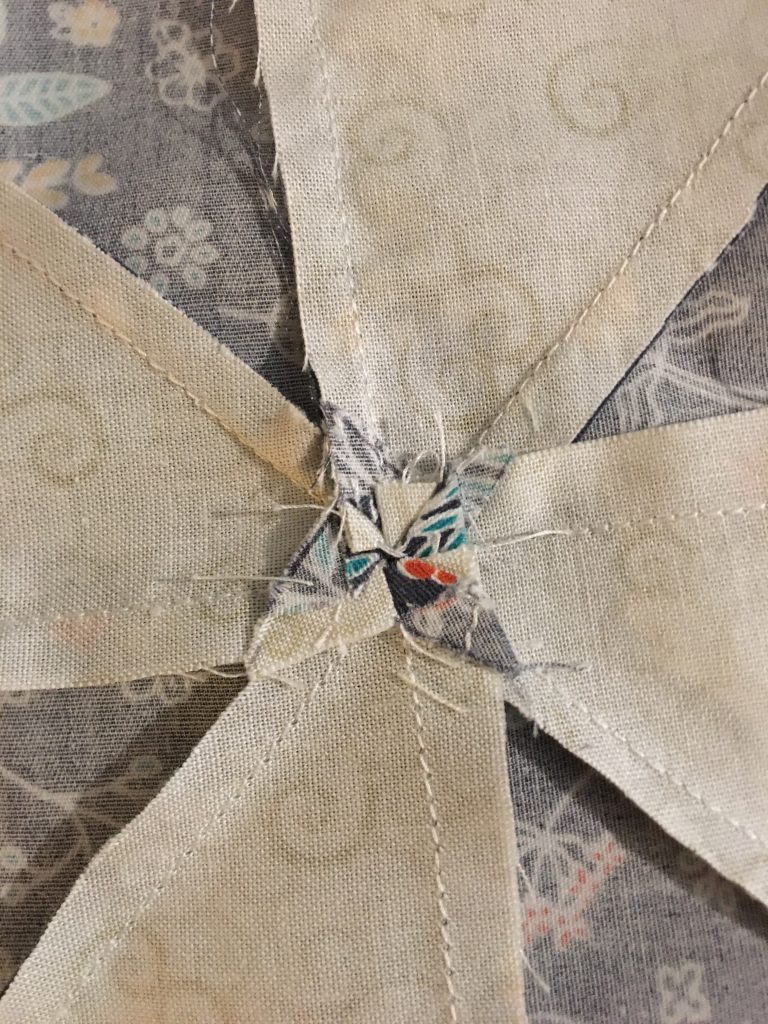
Turn it over and iron the front side flat and trim the blocks to 8×8 inches each.


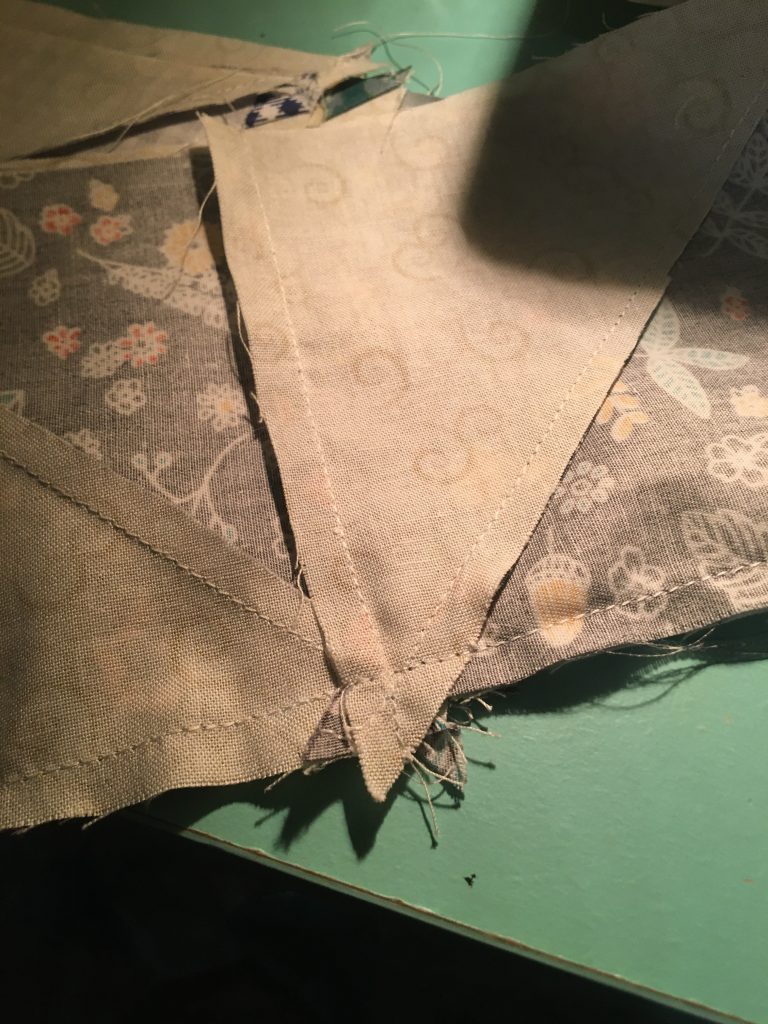
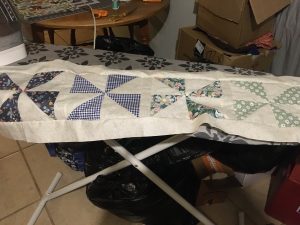
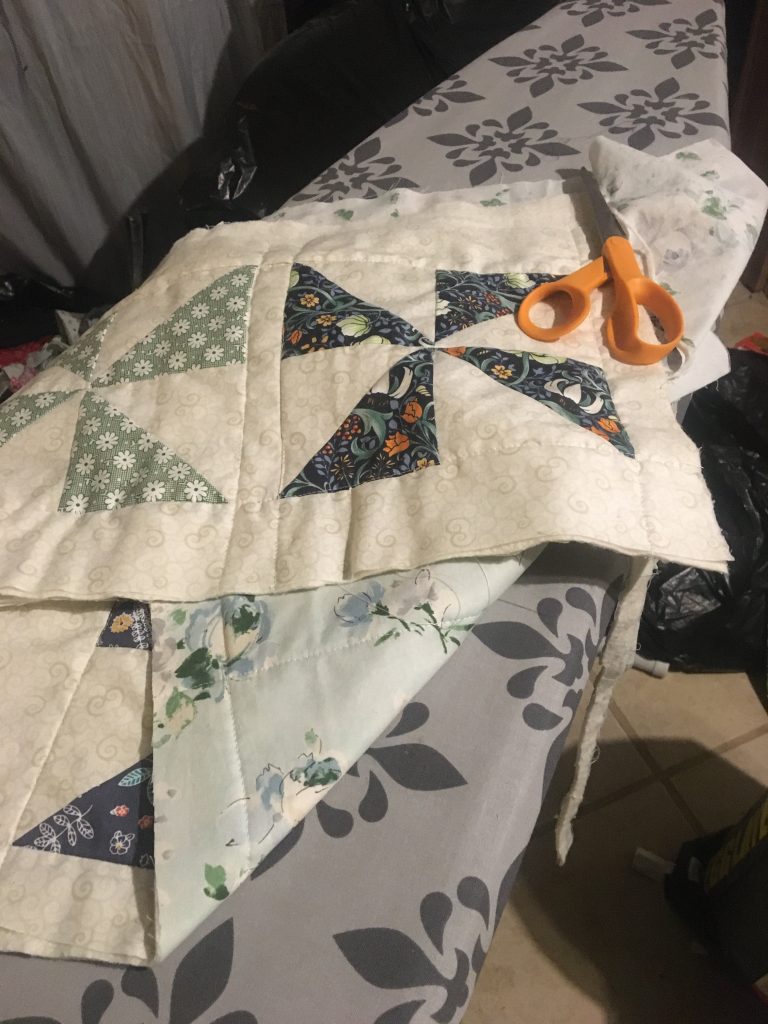
Once you have the 5 blocks finished, you can sew on the border between each pinwheel. Try chainstitching to save time, that’s where you sew one border to one pinwheel, and then another border piece to another pinwheel without stopping so they are hooked together by a thread. Once all the pieces that need to be sewn are done, then you can trim the connecting threads and sew them to each other. Always use a 1/4 inch seam allowance.


Iron the strip flat from the back ironing towards the darker fabric.


Now you can sew on the long borders onto the top and bottom.


now it’s time to make a quilt sandwich- layer the patchwork top on top of the batting with the back fabric on the bottom, right sides facing up. Pin it into place with safety pins to hold it together for quilting.


Now it’s ready to quilt! You can finish it quickly and easily by using a walking foot sewing straight lines through all 3 layers along the lines of the pattern (this is called quilting in the ditch). You can quilt as many lines as you want. It helps to start in the middle and work your way out. Once you are satisfied, trim the back fabric and the batting so they are exactly the same size as the quilt top.

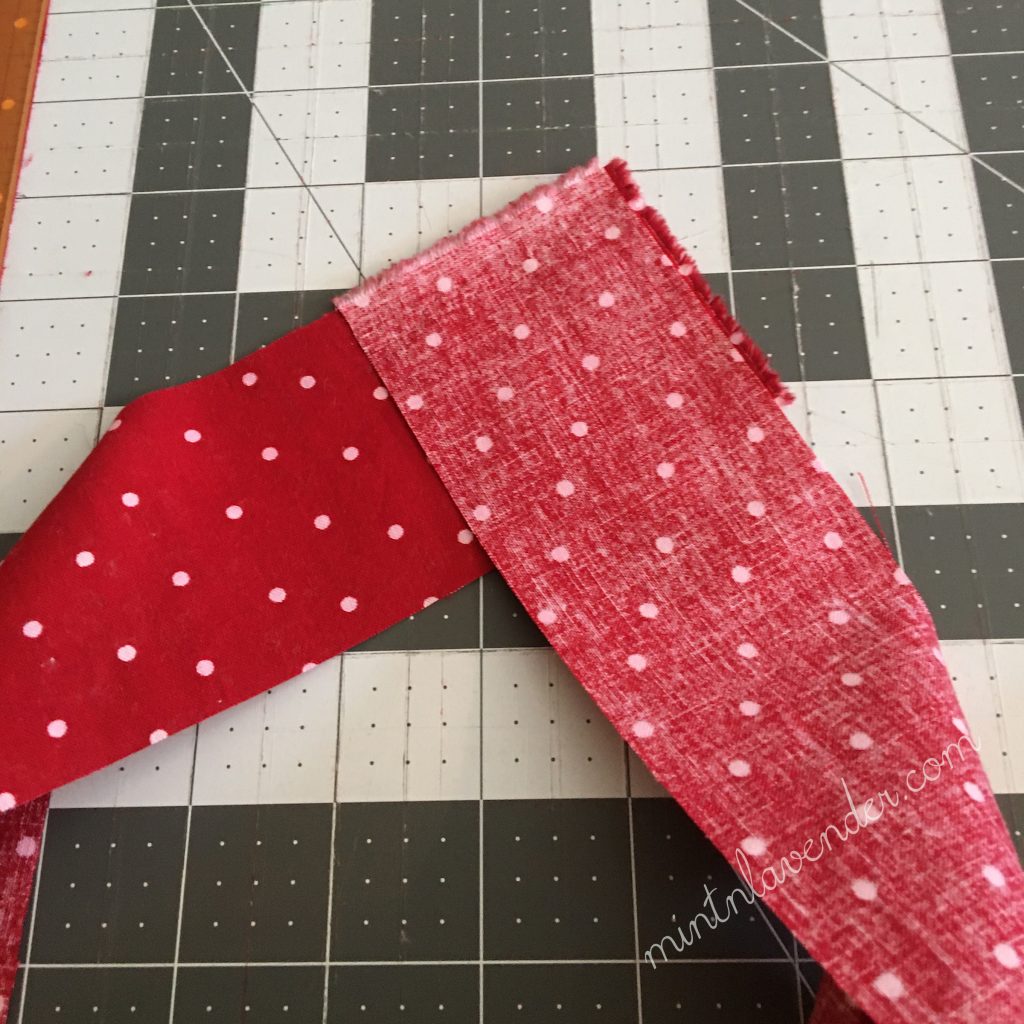
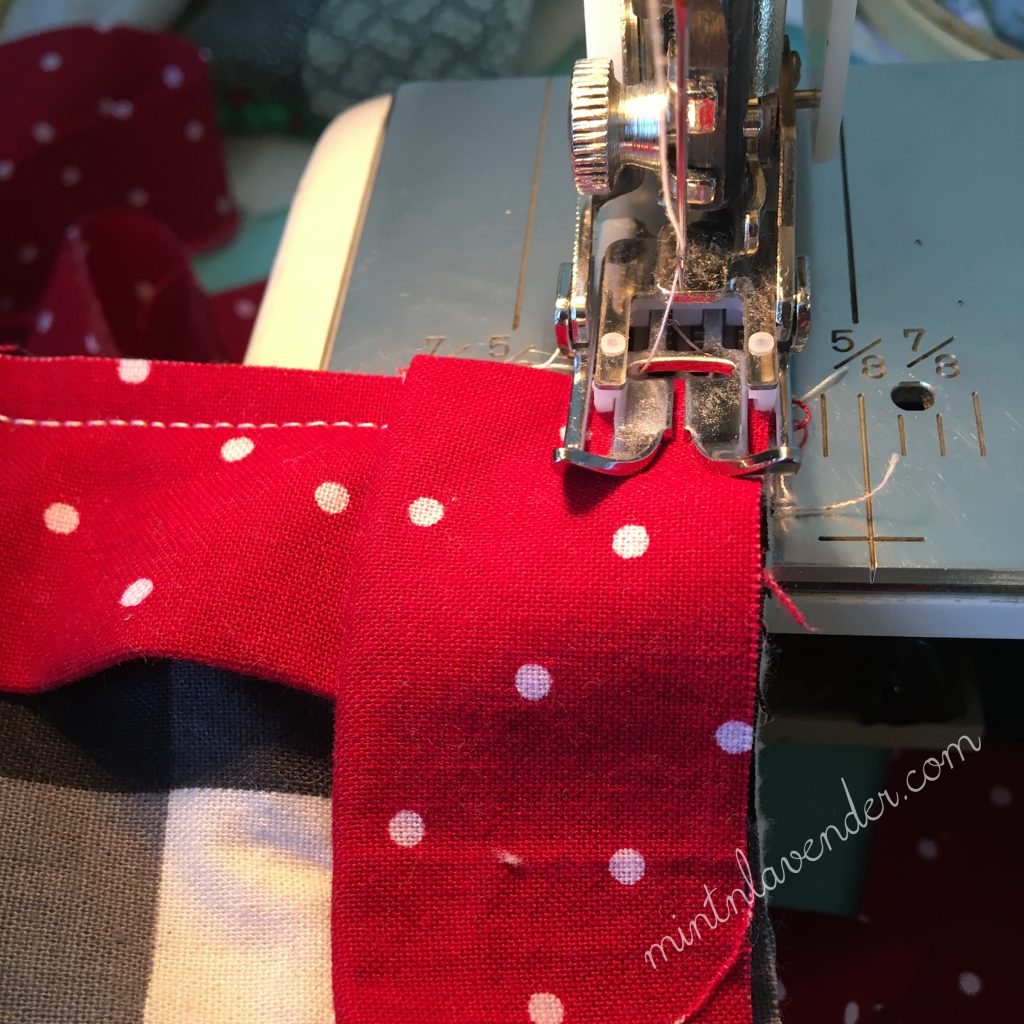
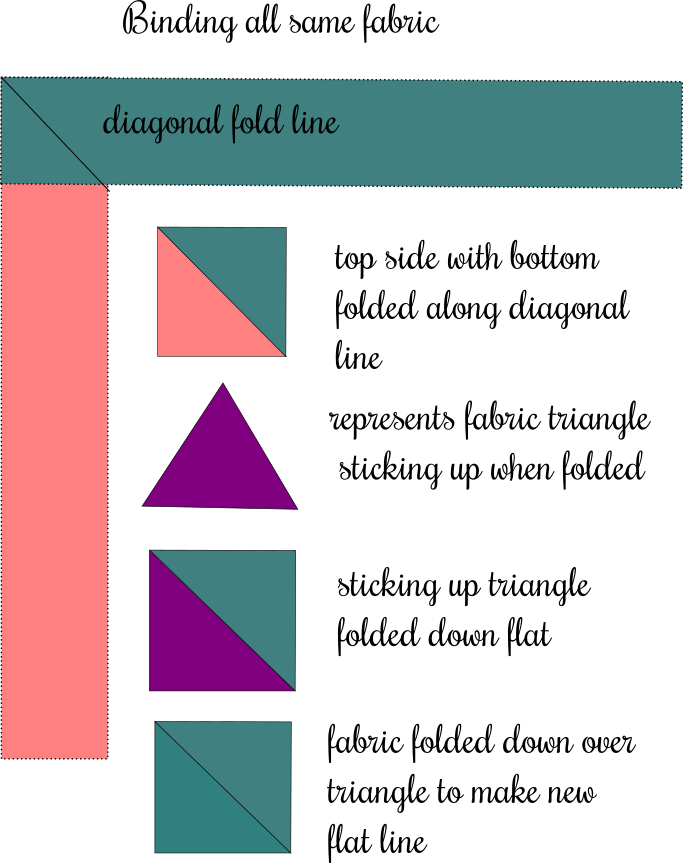
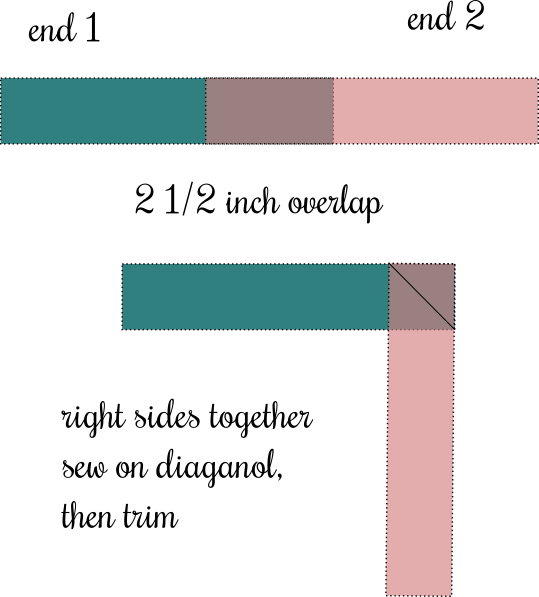
All that is left now is the binding. Sew the strips together into a long strip by sewing them diagonally together at each end as shown.


Then fold the long strip in half and iron.
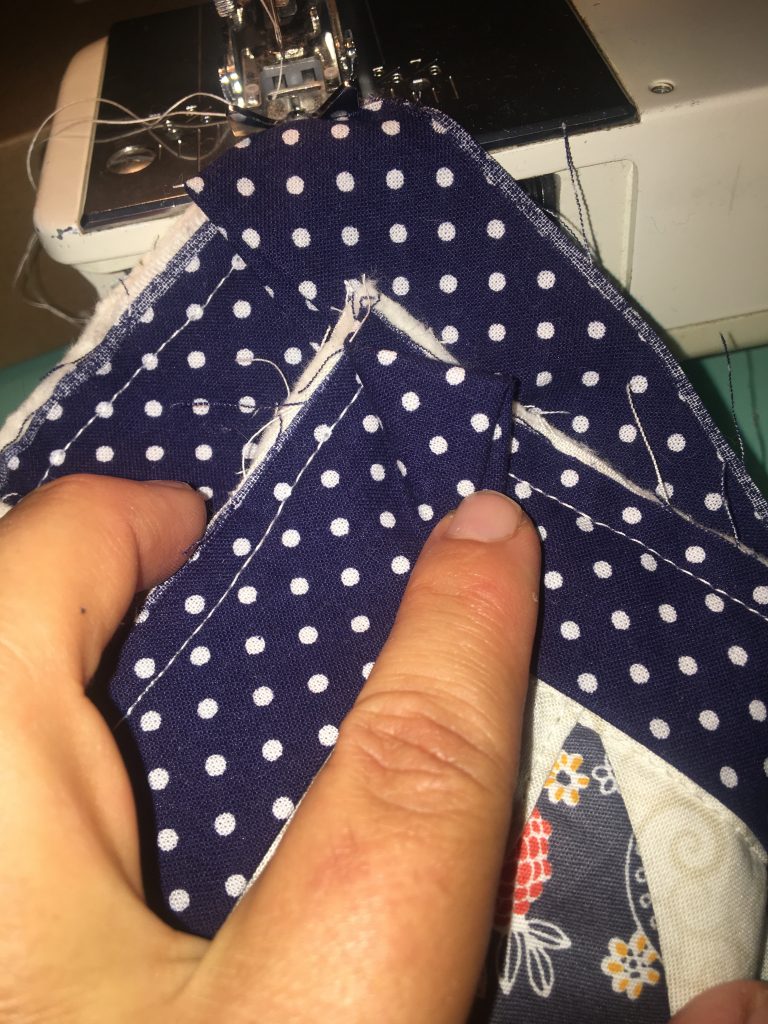
Now sew the binding to the right side of the quilt. When you get to the end of the side of the quilt, stop 1/4 inch away from the edge and sew diagonally to the corner. Cut the thread and fold the binding diagonally and then straight to start on the next side. Repeat for all the corners.


Cut the binding so that both sides overlap the exact width of the binding which in this case is 2 1/2 inches. Sew them together diagonally just as you did when you made the binding. It will fold out to fit the quilt perfectly. Then finish sewing to the backside of the quilt.


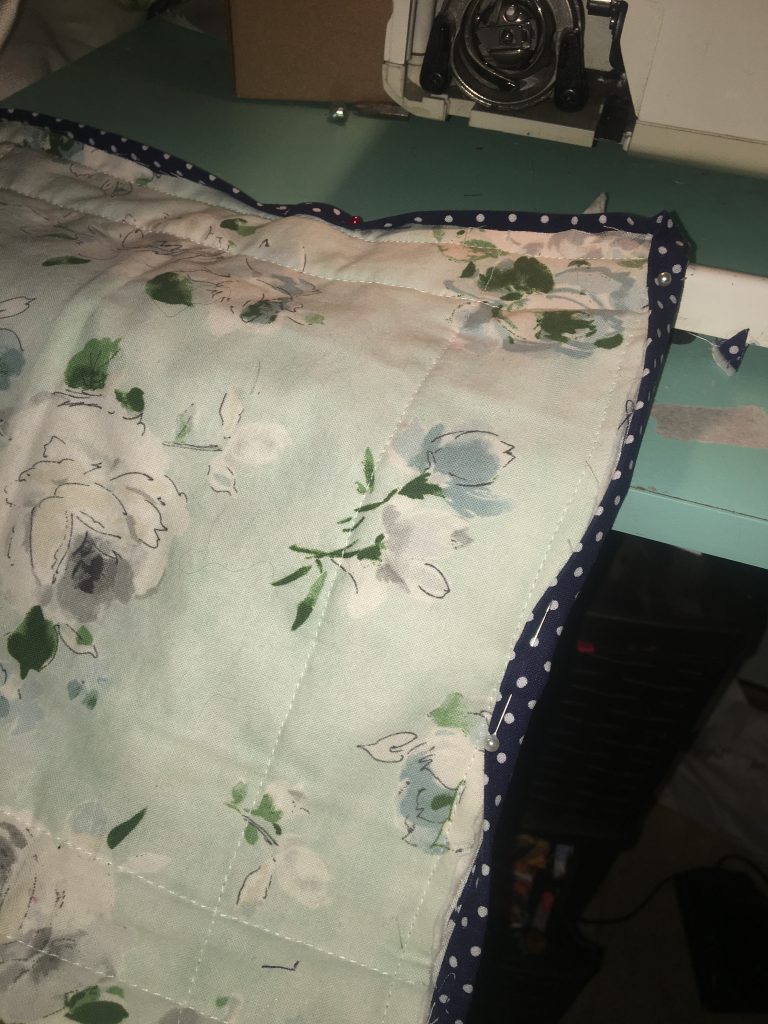
Pin the folded edge of the binding to the back of the quilt to get ready to sew it to the back side of the quilt. Fold the corners down as neatly as you can and pin them in place ready for stitching. Then stitch the binding to the back side of the table topper, all the way around.

Here you can see my corners, they aren’t perfect and that’s ok!


Put it on your table and enjoy the fruits of your labor!! Mine has encouraged all of us to keep the table cleaner!
