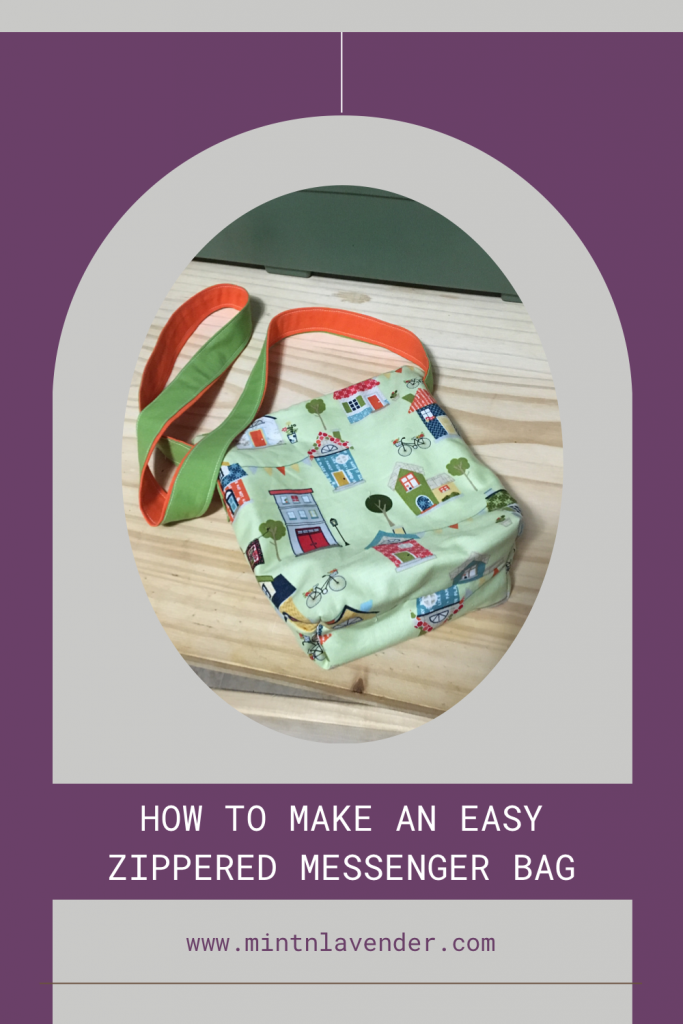

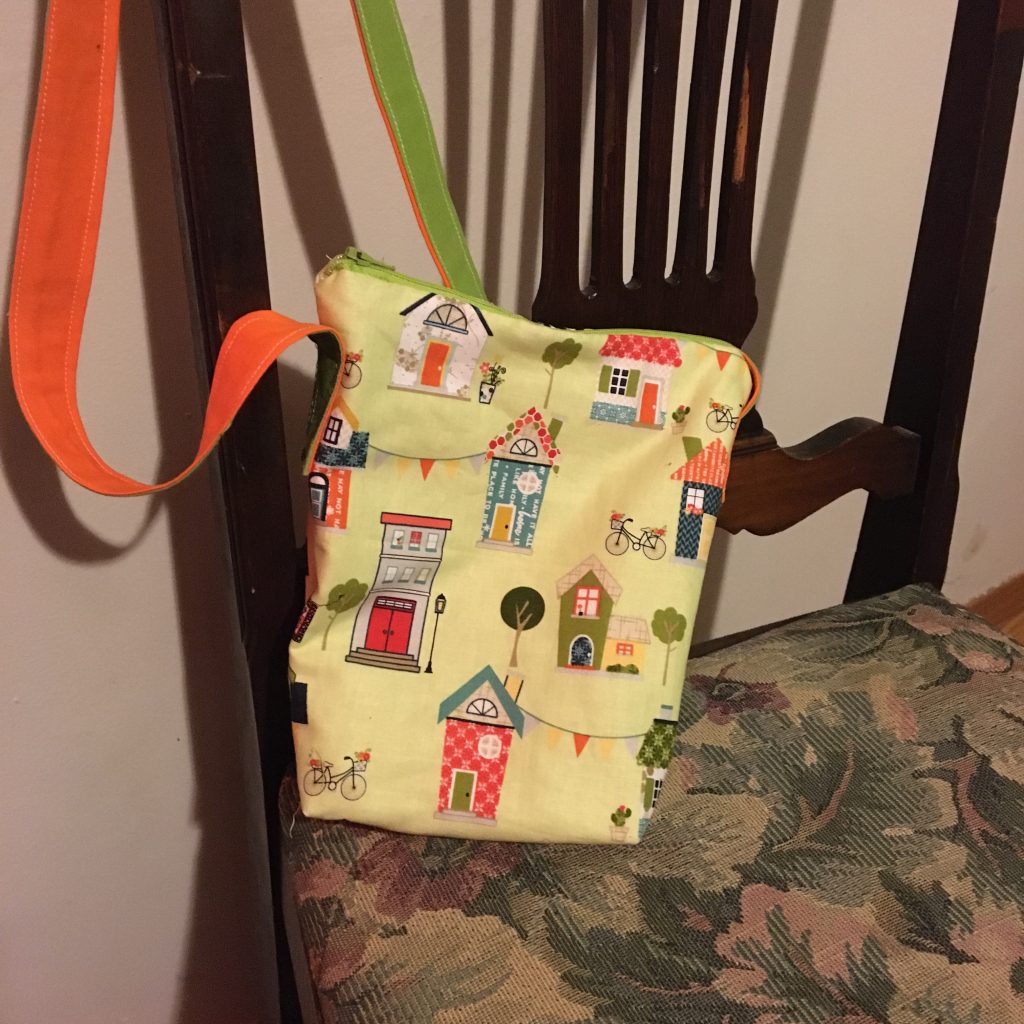
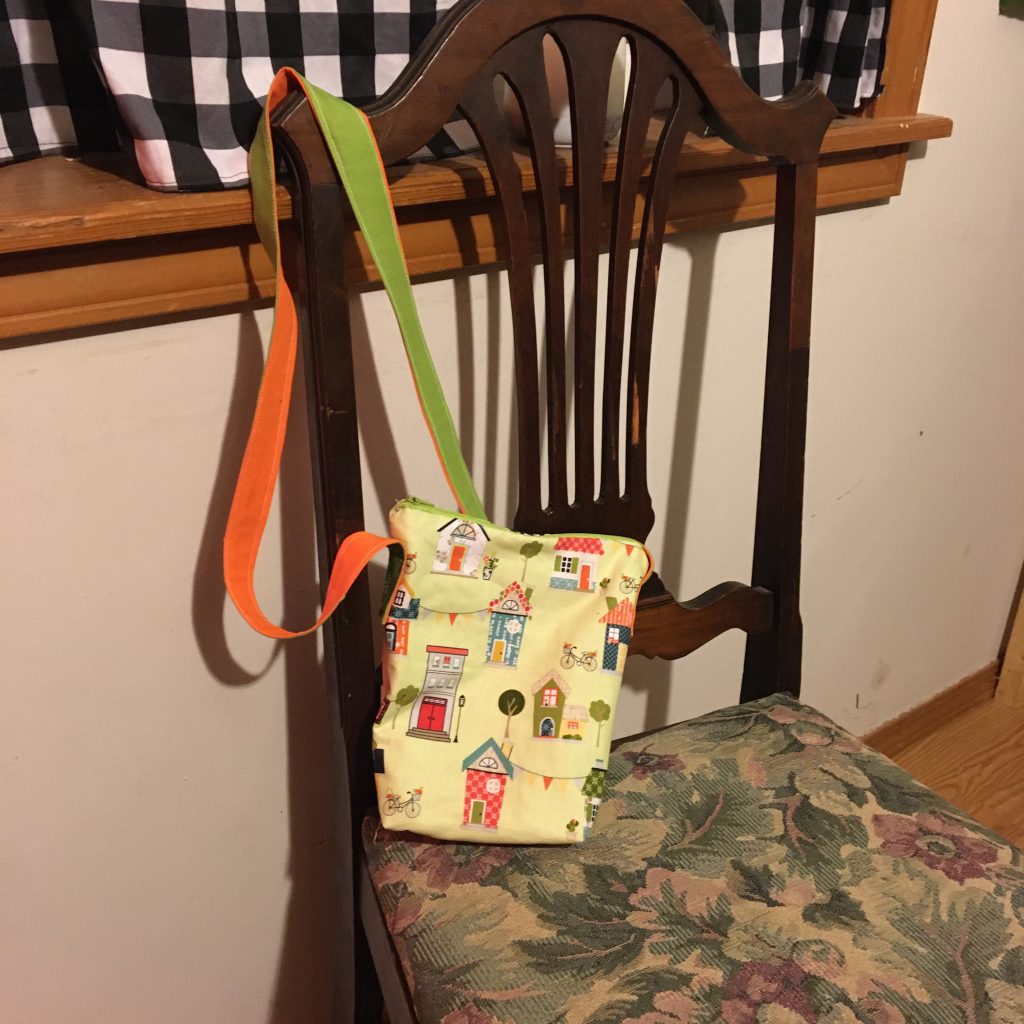
This is a fairly simple project. You are basically making a pouch that is taller than it is wide, and then adding a long strap.
Materials
- Fabric for outside and lining and stabilizer- no more than a fat quarter for each
- Some more contrasting fabric if desired
- Zipper
- Thread
- Zipper
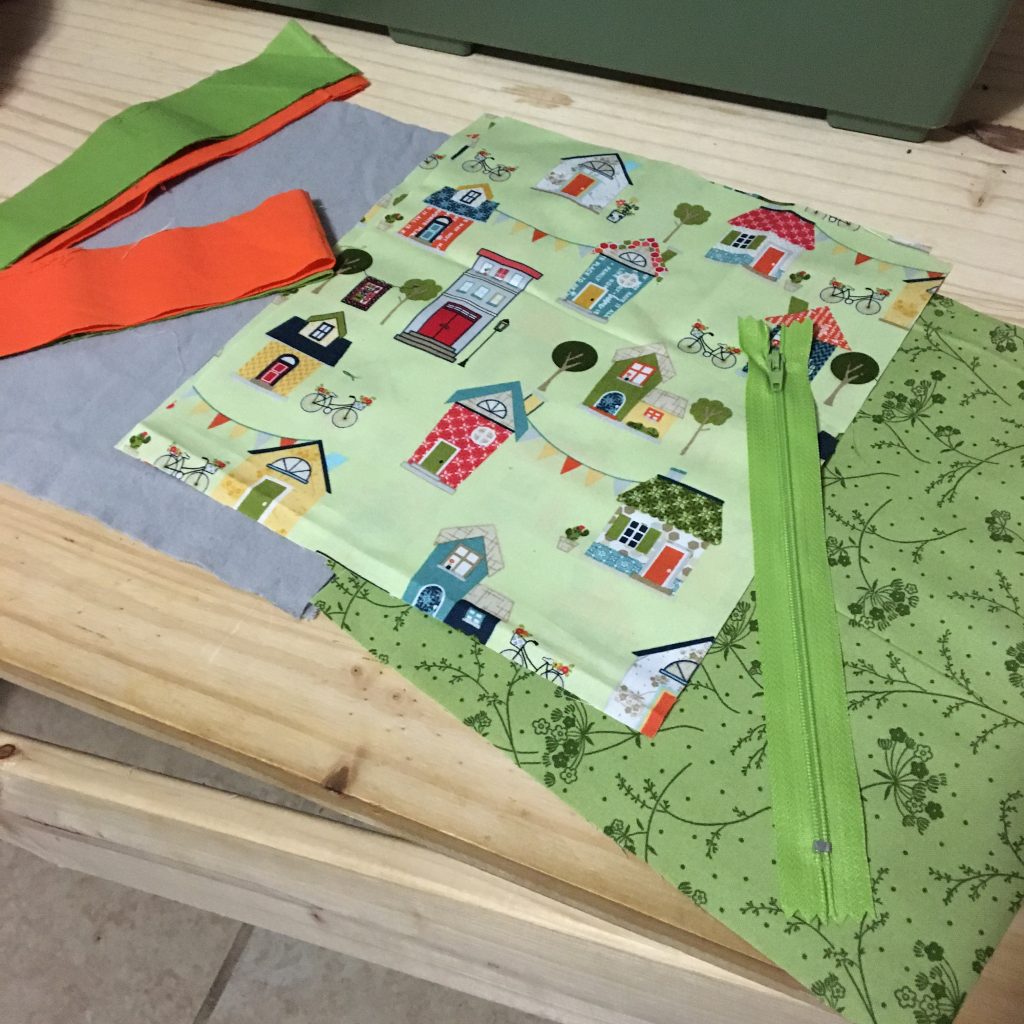
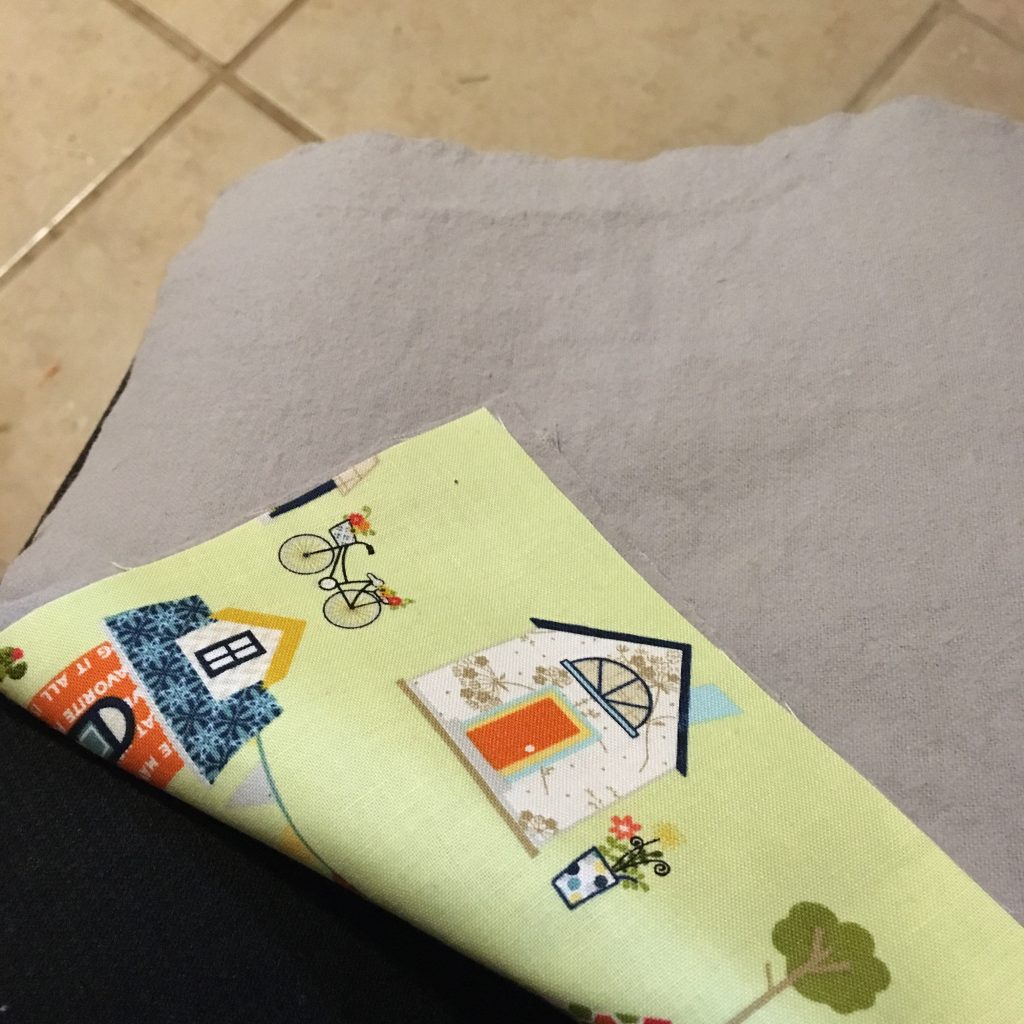
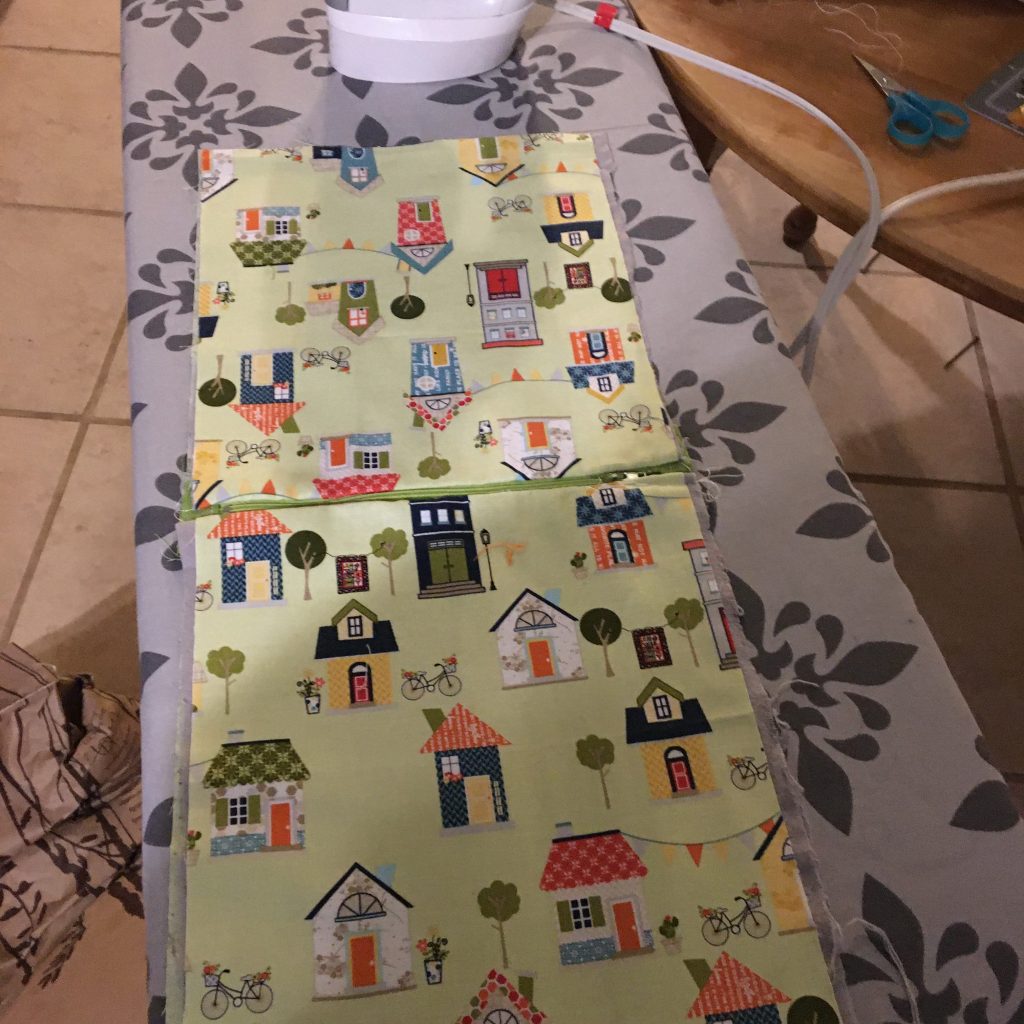
I used gray flannel for the stabilization of the bag. I used a floral green for the lining and a house print for the outside. I used plain green and orange cotton for the strap and the inside pockets.
Cut 2 rectangles from each fabric about 8 x 10 inches.
Cut 2 1/2 x 44 inch wide strips for the strap. Cut rectangles for the pockets.
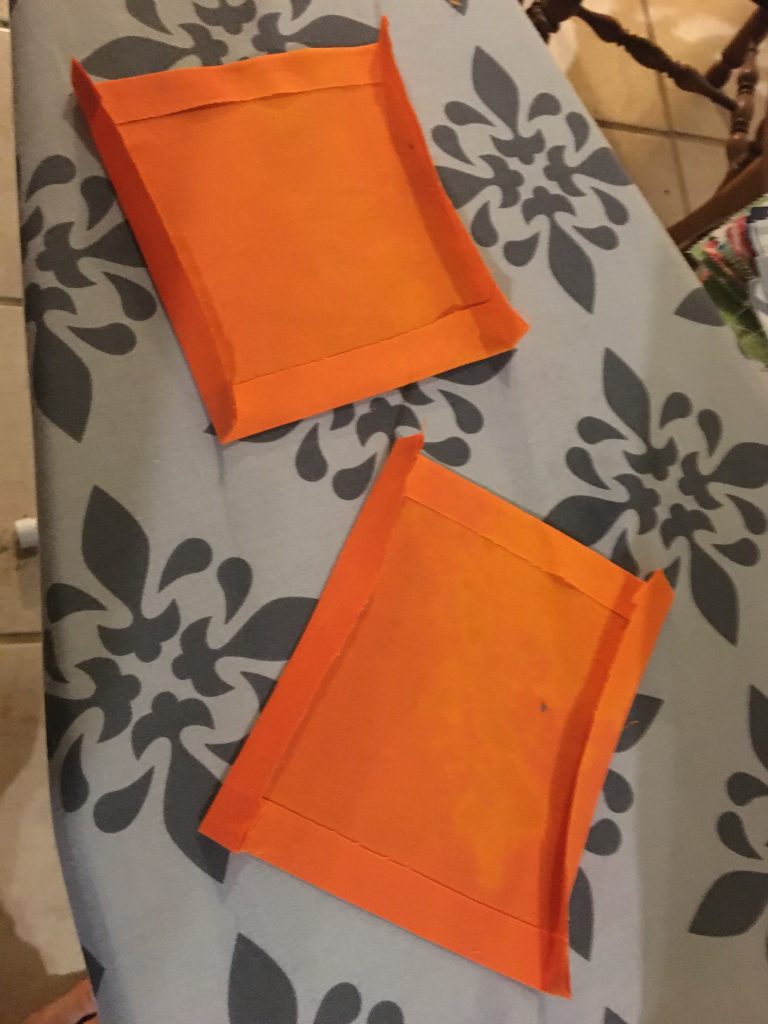
Cut 1×2 inch rectangles for the zipper.
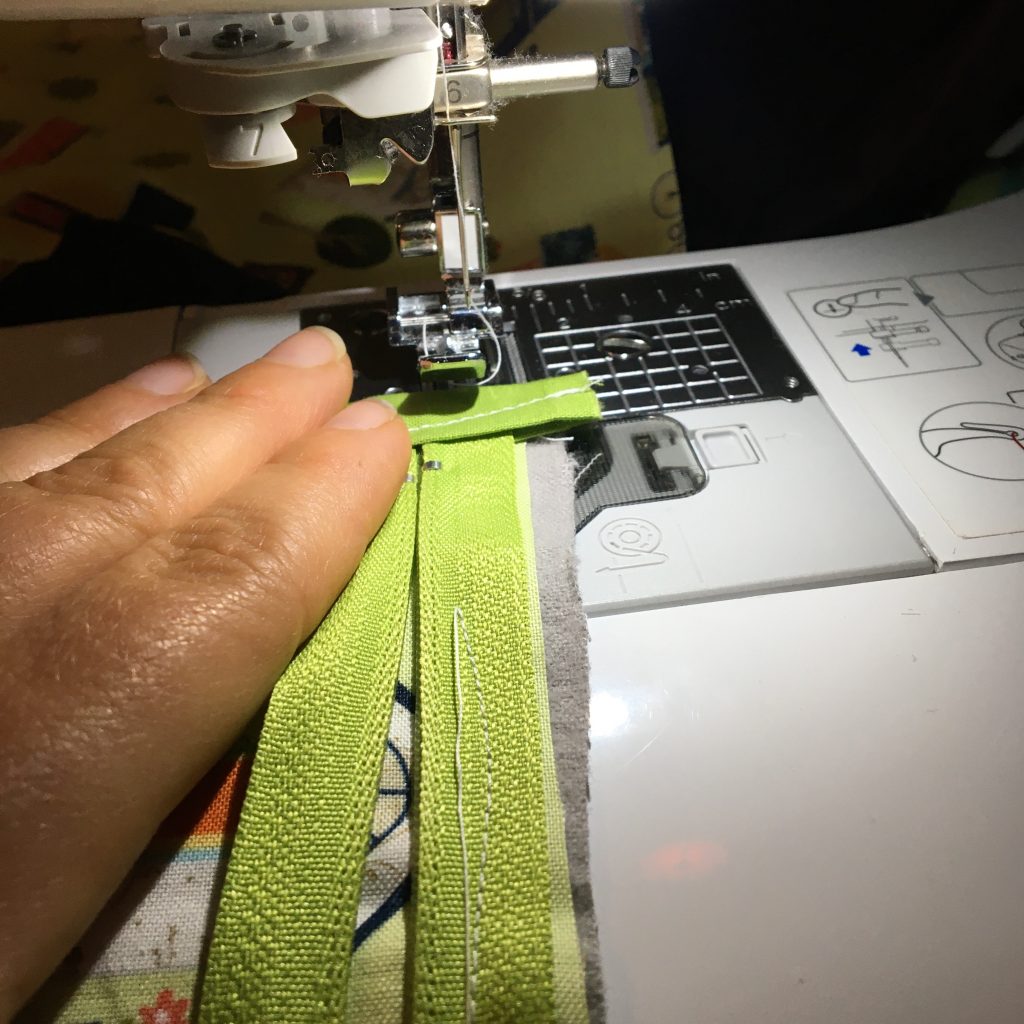
Get the Zipper Ready
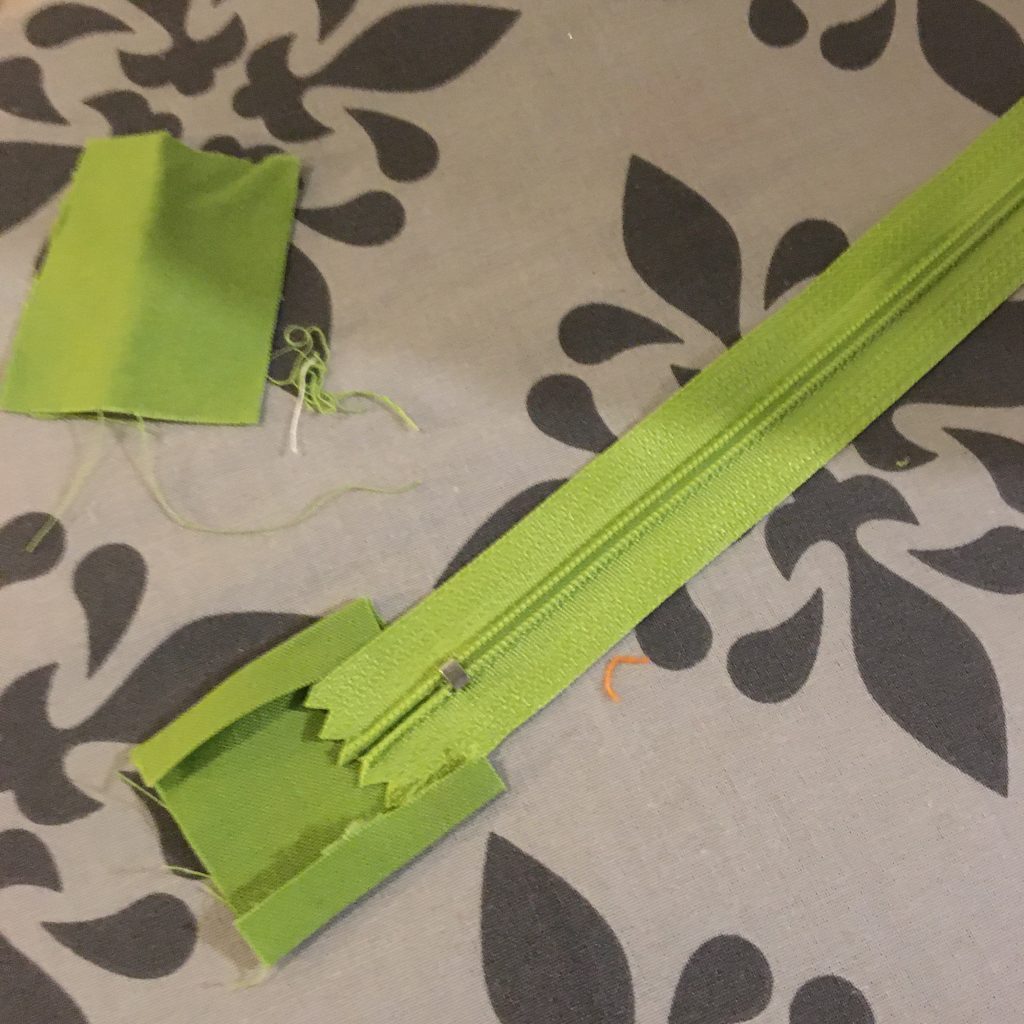
Attach the small rectangles to each end of the zipper. Iron the edges and sew them on carefully making sure no raw edges will show and be sure to not break your sewing machine needle on the zipper. Fold over as shown in the photo so that you have a zipper with fabric ends sewn on.
Sewing the zipper to the outer, lining and stabilizing fabrics
Put the outer fabric and stabilizing fabric together to be sewn as one. You can hold them or pin them so they don’t move.
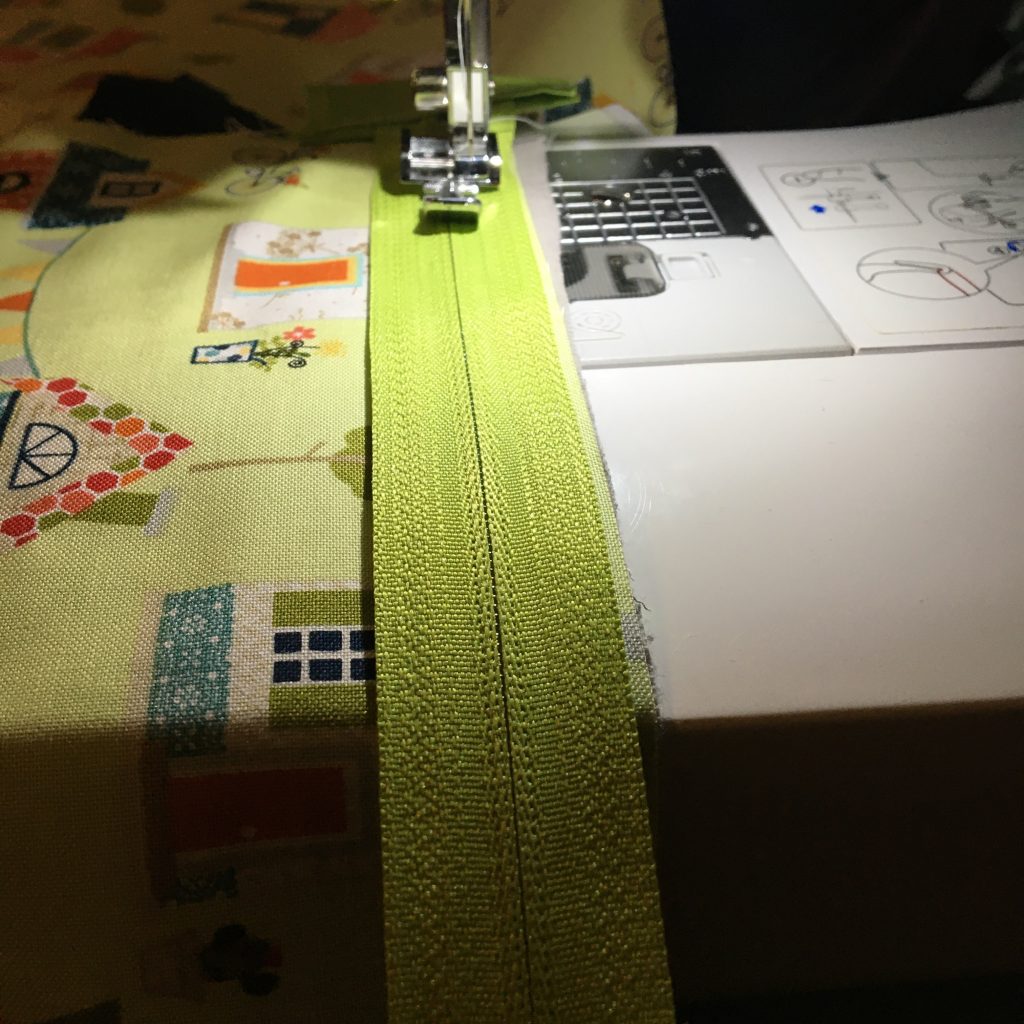
Place the zipper upside down on the outside of the fabric and sew it on using a zipper foot.

Now you’ll attach the lining- right sides together-
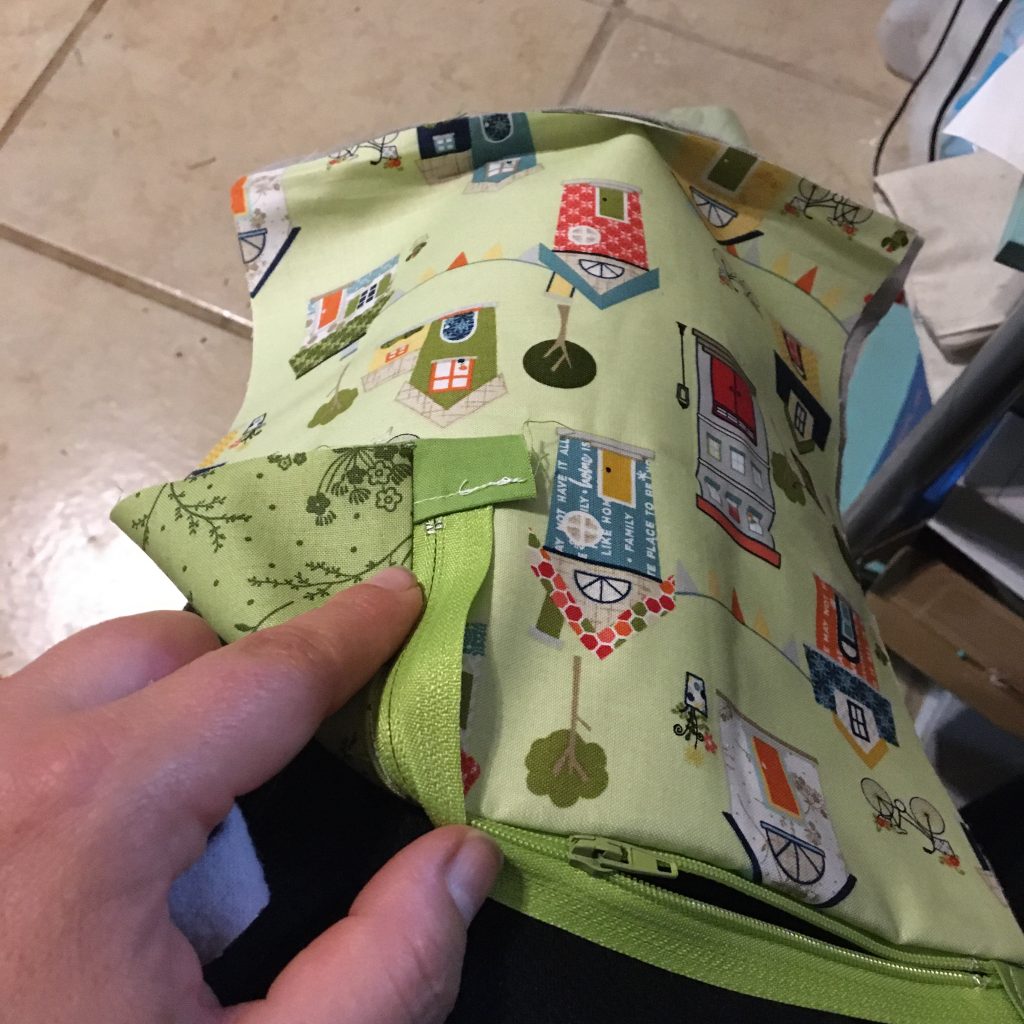
so you will have 1 of each of your rectangles now connected to the zipper as shown
You will then repeat that process on the other side of the zipper with the remaining fabric rectangles so that you have your fabrics sewn to the zipper on both sides
Inside Pockets
Iron each edge of the pocket squares, and sew the top edge down the way you would for a hem.
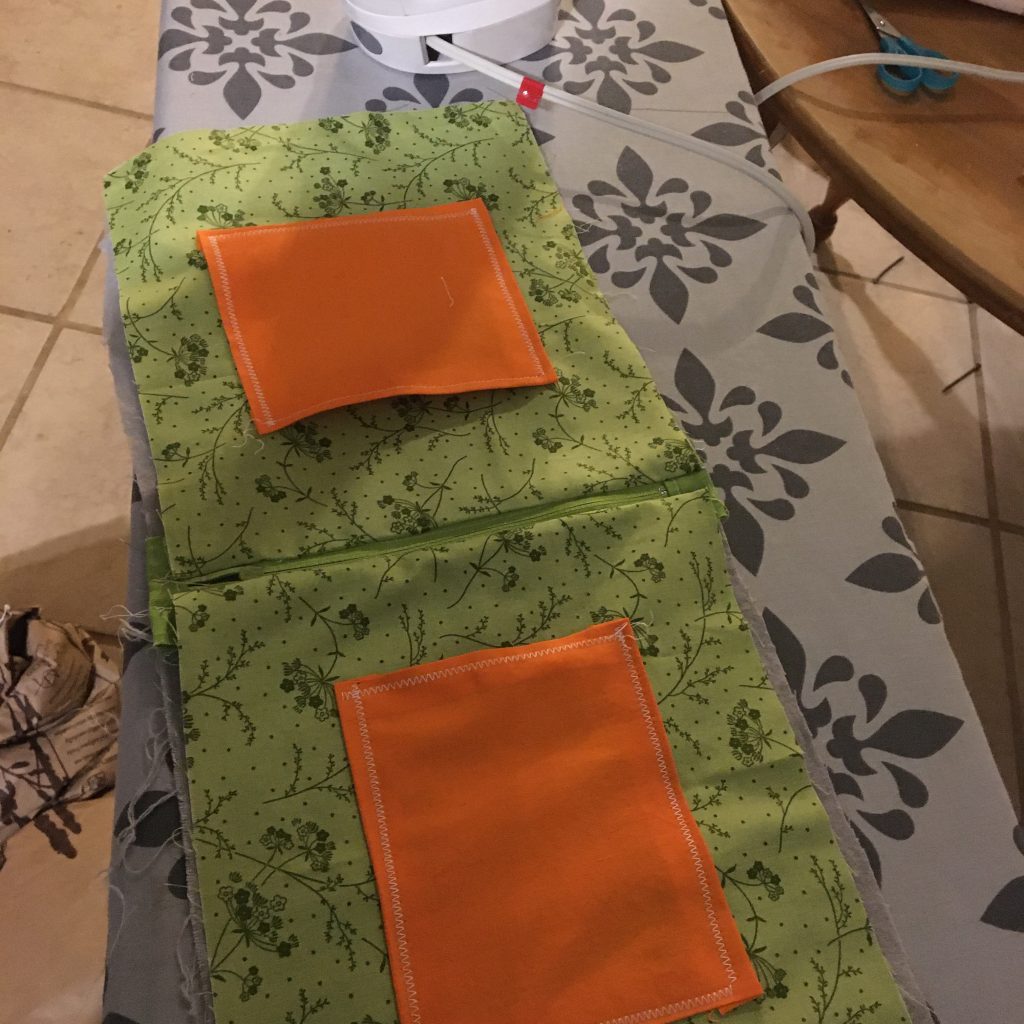
Place and pin the pockets where you want them on the inside lining. Then sew them into place on 3 sides leaving the top open, only sew to the lining fabric, not through the out layers.
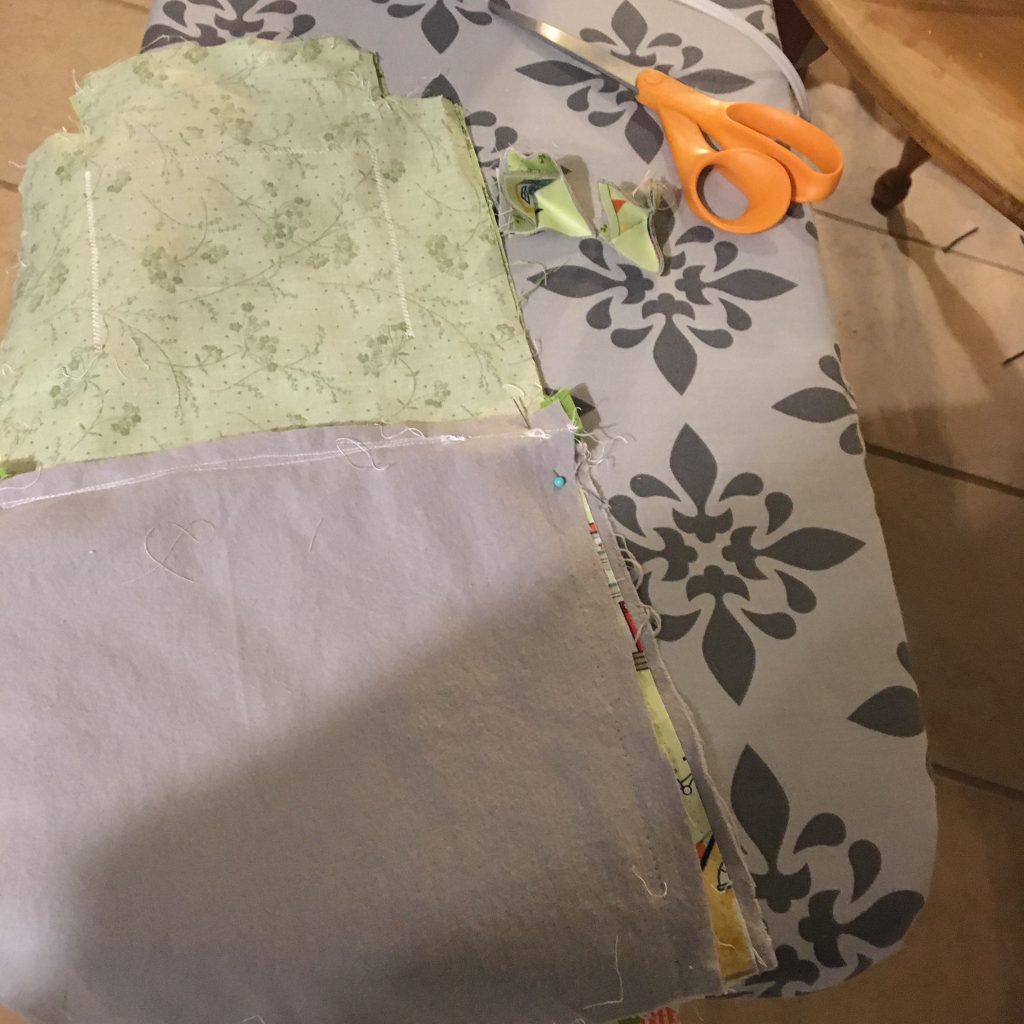
Make the bottom of the Bag

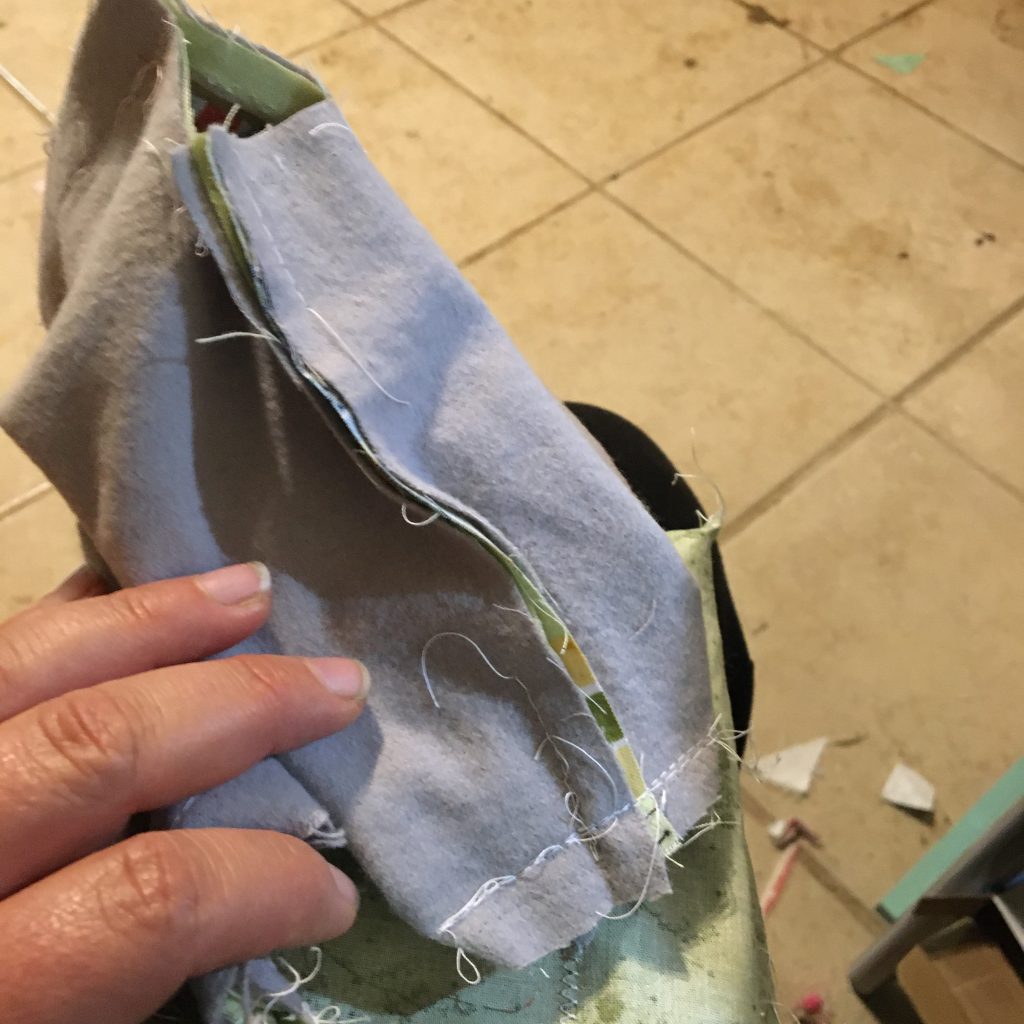
Measure and cut about 1 1/2 in squares in the bottom corner of each fabric rectangle that is sewn to the zipper as shown. Bigger cut out squares will make a wider bottom, smaller cut out squares a narrower bottom for your bag. (I actually did this wrong at first and had to unpick in case your wondering why there’s so much thread!)
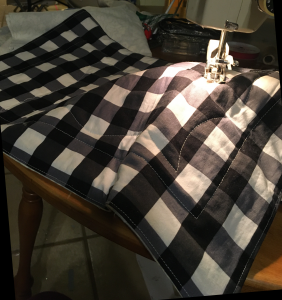
Sew the bag inside out
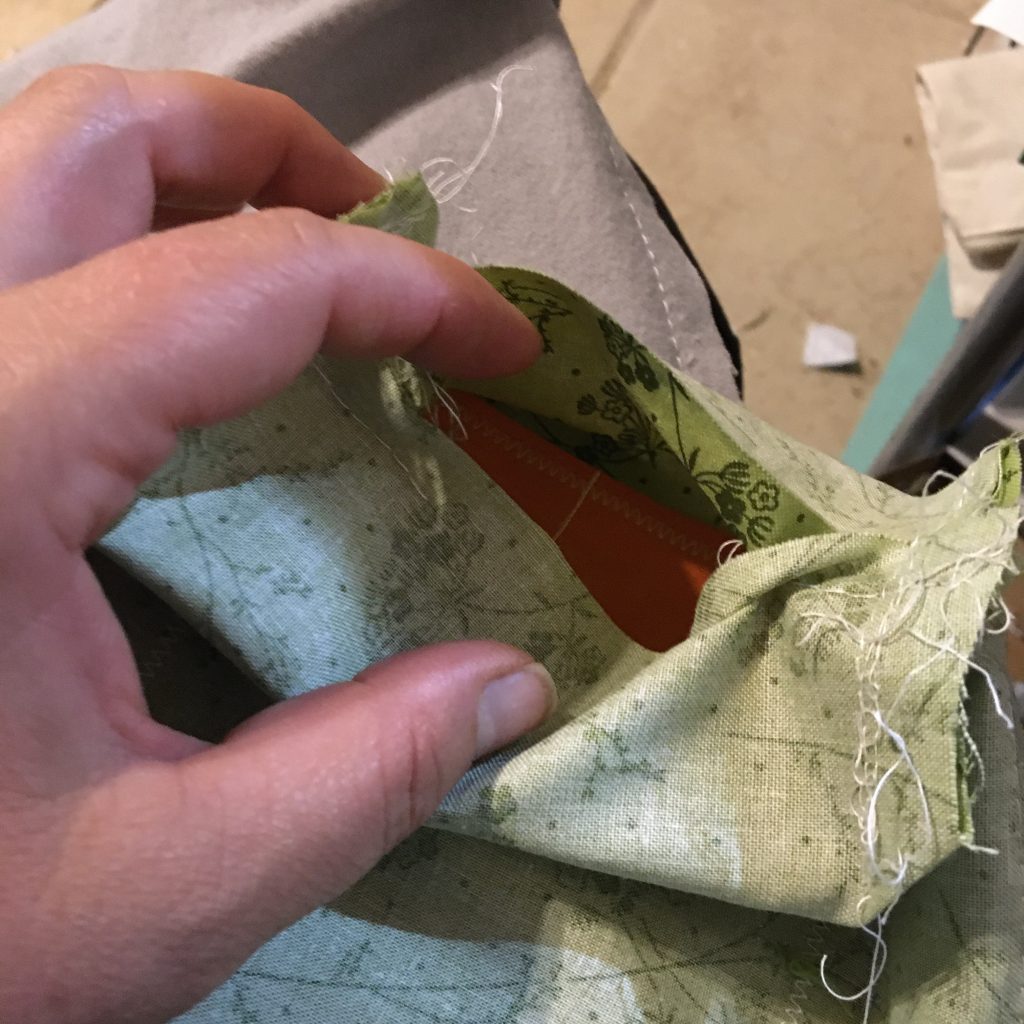
Be sure to open the zipper before you stitch- that is the only way to turn the bag right side out. Sew the stabilized outer fabric to itself, right sides together as shown. Stop at the missing corners. Do the same with the lining fabric except leave an opening in the bottom to be able turn it right side out.
Sew Bottom Corners

This is the trickiest part of this whole project, imo. You have to pull each corner flat and sew along the edge perpendicular to the bottom and side seams. (I just realized my fingernail looks dirty- I’ve been doing a lot of gardening- sorry!)
Do this with both corners of the stabilized out fabric and the lining. (there are a lot of extra threads in the photo cause I actually did this step wrong first.)
Finishing the Bag Part
Pull the bag right side out through the bottom opening.
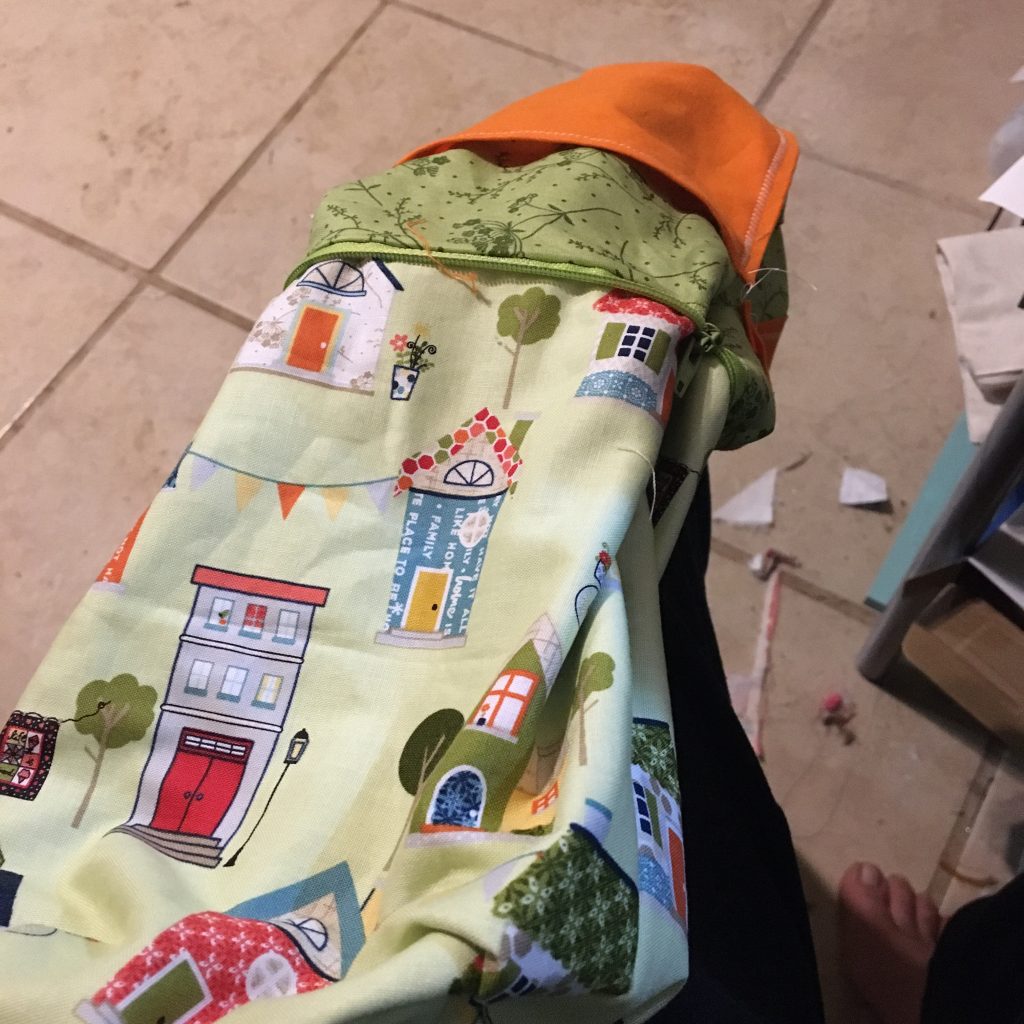
Sew the opening closed either by hand or with your machine. The pouch part is done!
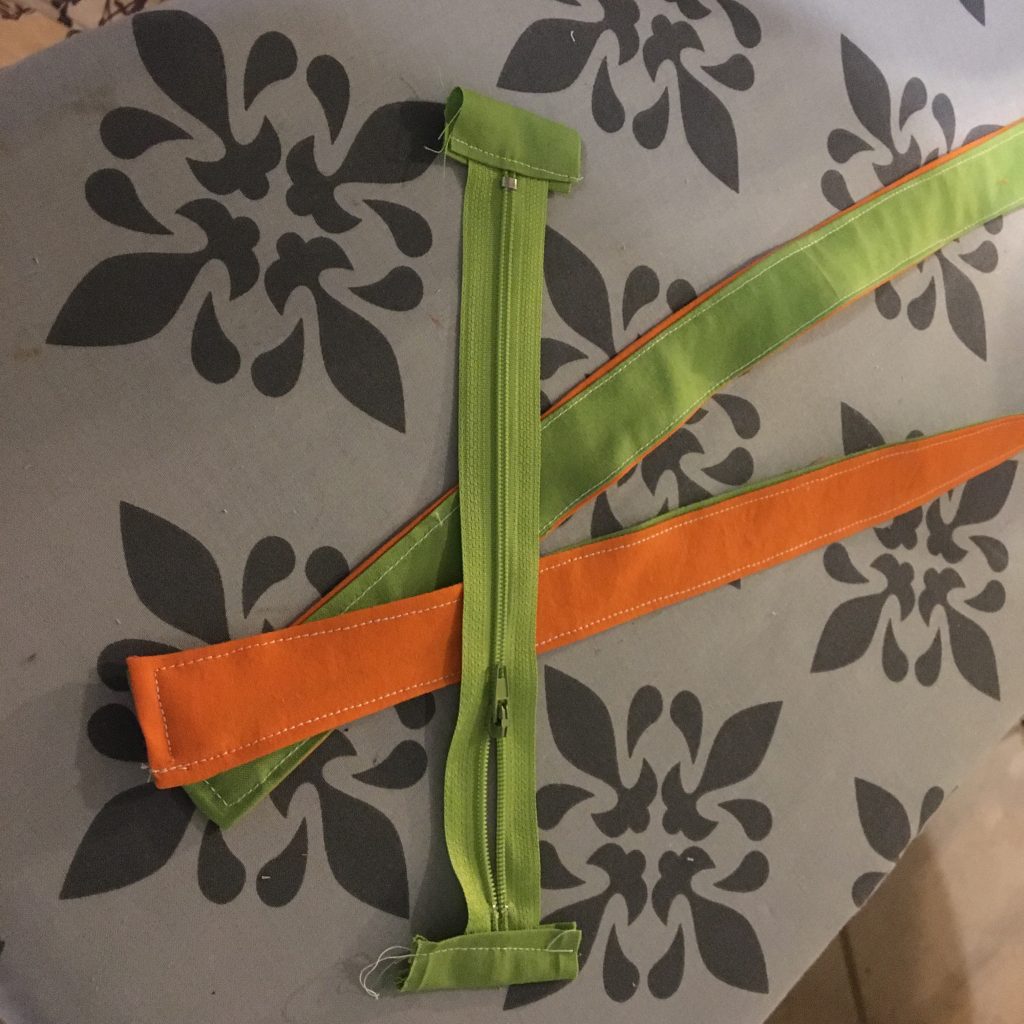
Make and connect the Strap
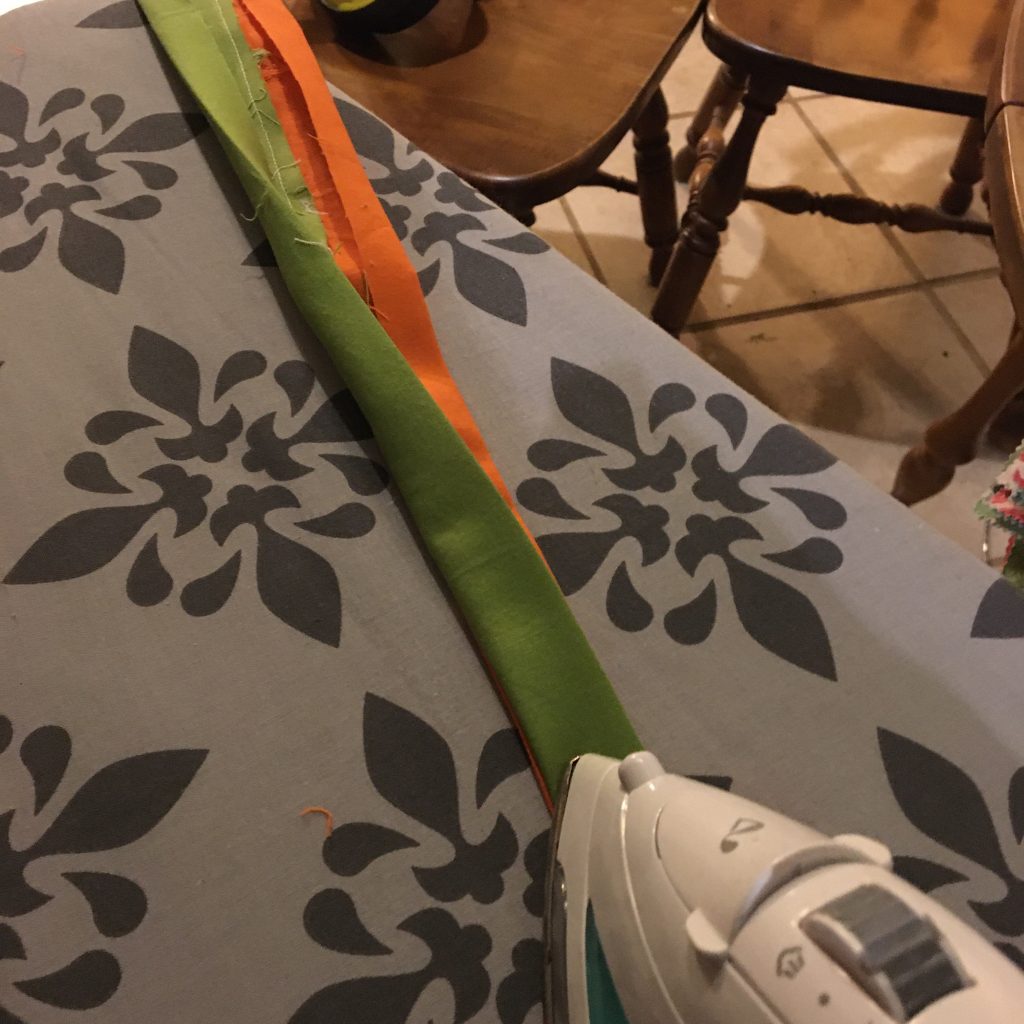
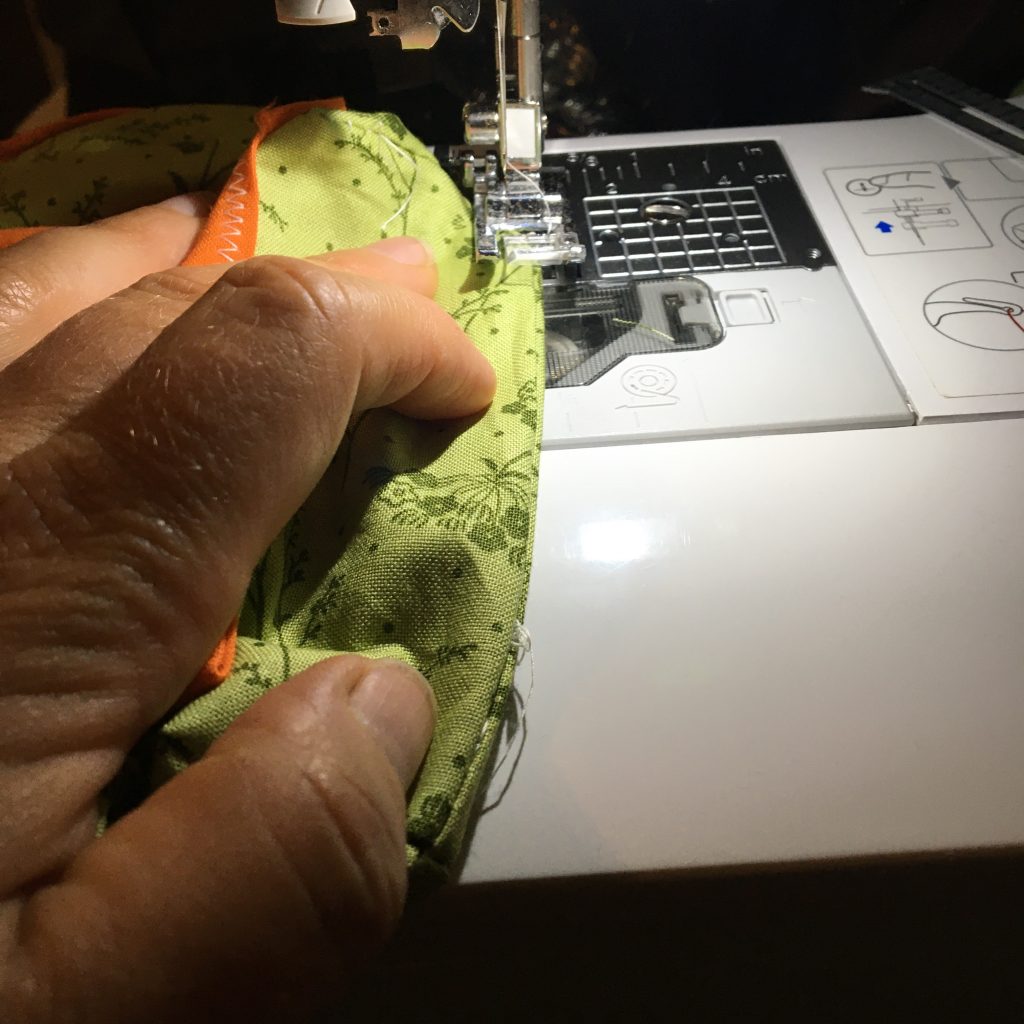
You can use a strip of all the same fabric that is 2 1/2 inches wide or sew 2 strips together long ways that are each 1 1/2 inches wide as shown. In both cases you will fold the strip in half long ways, and iron it down. Then you will fold and iron the raw edges in long ways, and finally iron the whole thing flat to make stitching easy.
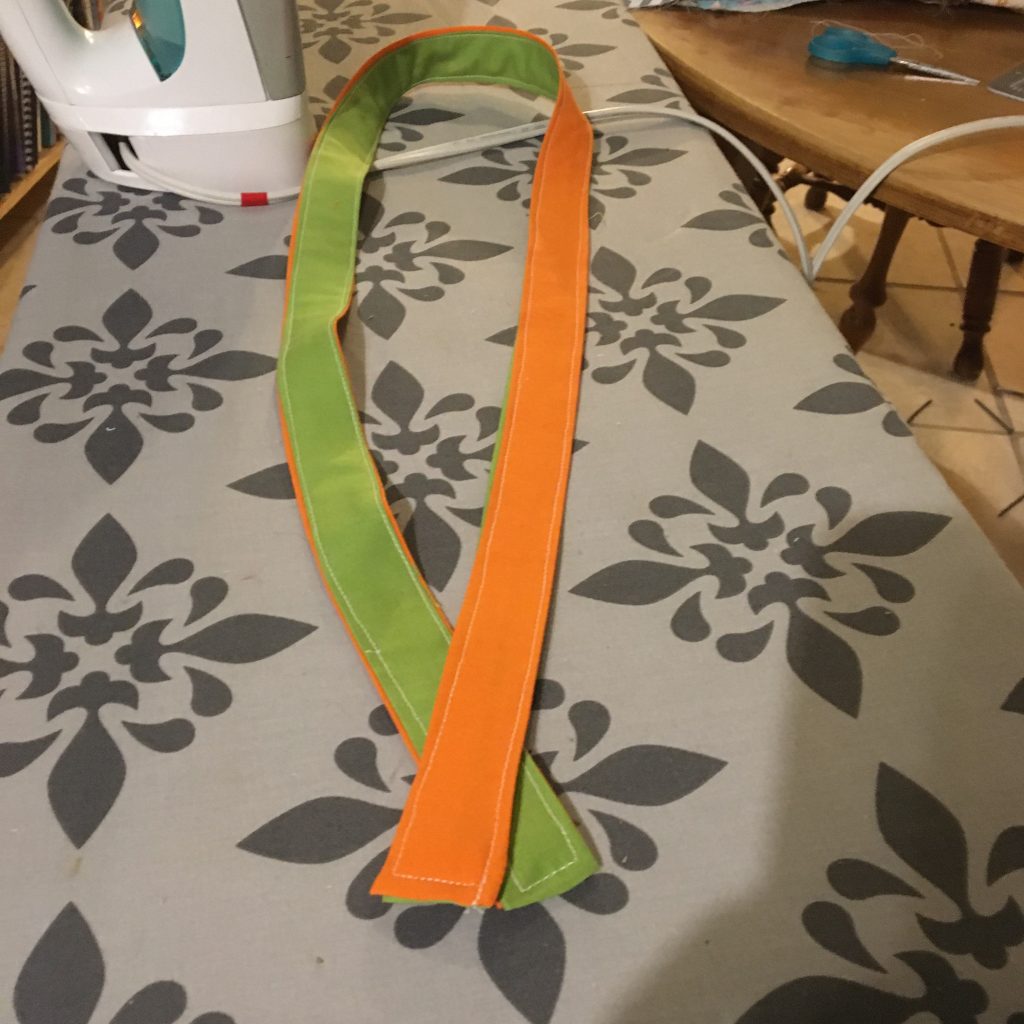
Sew along each edge as shown.

Pin the strap into place about 2 inch from the top edge as shown.
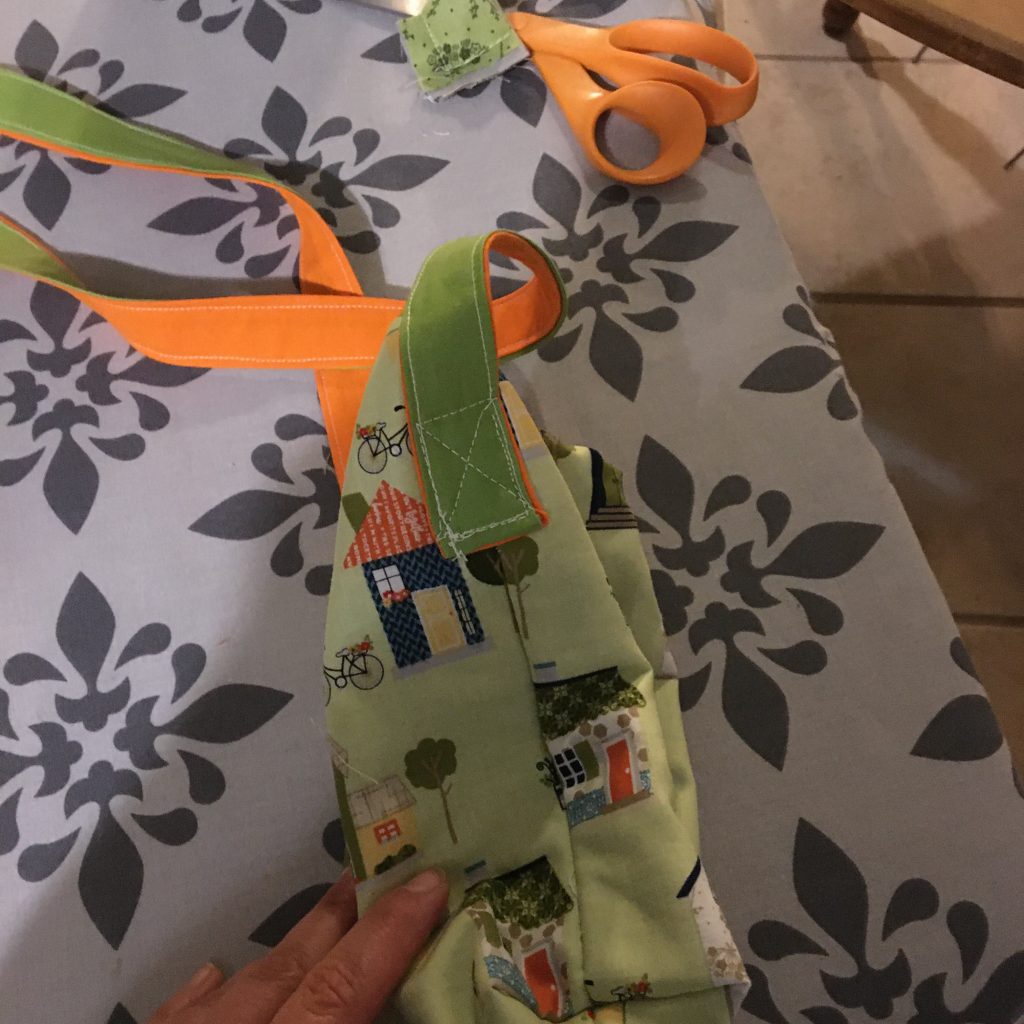
Then stitch it in place through all the layers- I like to make an x inside a rectangle.
And you’re done!! Send me a photo of your finished bag, I’d love to see it!