This is another quick project great for beginners or just for a quick finished gift or project. I was originally going to use a more orange fabric for the background or white thread for the lettering would have looked better too, but I still like how it turned out, cause it’s fun to make things even if they aren’t really that great- lol!
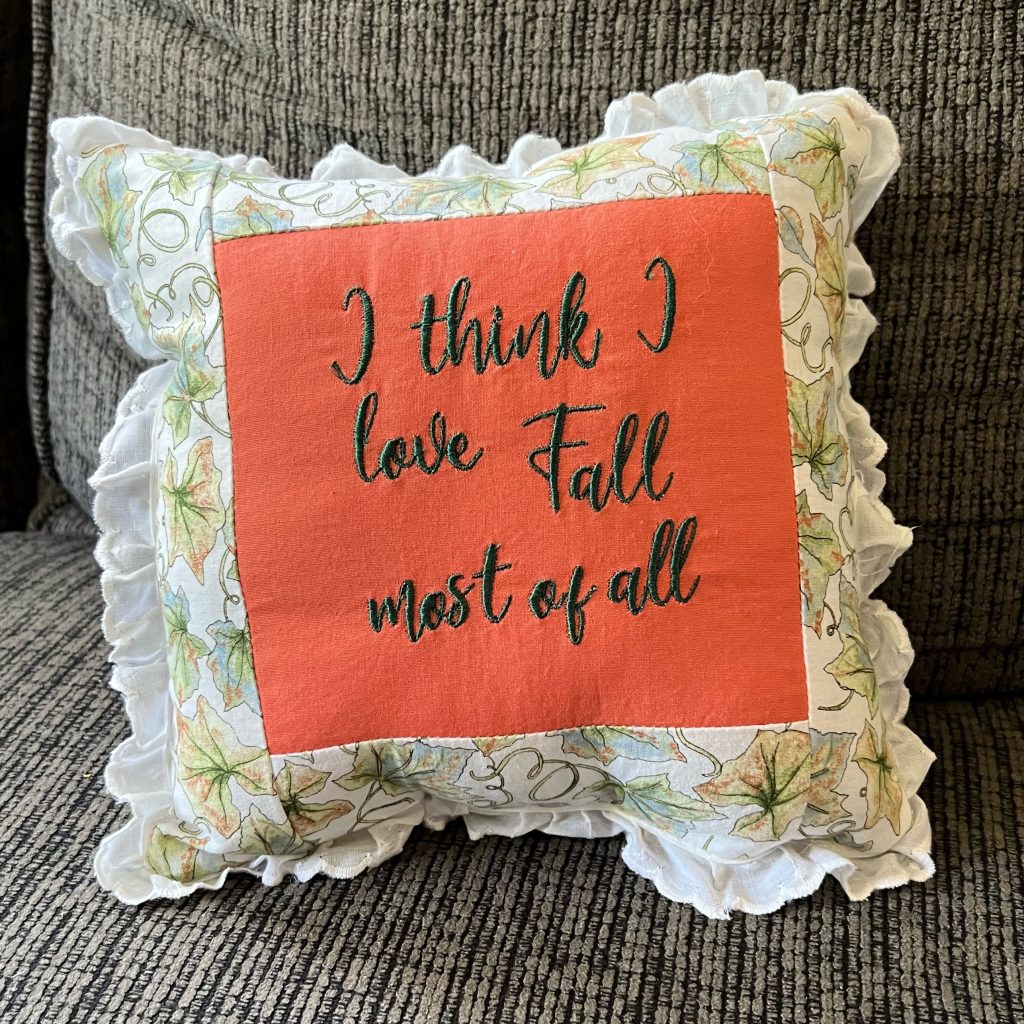
Decide what size you want- this one ended up being about 8 in. x 8 in.
If you want it to be the same on both sides, just cut 2 8.5 inch squares of the fabric you want.
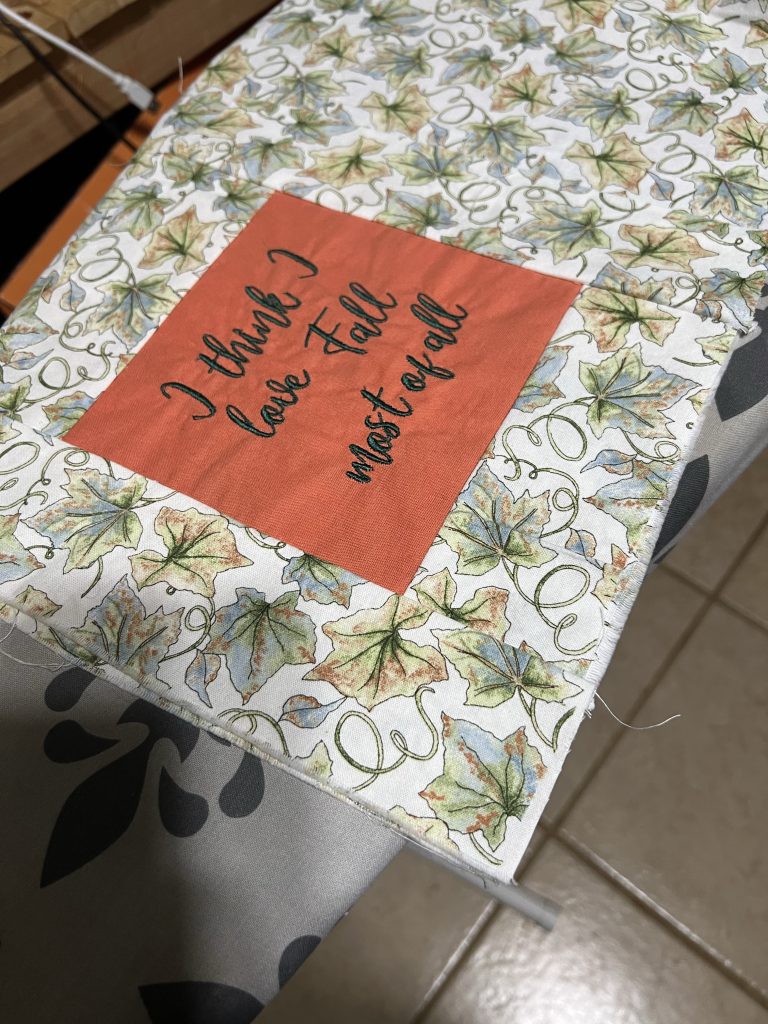
If you have an embroidered piece of fabric like the one shown here, then square it off to the size you want. I used a 4 x 4 inch embroidery hoop for this design so I embroidered this and then trimmed the embroidered fabric to 6 1/2 x 6 1/2 inches.
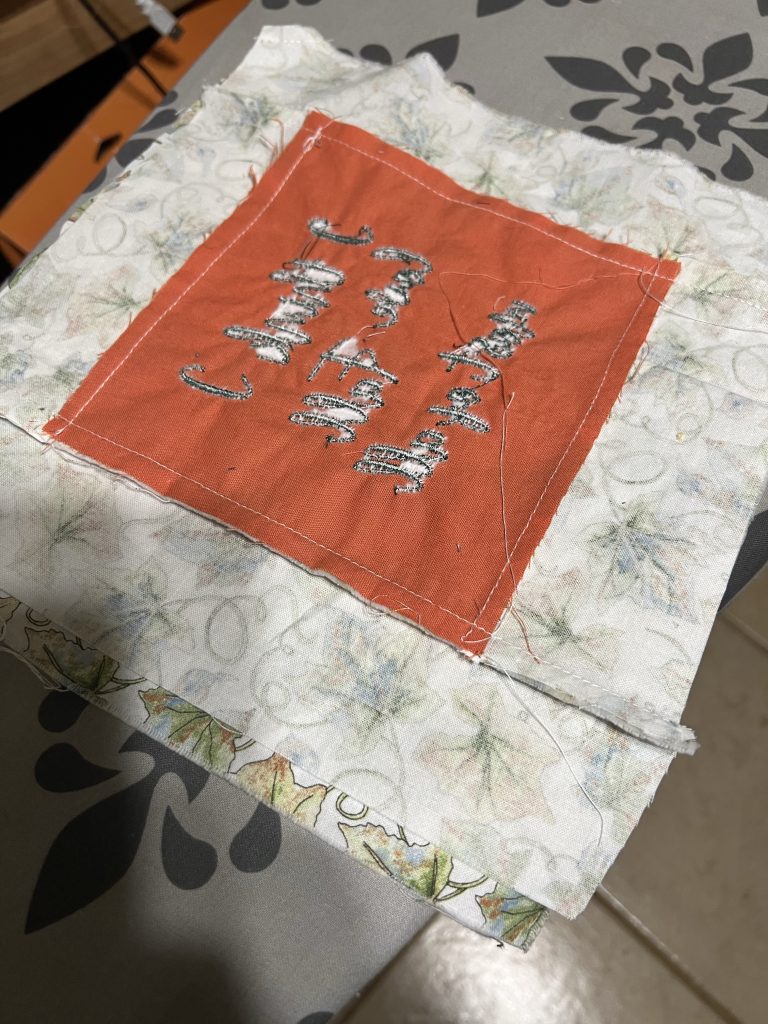
Cut 2 1/2 inch strips of fabric to border the square. I cut 2 pieces 6 1/2 inches to fit along opposite sides and sewed them on. Iron them flat.
Now cut 2 more strips 8 1/2 inches long and sew them on and iron it all flat.
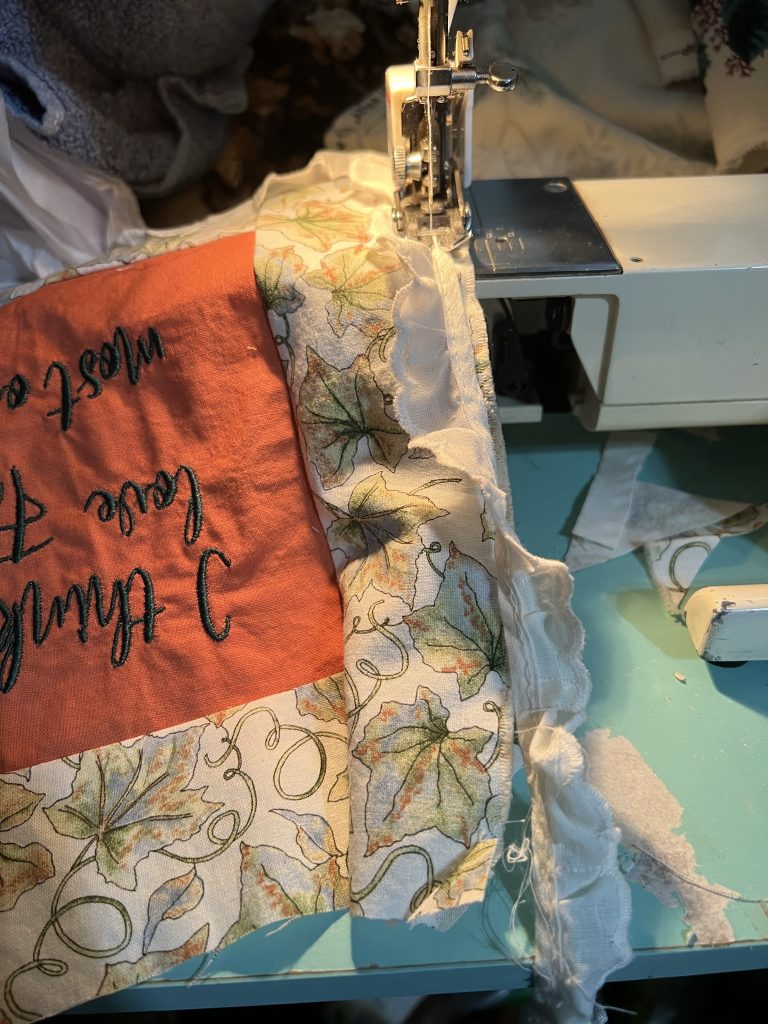
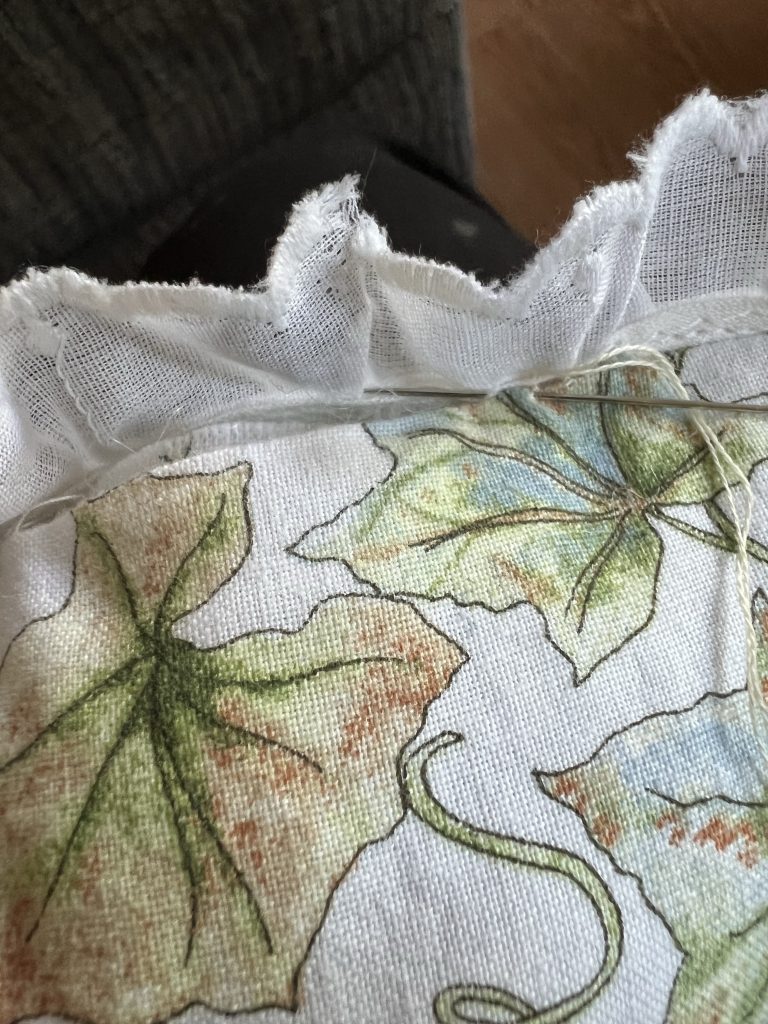
Measure your lace all along the edge of your pillow and sew it onto the new large square to the right side of the fabric with the lace pointing up as shown.

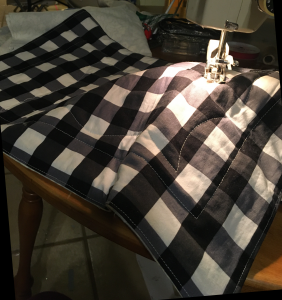
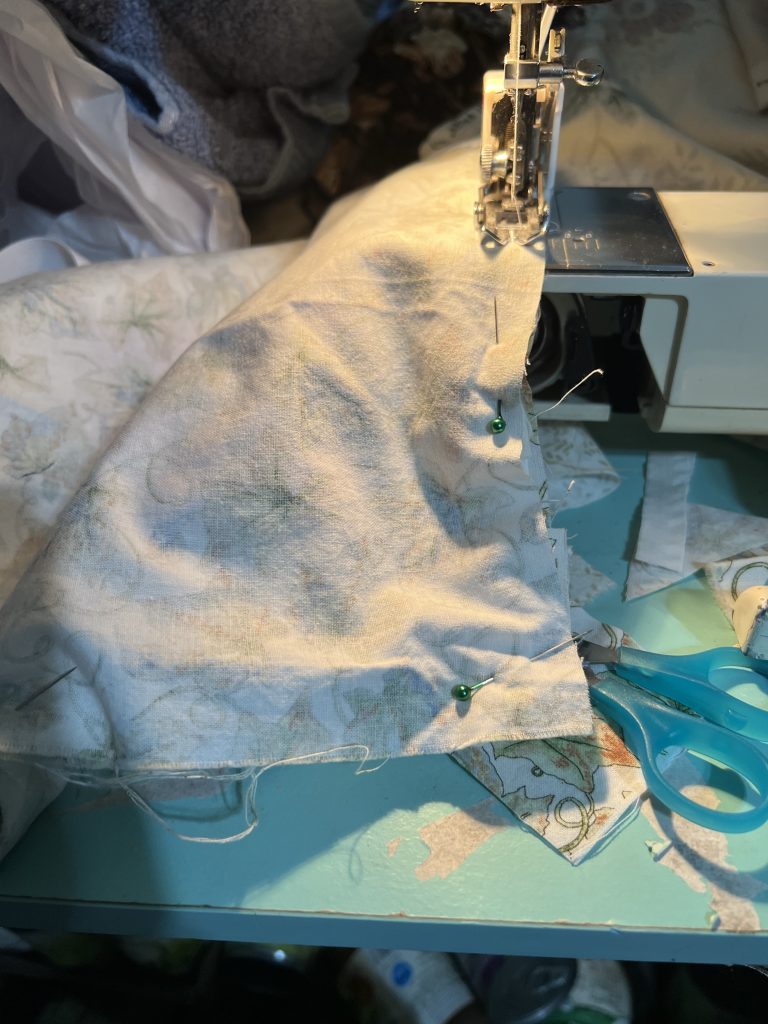
Now sew the back piece of your pillow right sides together keeping lace free but still attached and leaving a small opening on the bottom.
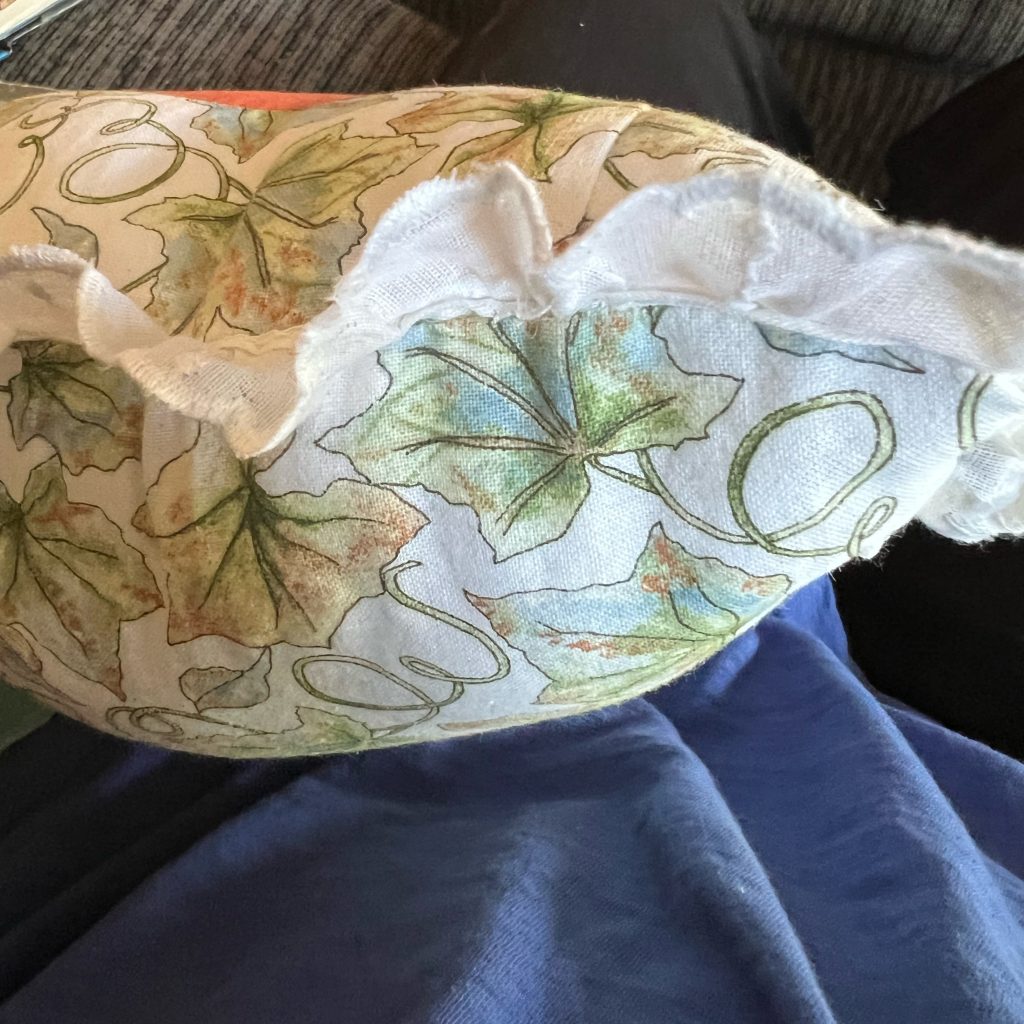
Turn the pillow right side out and stuff.
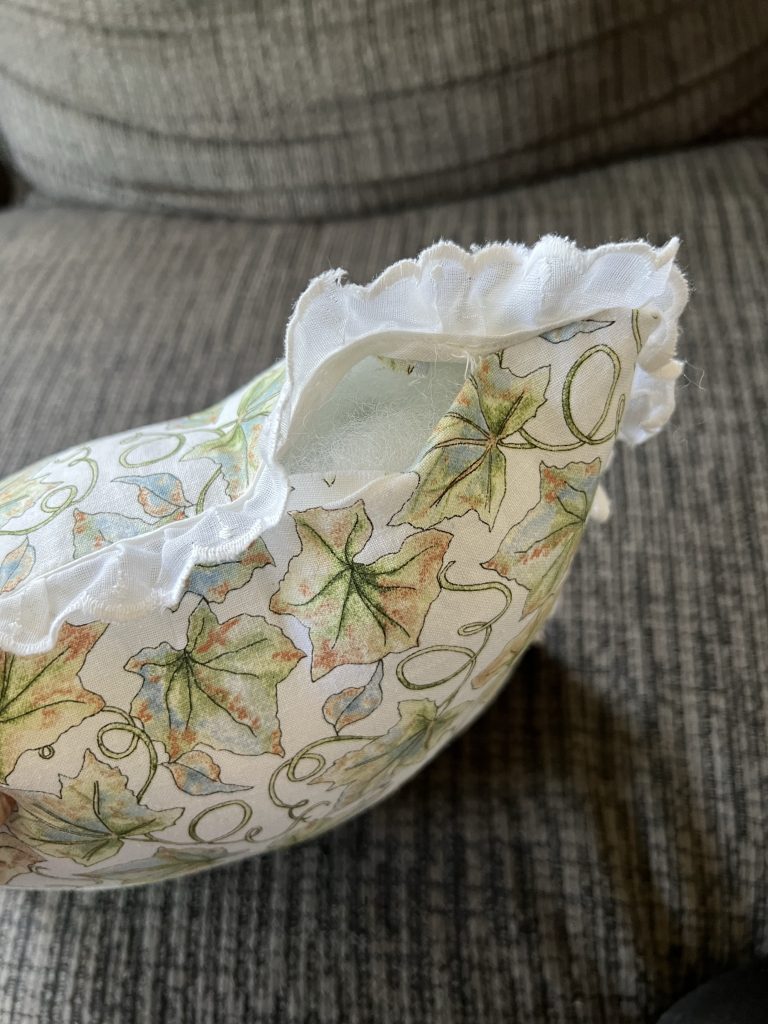
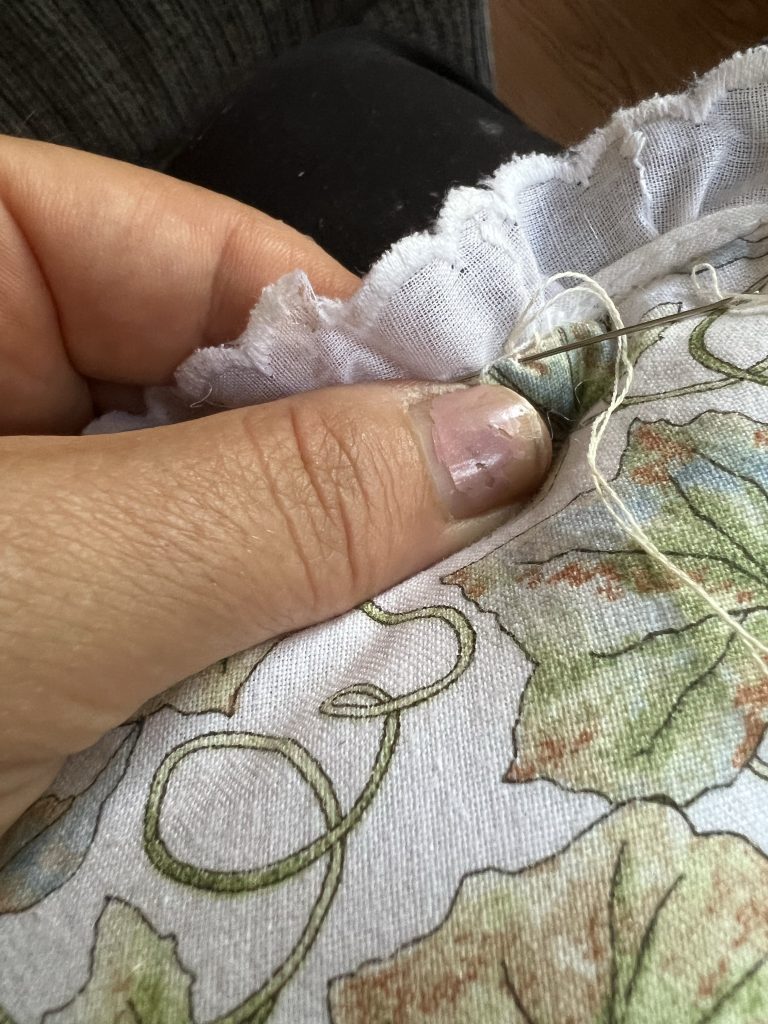
Hand stitch the opening closed with a slip stitch.
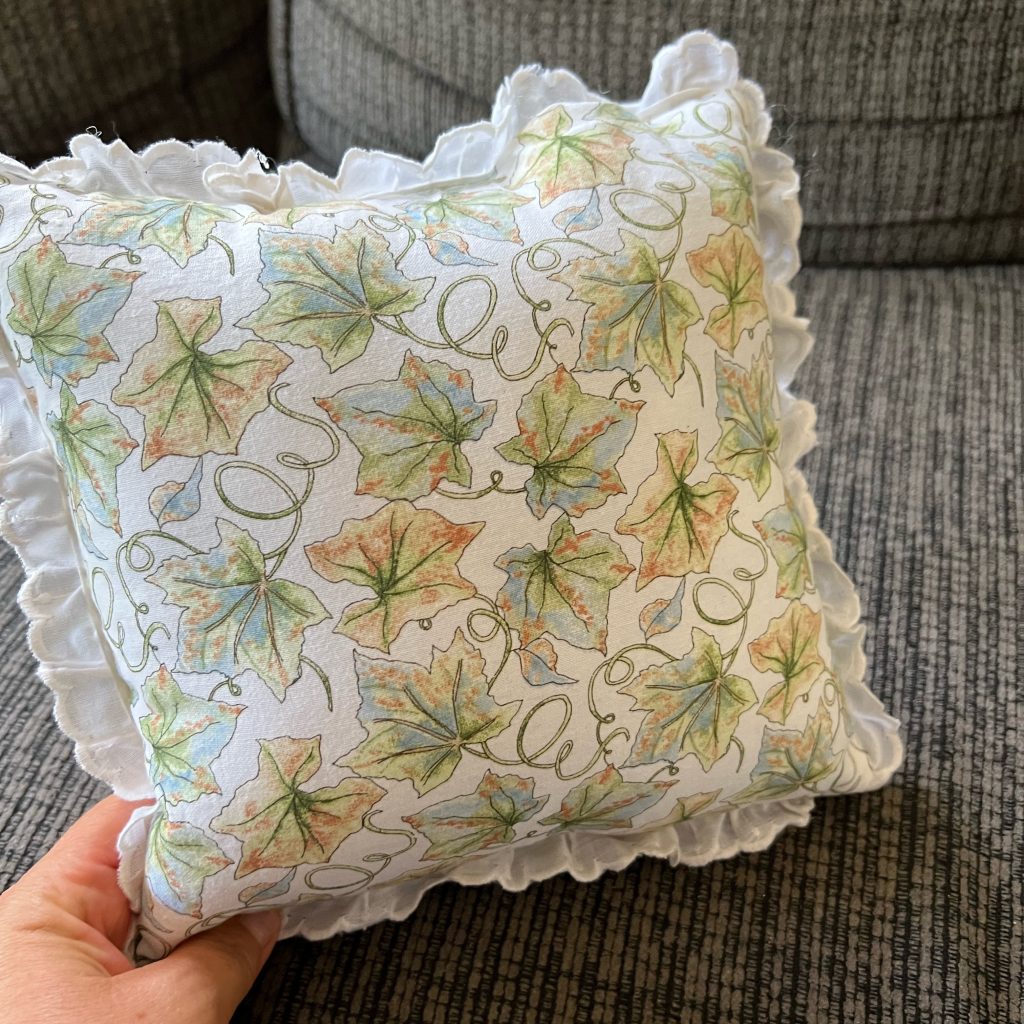

And you’re done! Enjoy! And happy fall y’all!!