
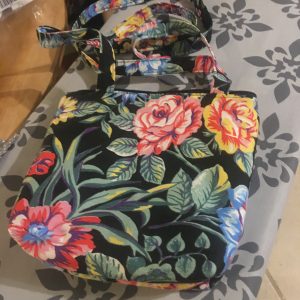
This is such a great project! It doesn’t use a ton of fabric, it is fairly easy and straightforward, it doesn’t take a long time-you can be done in 1- 3 hours depending on your experience sewing, and it is so useful! I am loving my new purse!
I love the fabric, I love the size ( keeps me from putting too many things in my purse) and I love the sense of accomplishment when I am done. These would make great gifts too, and you could embroider your initials on it! So fun!!


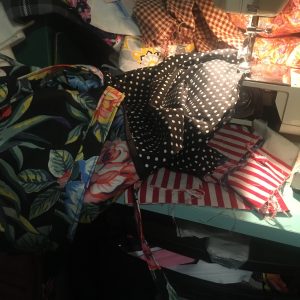
Gather Your Materials
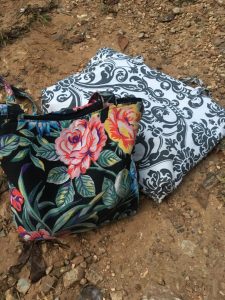
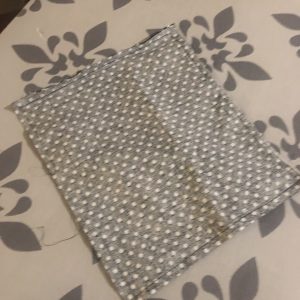
Choose fabric for your purse- if you plan to use your purse a lot, consider using a thicker canvas cloth. I used canvas for the outside, quilting cotton for the lining and cotton batting to stabilize it and make it thicker.
Cut 2 10 x 11 inch (for small size pictured) or 15 x 12 inch (for the larger white purse dimensions) rectangles of each of the outside fabric, lining fabric and thin, natural 100% cotton batting (I use Warm and Natural brand).
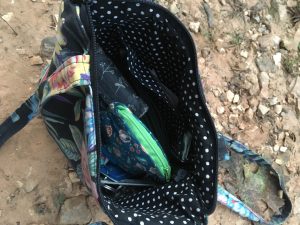
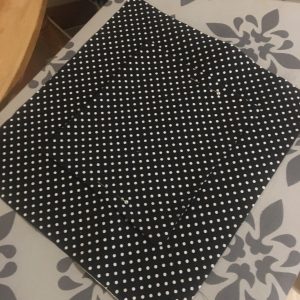
Cut 2 6.5 x 7.5 inch rectangles of the lining fabric for the pocket.
Cut 2 2.5 x 37 in strips for the straps
Use a 12 inch or longer zipper
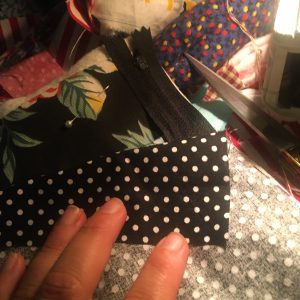
Prepare the Straps
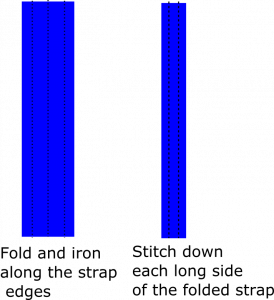
First iron the strap strips in half lengthwise.
Then iron the raw edges in about 1/2 inch on both sides and both ends. It actually isn’t necessary to iron the short edges, because they will be sewn into the zipper, no raw edges will be showing.
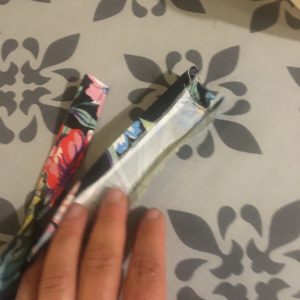
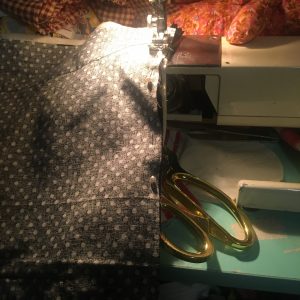
Then stitch the straps closed so no raw edges are showing and there is top stitching on the outside down both edges shown.
.
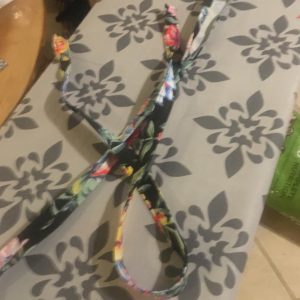
Pin and then baste the straps into place where you want them – about 2 inches from the side edge. Fold the outside piece in half to see where to pin the straps so they will be symmetrical. Do the same for both outer pieces.
Prepare the Pocket
Sew right sides together about 3/8 in all around, leaving an opening on the bottom side in order to turn it right side out.
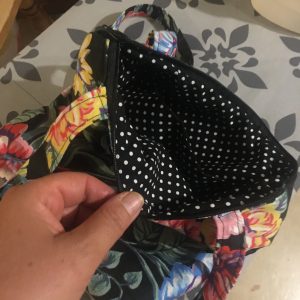
Turn right side out and push out the corners using a pen or knitting needle or some other point tool (don’t push too hard). Press the pocket including folding in the edges of the opening and then iron the whole thing flat.
Pin it in place in the middle of one of the lining pieces- at least 2 inches from the raw edges.
Stitch the pocket to the lining piece around the 3 sides leaving the top unstitched creating a pocket.

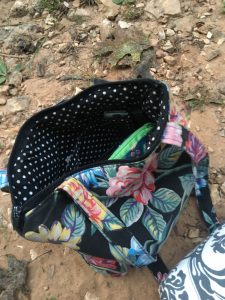
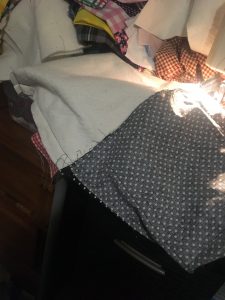
Pin the batting to each of the outer layer pieces to use them as 1 piece. Now you are ready to assemble the pieces into a purse!
Installing the Zipper
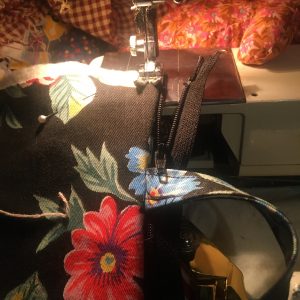
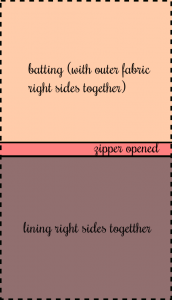
Place and then pin the zipper into place in between the outer fabric/batting and the lining right sides together as shown. Leave about 1/4 inch between the raw edge and the zipper head as shown.
Stitch through all the layers, starting where the zipper head ends all the way to the end. Open the zipper slightly and go back and stitch where the zipper head was so that the edges are stitched together in a straight line with about a 1/4 inch seam allowance all the way down. The straps will be sewn into this seam, make sure to only sew the edges of the strap and not other parts of it. Be careful to not get too close to the zipper teeth or you may not be able to open and close the zipper. It’s best to use a zipper foot for this.
Top stitch through all the layers on the top side of the outer fabric to keep it neat, keep the straps to the right as shown.
Do the same on the other side of the zipper with the outer/batting and lining fabrics so that you have one long rectangle with the zipper in the middle.
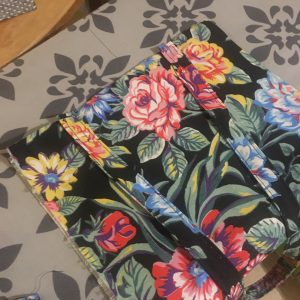
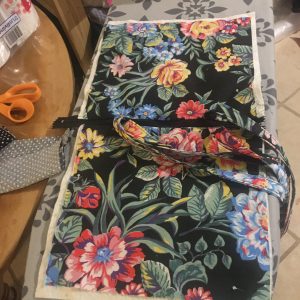
Here’s what the outer section should look like:
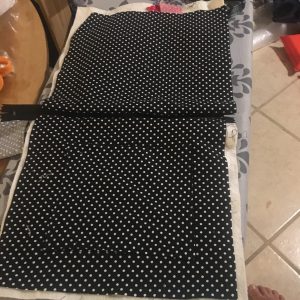
Here’s what it looks like on the bottom-the lining section:
Sew the Bag Right Sides Together
Now it’s time to sew the lining and the outer fabric sections together.
Open the zipper about 2/3 open- otherwise you won’t be able to pull everything right side out.
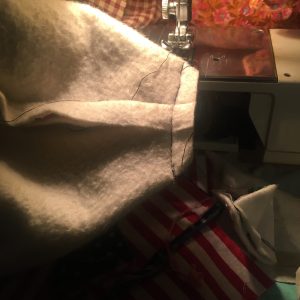
Then pin the outer fabrics right sides together and the lining fabrics right sides together. Sew all the way around the new big rectangle which is half batting and half lining wrong side facing up. Make sure the zipper ends fold down towards the outer fabric. Start sewing at the bottom of the lining fabrics leaving an opening large enough to turn the bag right side out after you’ve finished the corners. Make sure the straps stay in the middle and don’t get sewn into the seams.
Making the Corners
This is the trickiest part , but once you figure it out, it’s easy and you can use this technique for any bag you make. Open the corners so they are flat the opposite way than what is sewn- as shown.
Measure 1 1/4 inches from the sewn corner and draw a straight line to make a triangle shape.

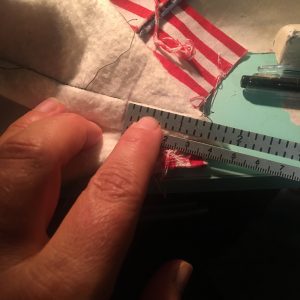
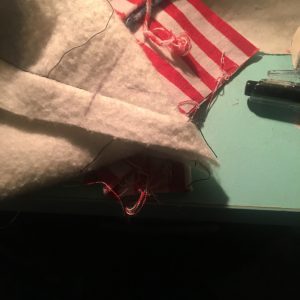
Sew along that line and trim to 1/4 inch.
Repeat for all 4 corners.
Finishing
Now to experience the magic- through the opening you left in the lining, pull the bag right sides out. Use a stick or knitting needle or pen to open out all the corners so they are nice and sturdy.
Stitch up the opening in the lining and place the lining in the bag. Voila! You are finished! Enjoy your new bag!
Click here to purchase the purse already made, I don’t have a ton of this fabric, I just happened upon it at a thrift store, so once it’s gone, it’s gone! This is the purse I carry around and I get compliments on it quite often!