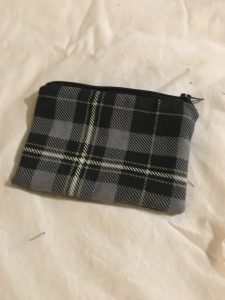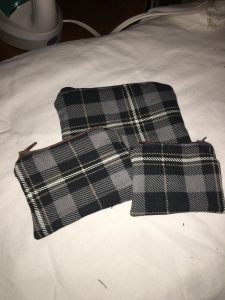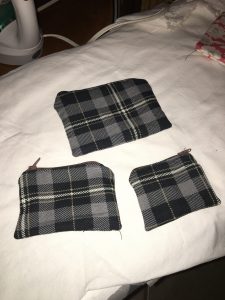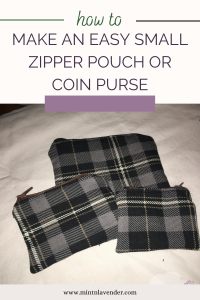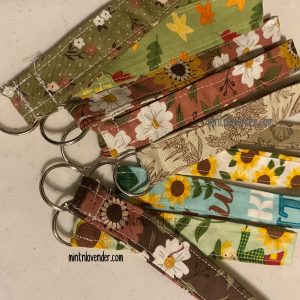
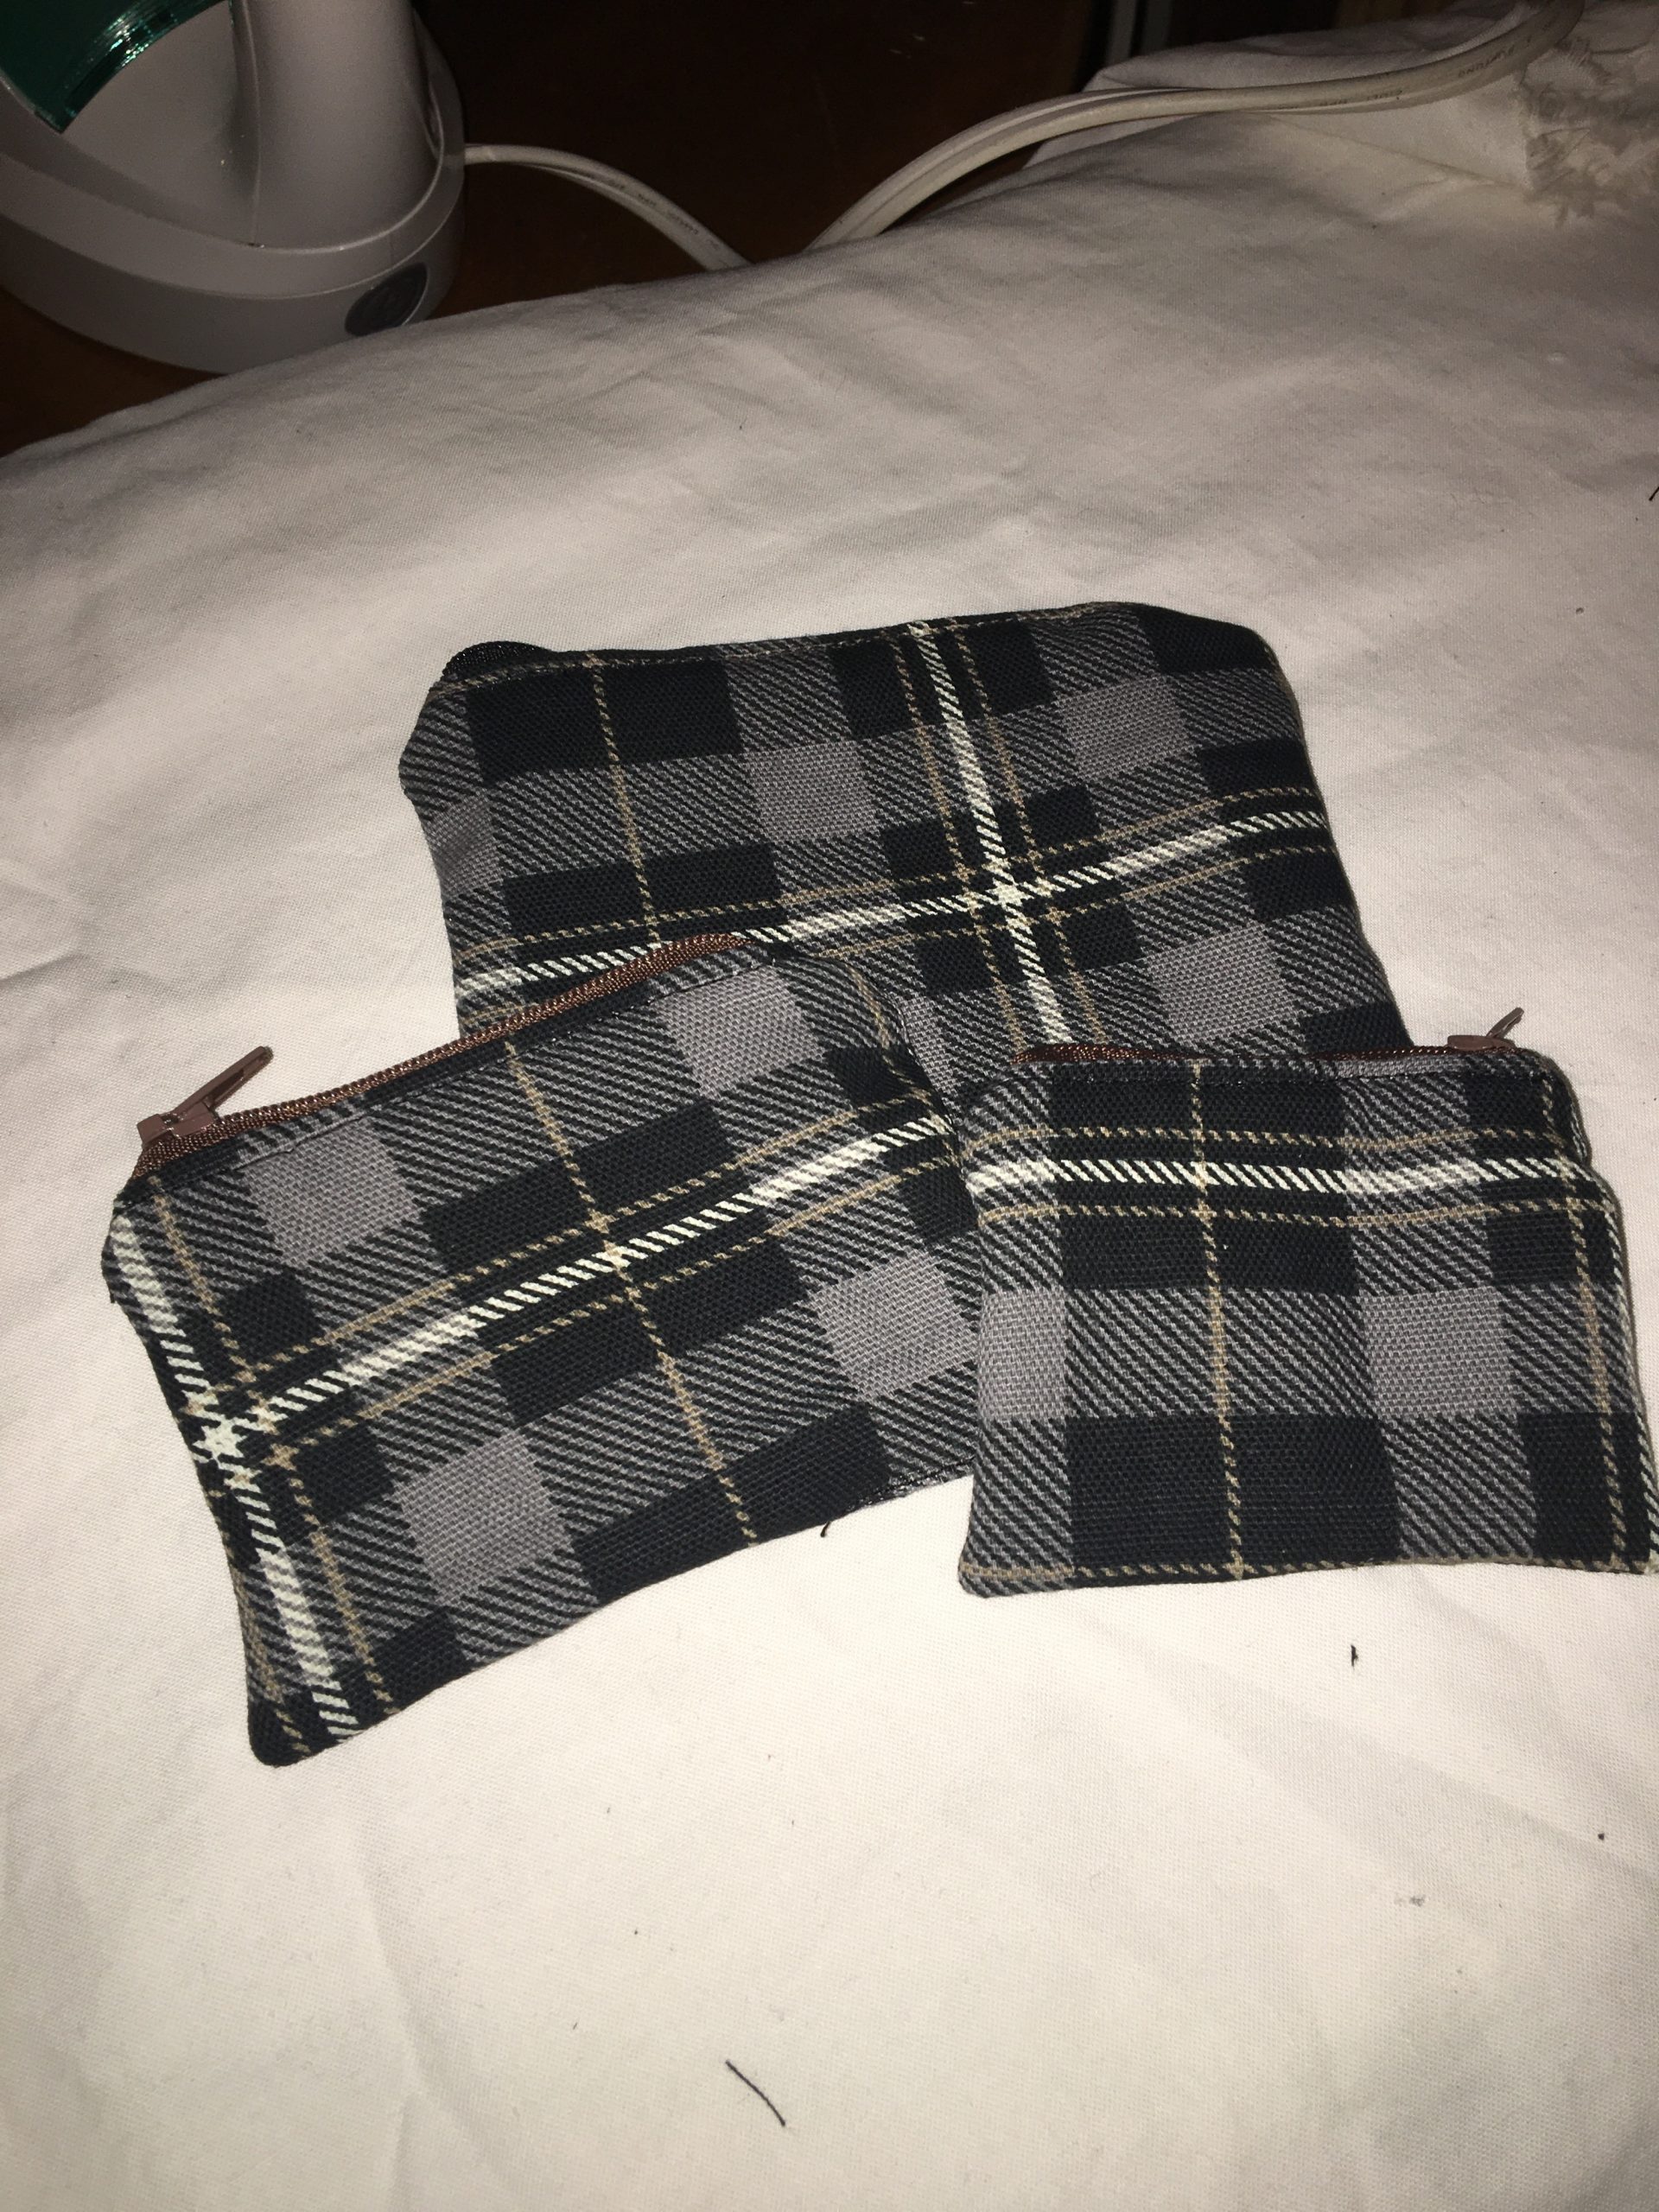
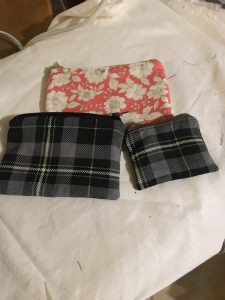
This is a great first project for learning an easy way to install a zipper. These pouches can be made as shown with more masculine fabric and make a great thoughtful gift for the boys in your life. And of course you make them in all different sizes now and with all different fabrics for a variety of looks and uses. They are great for small toys like marbles, tokens and toy soldiers. They are great for change and cash. They are great for holding vitamins, supplements, herbs, essential oils or medications. They could be used for anything small you may want to keep together. Have fun sewing this small zippered pouch!
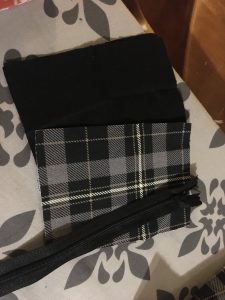
Materials:
- 2- fabric rectangles each of outer fabric and lining fabric – 6 x 4.5 inches for large, 5 x 3.5 inches for medium and 4×3 inches for small
- a zipper at least as long as the longest side of your rectangles- it will be cut to size
- sewing machine
- coordinating thread
Step 1 – Gather and Cut
Cut your fabrics and get your supplies together. I like to use a rotary cutter to measure and cut everything smoothly, but scissors work too.
Step 2 – Install the Zipper
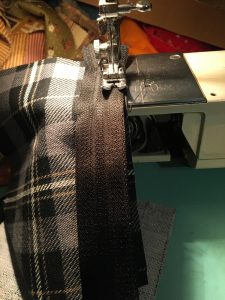
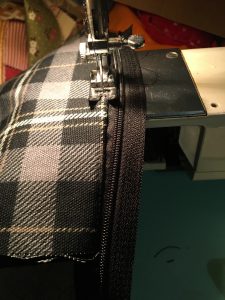
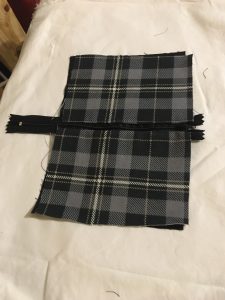
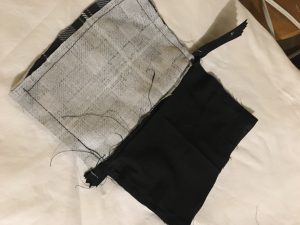
Place the zipper face down on top of one of the outer fabric squares with the edge of the zipper teeth lining up with the edge of the fabric as shown. Start stitching from where the presser foot no longer touches the zipper pull to the end of the fabric. then open the zipper and stitch the beginning part of the zipper so that the zipper is sewn on the whole edge of the outer fabric rectangle.
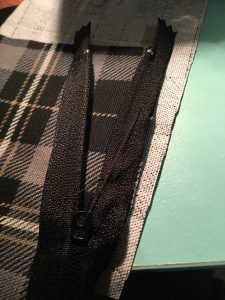
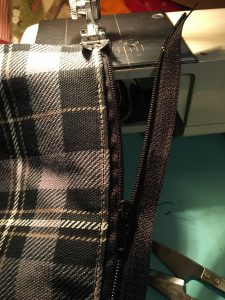
Place the lining fabric facedown on top of the zipper lining it up perfectly with the outer fabric. Sew the lining fabric to the zipper and outer fabric basically along the same edge and the same way you just did for the outer fabric rentangle. (Sorry I used black which is hard to see and my lining didn’t have a wrong side.)
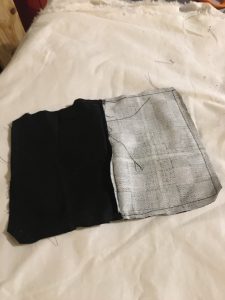
Top stitch along the the outer fabric next to the zipper.
Repeat on the other side of the zipper. Don’t forget to topstitch the second side ( like I did)
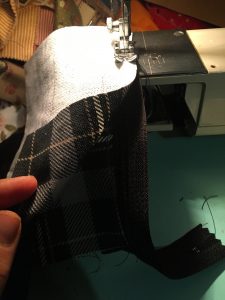
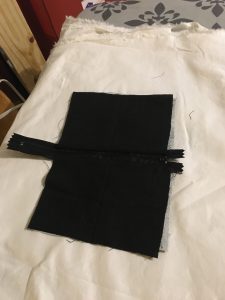
This is what it should look like now:
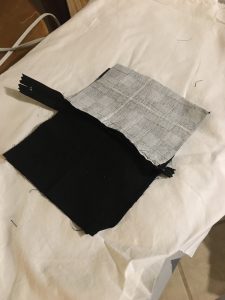
Step 3 – Sew the inner and outer rectangles together
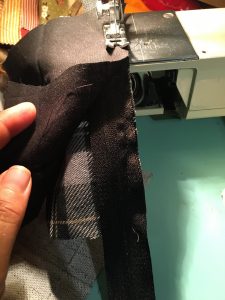
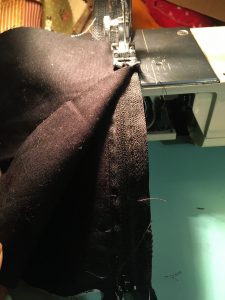
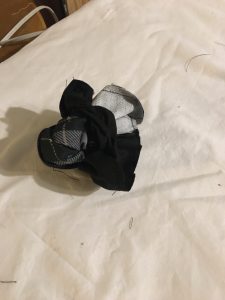
Open the zipper about 2/3 of the way open. Match the corners and edges of the outer fabric right sides together and the edges and corners of the lining fabric right sides together. Pin in places with the seams and zipper folded towards the lining fabric as shown.
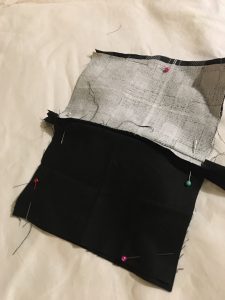
Starting at the bottom of the lining fabric about inches from the edge, stitch all the way around the large bi color rectangle as shown leaving an opening at the bottom of the lining fabric to be able to turn it all right side out. Clip the corners and trim the edges including the zipper edges.
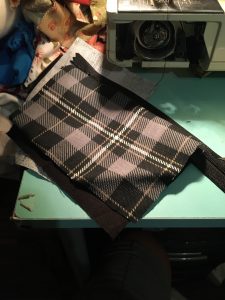
Turn it all right side out through the opening in the bottom of the lining. Push out all 4 of the corners using a pointy tool like a pencil, knitting needle or scissors through the lining hole. Just be careful to not push it too hard or you will make a hole in the fabric!
Finally stitch the opening on the bottom of the lining fabric closed, and push the lining do

n into the outer fabric. You’re done!