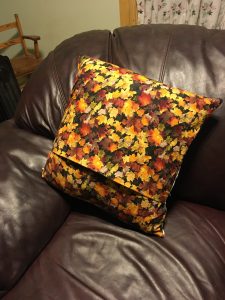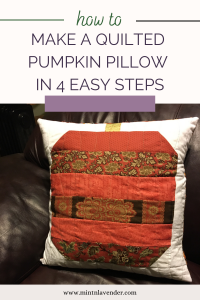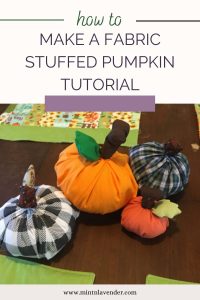
This is a really cute quilted pillow you can sew up quick. It just consists of some fabric strips to make the pumpkin block, batting, fabric for the back and a pillow form. You can make yours vertical or horizontal or just make two!
Step 1 – Gather materials and cut fabric
The first step is always to cut out your fabric. For this I had a 2 1/2 inch wide jelly roll so it was easy to coordinate the fabrics.
Materials:
- 6-2 1/2 x 12 1/2 in coordinating orange strips
- 1- 1 1/2 x 2 1/2 in green rectangle
- 4- 2 1/2 in white squares
- 3- 2 1/2 x 16 1/2 in white strips
- 2 – 2 1/2 x 8 1/2 in white strips
- 1 – 44 x 16 1/2 in fabric for the back
- 17 in square piece of cotton batting
- sewing machine and thread
Step 2- Make the big Pumpkin Block
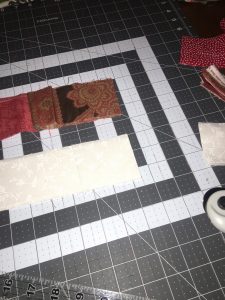
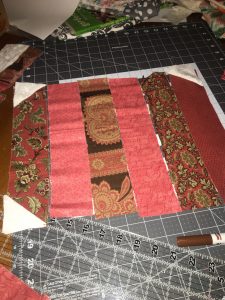
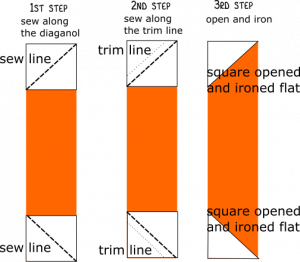
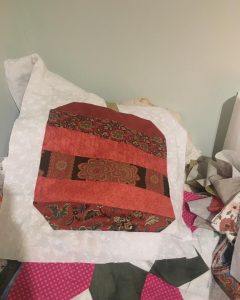
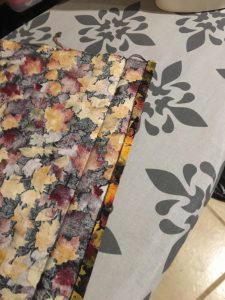
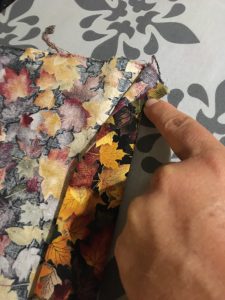
Sew the white squares onto the pumpkin end orange strips right sides together diagonally. Iron open and trim. Then sew the 6 orange strips together into a large square the order you choose- either horizontal or vertical. You can see how I alternated lighter and darker patterns.
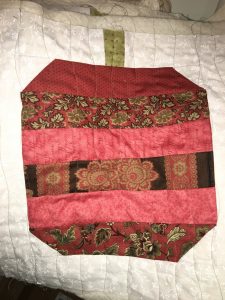
Sew the green rectangle to the 8 1/2 in white strips so it is in the middle forming the pumpkin stem, and sew it along the top, pin the stem so that it is in place right in the middle where you want it. Then sew the other white strips to the sides and bottom of the pumpkin as shown. Trim the top strips so the pumpkin block is a big square.

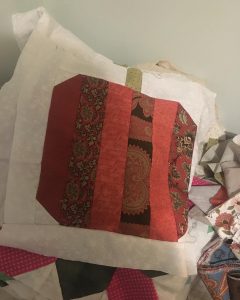
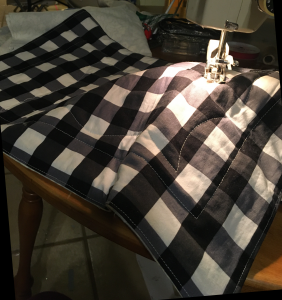
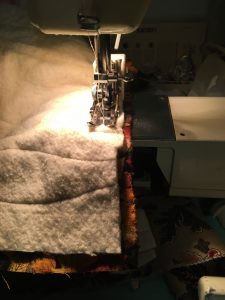
Step 3 – Quilt the Block
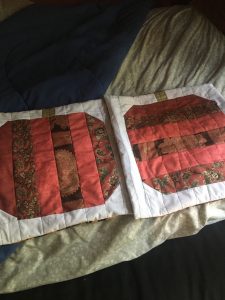
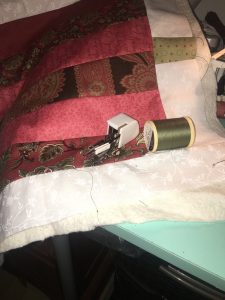
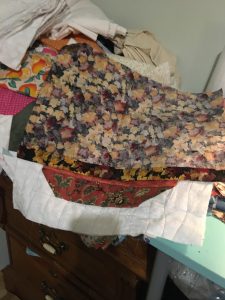
Now it’s time to quilt the block. Cut a piece of batting slightly larger than the block and pin it in place. Quilt as desired. For these, I used a walking foot, green contrasting thread, and sewed wavy lines on one and straight lines on the other.
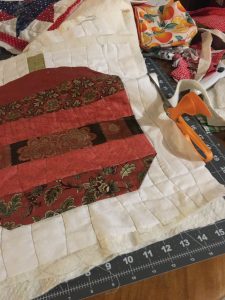
Trim
Step 4 – Turn it into a Pillow Cover
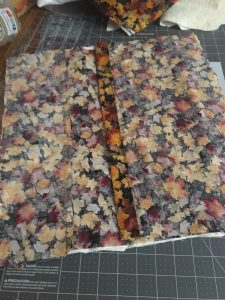
Cut the back fabric into two pieces, iron one edge of each back piece down 1/4 in. and then again 1 1/2 inches, and sew.
Set back pieces face down on top of the pumpkin block so that the sewn edges are overlapping by about 4 inches. Trim the bottoms and sides so that it is a square ready to be sewn all the way around right sides together.
Sew and then trim the corners.

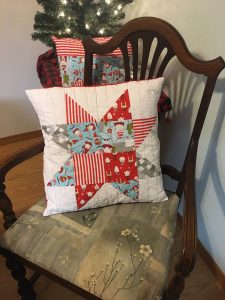
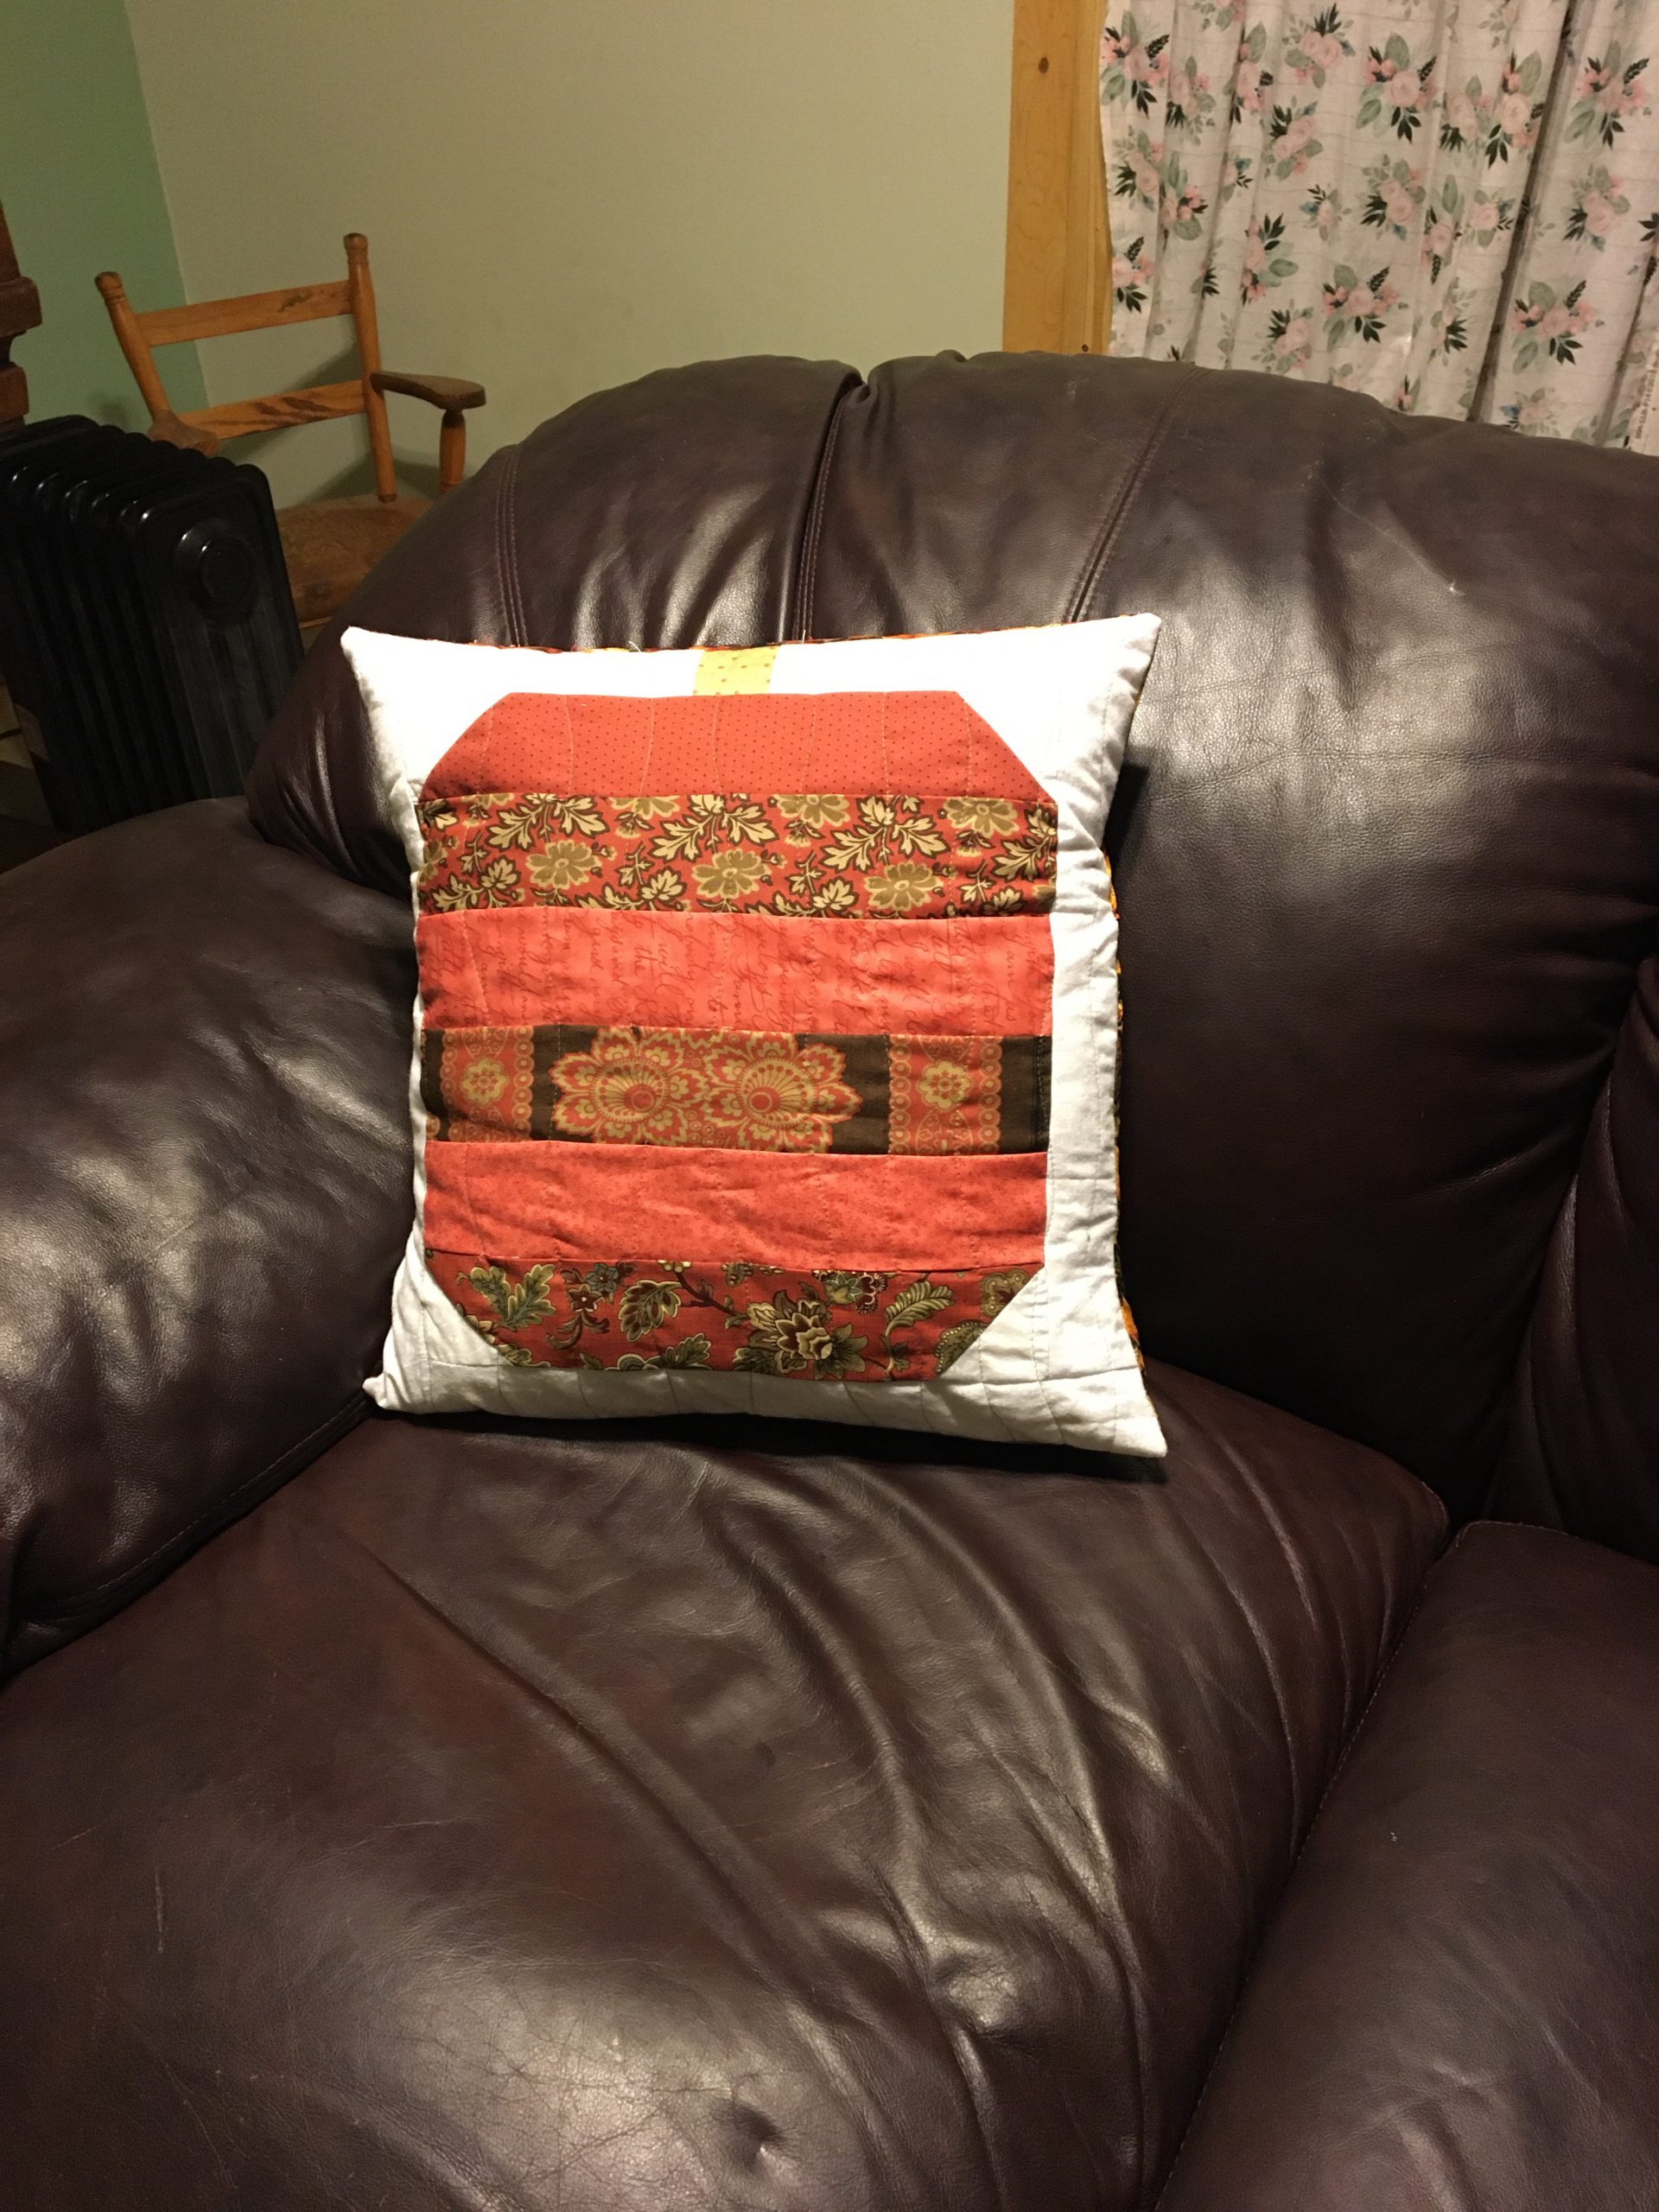
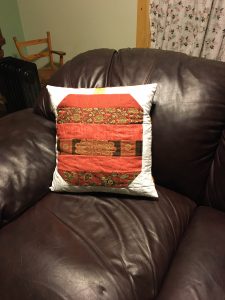
Turn right side out and push out the corners- you’re done! Put in a pillow form and enjoy your hard work!