- Sewing Level: Beginner
- Time: 20 minutes
- Materials: coordinating fabric, cotton batting, thread, sewing machine, cutting mat or scissors
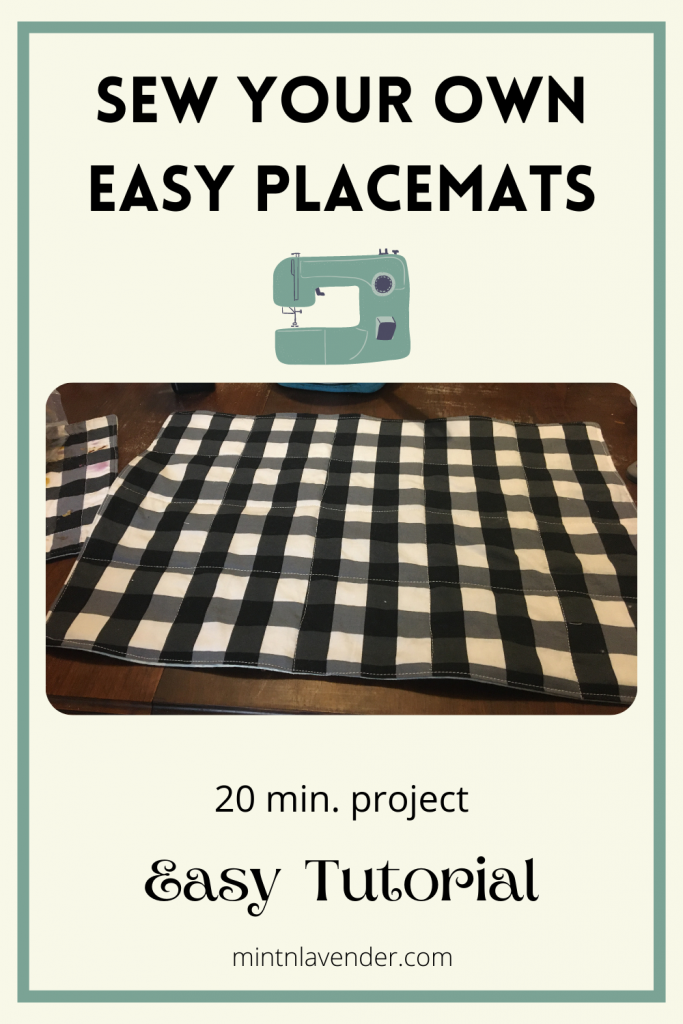
Placemats are such a great project, they don’t take long, and it feels great to finish something quickly. We got a new table and didn’t want to hide it under a tablecloth, but we still needed to protect the table. Placemats for the win!
First I did some research and watched this very helpful video:
I figured the placemats would also be great for practicing different quilting styles. In the end, straight lines are my favorite.
Step 1 – Gather Fabric and Cut
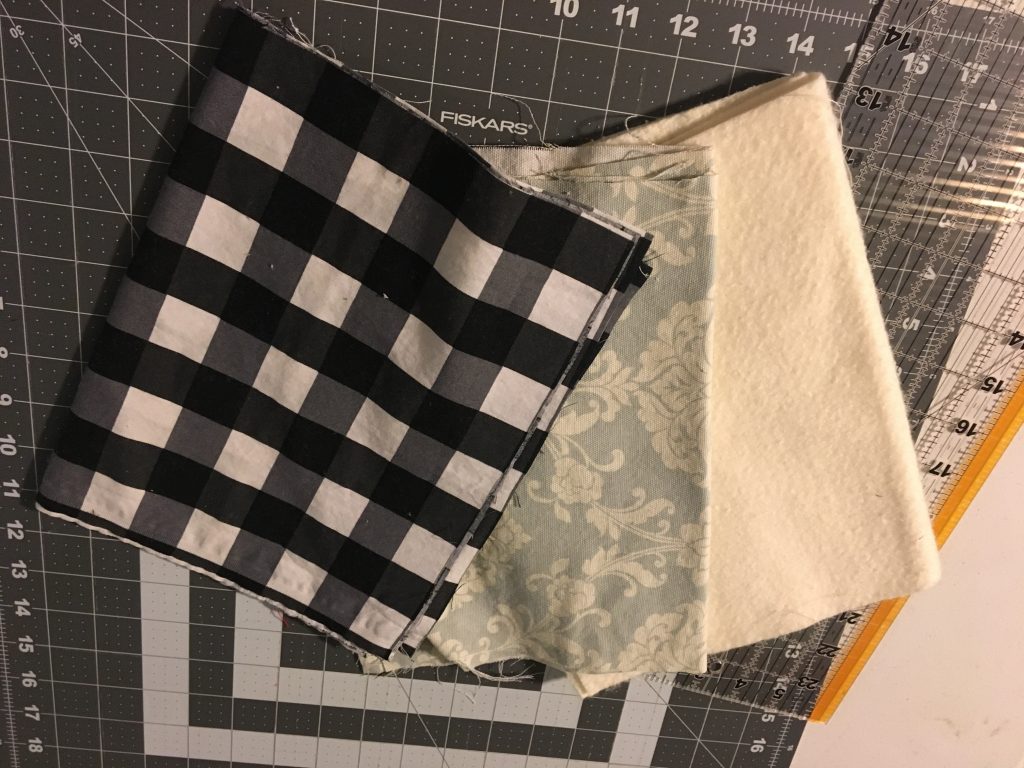
Anyway- the next step is to choose the fabric- I chose a light teal and cream floral for one side and black buffalo check for the other.
Then I had to cut them out, plus the cotton batting:
My first set of placemats ended up being too small and my 2nd set ended up being too large, but we are using all of them. My next set will be 9 X 13 inches.
Step 2 – Sew
The next step is to sew the batting to the wrong side of one fabric.
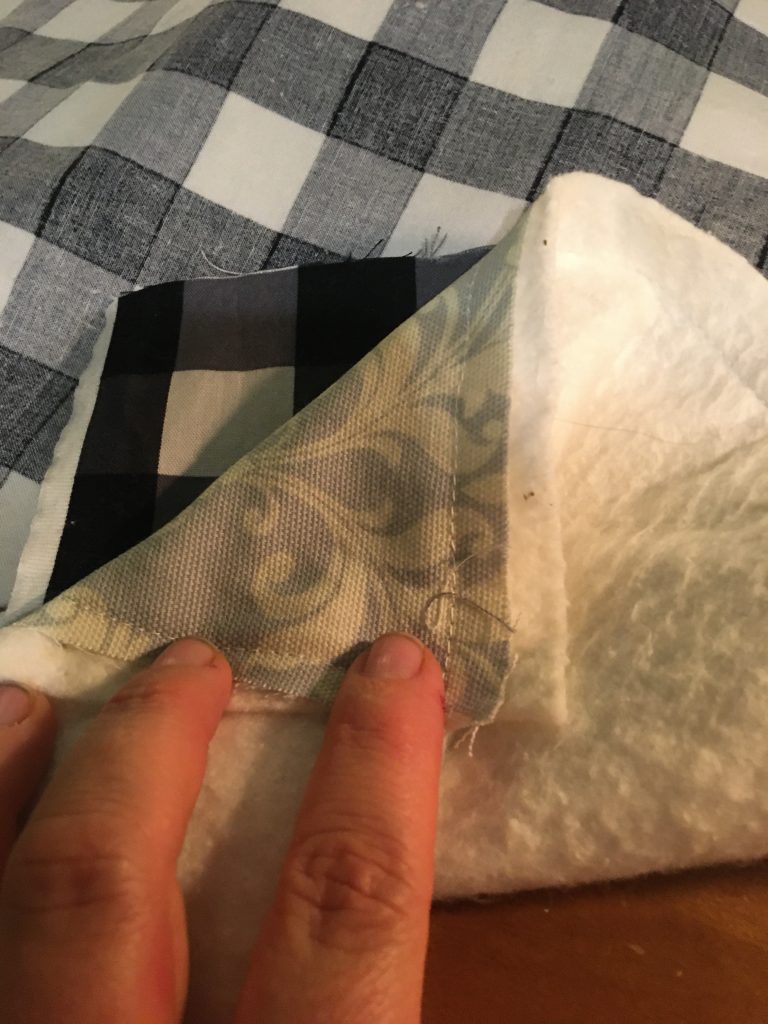
Then sew the 2 pieces right sides together, leaving an opening for turning.


Step 3- Turn Out and Stitch
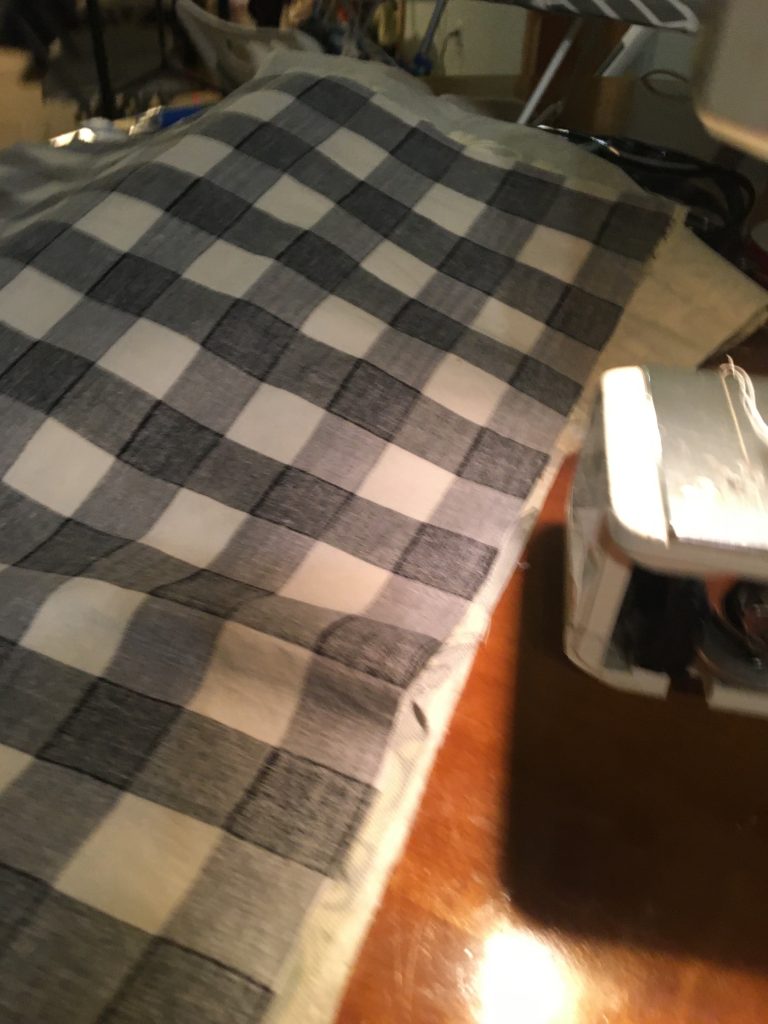
Turn the placemat right side out, make sure the corners and edges are the way you want them – all pressed out
Then stitch all the way around the edge, including the opening, sealing it shut.
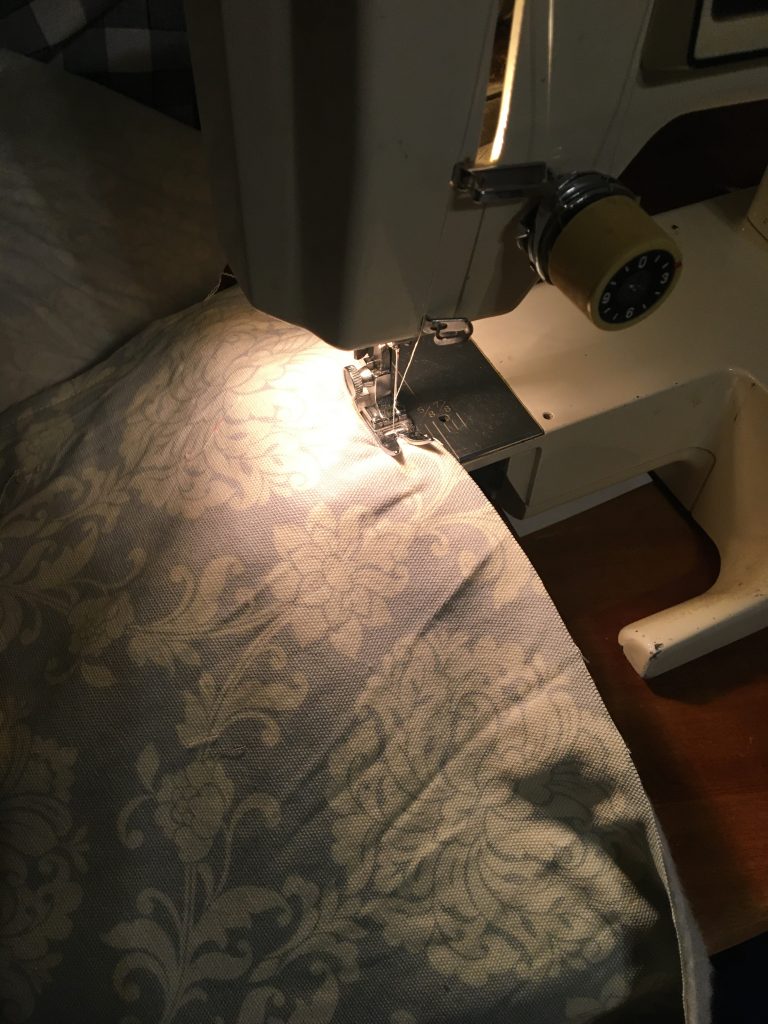
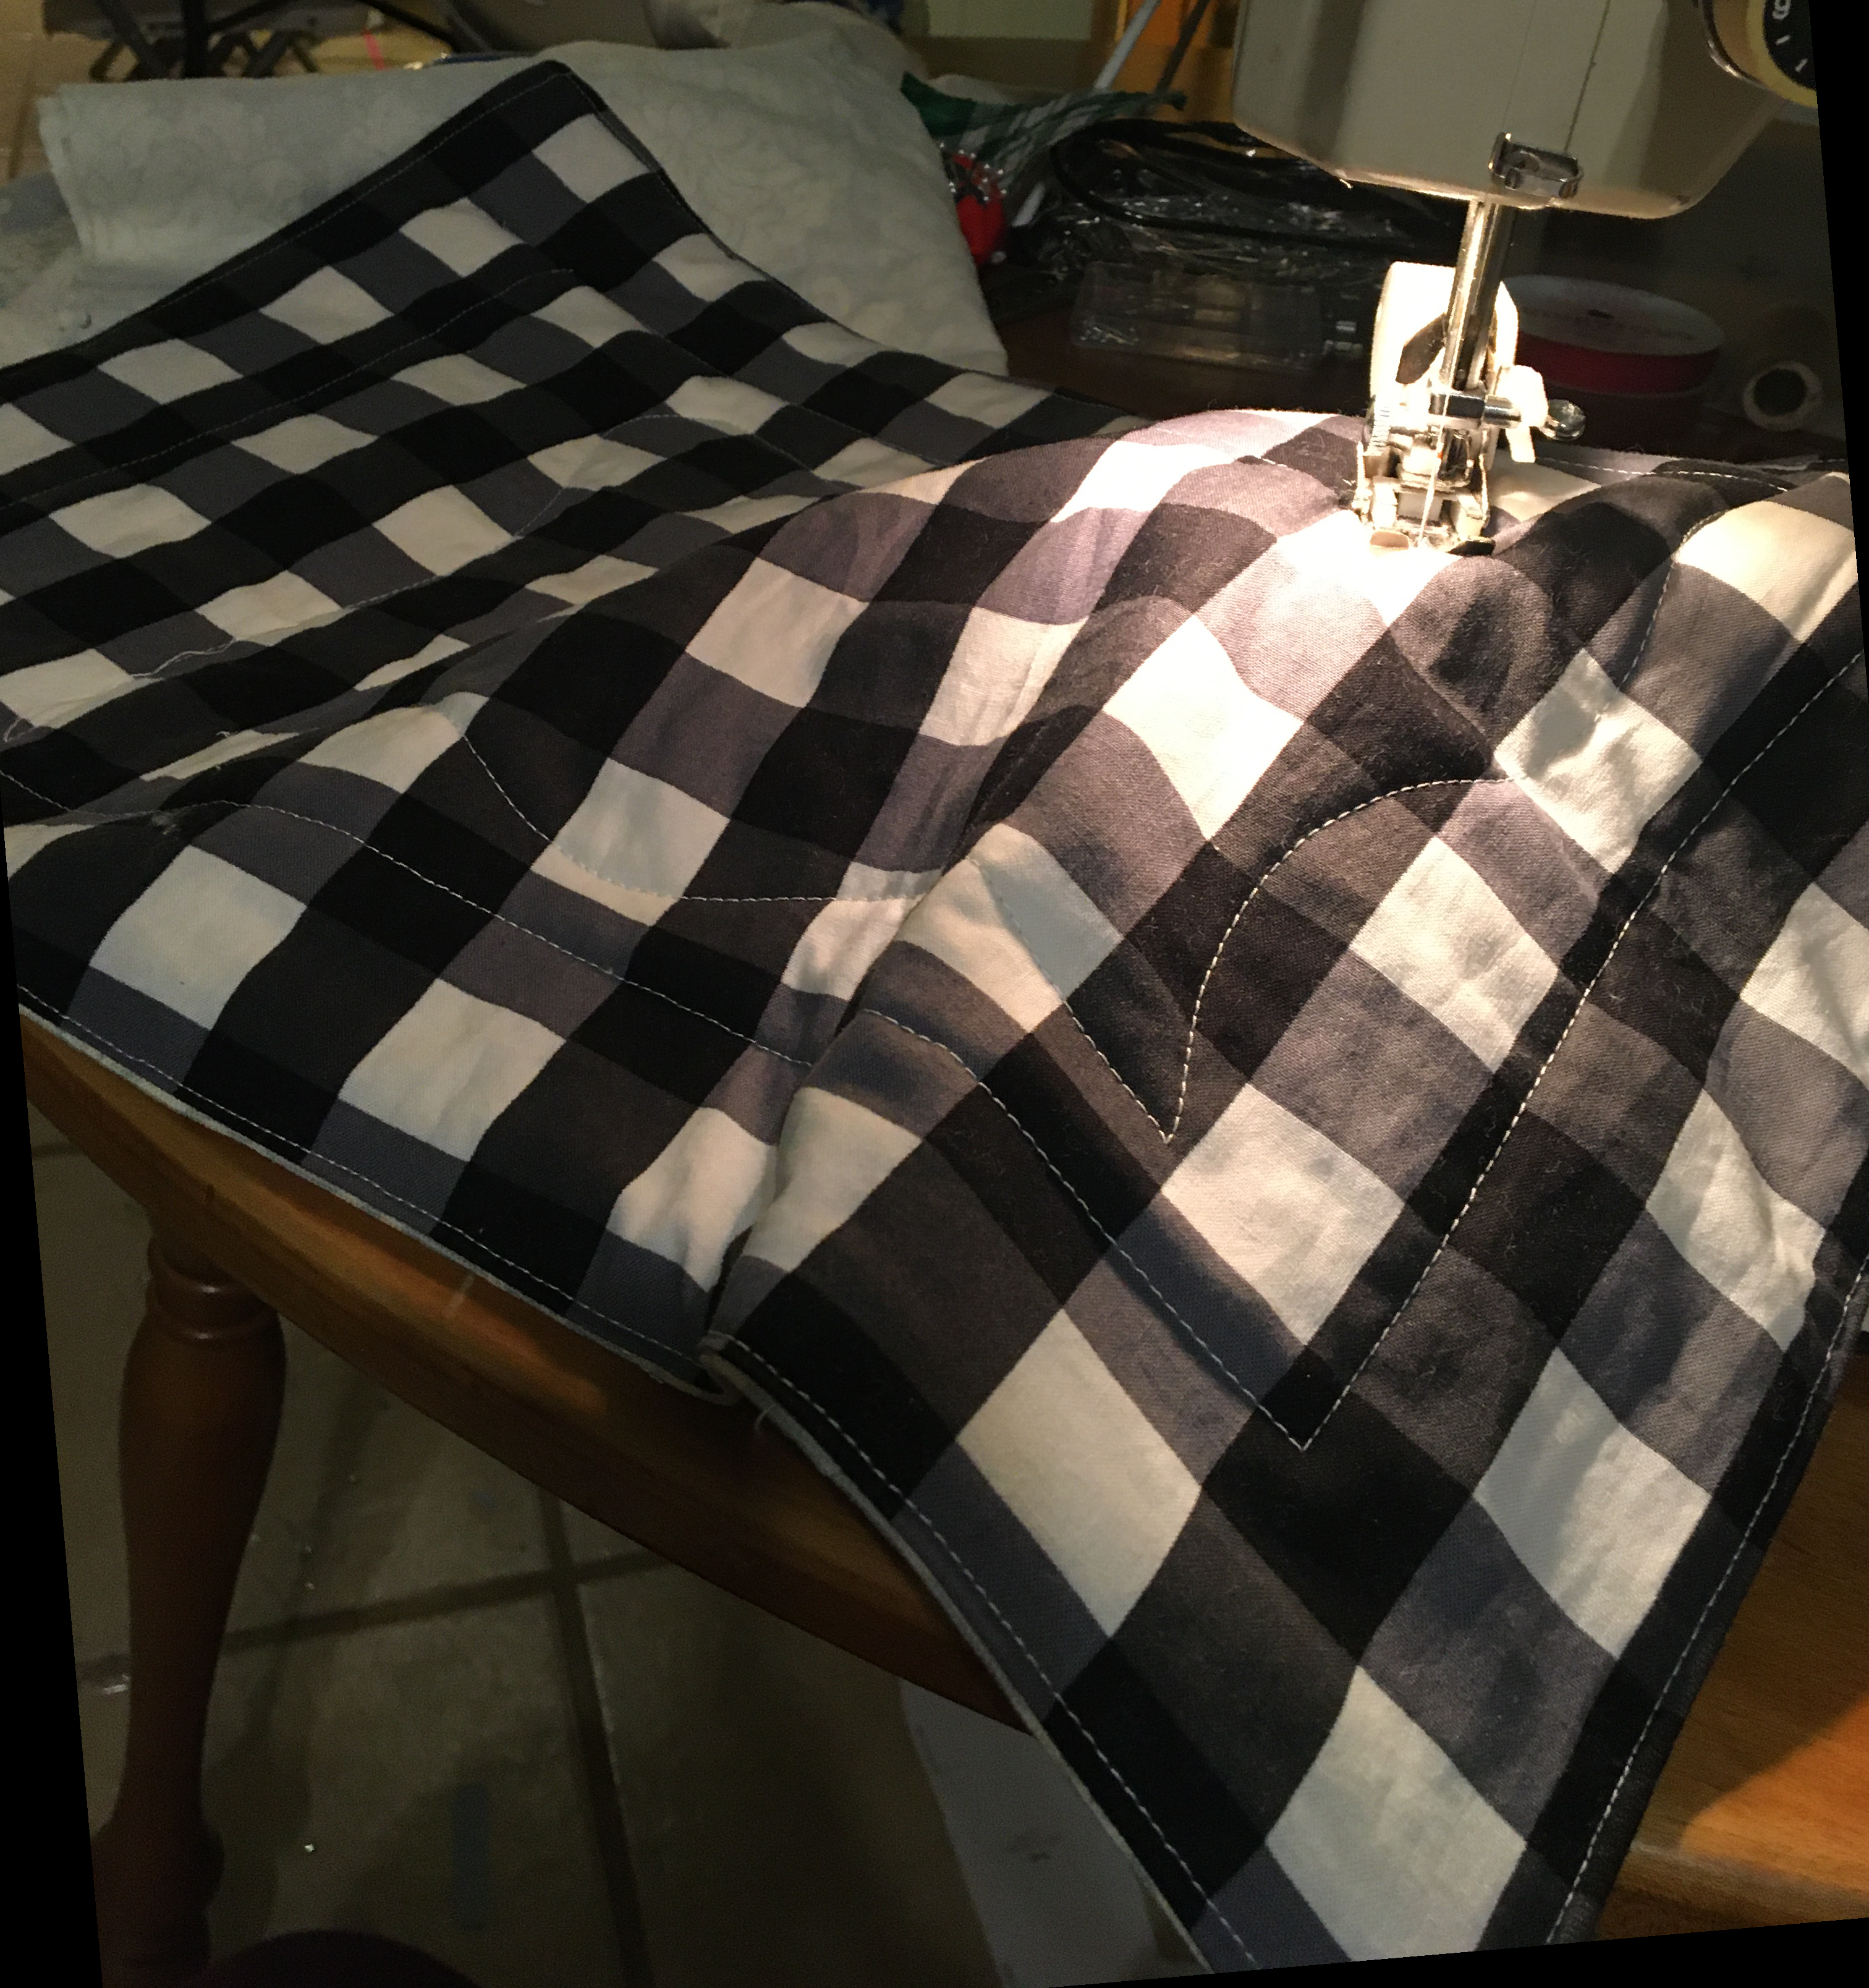
Step 4 – Quilt
Now you can quilt it in whatever quilting design you choose. I prefer using a walking foot, it just makes nicer smoother lines. My favorite quilting pattern for these placemats is just straight lines going across and down every 3 inches.

Finished!
You’re done! These placemats do great in the washer. Enjoy! Happy Sewing!