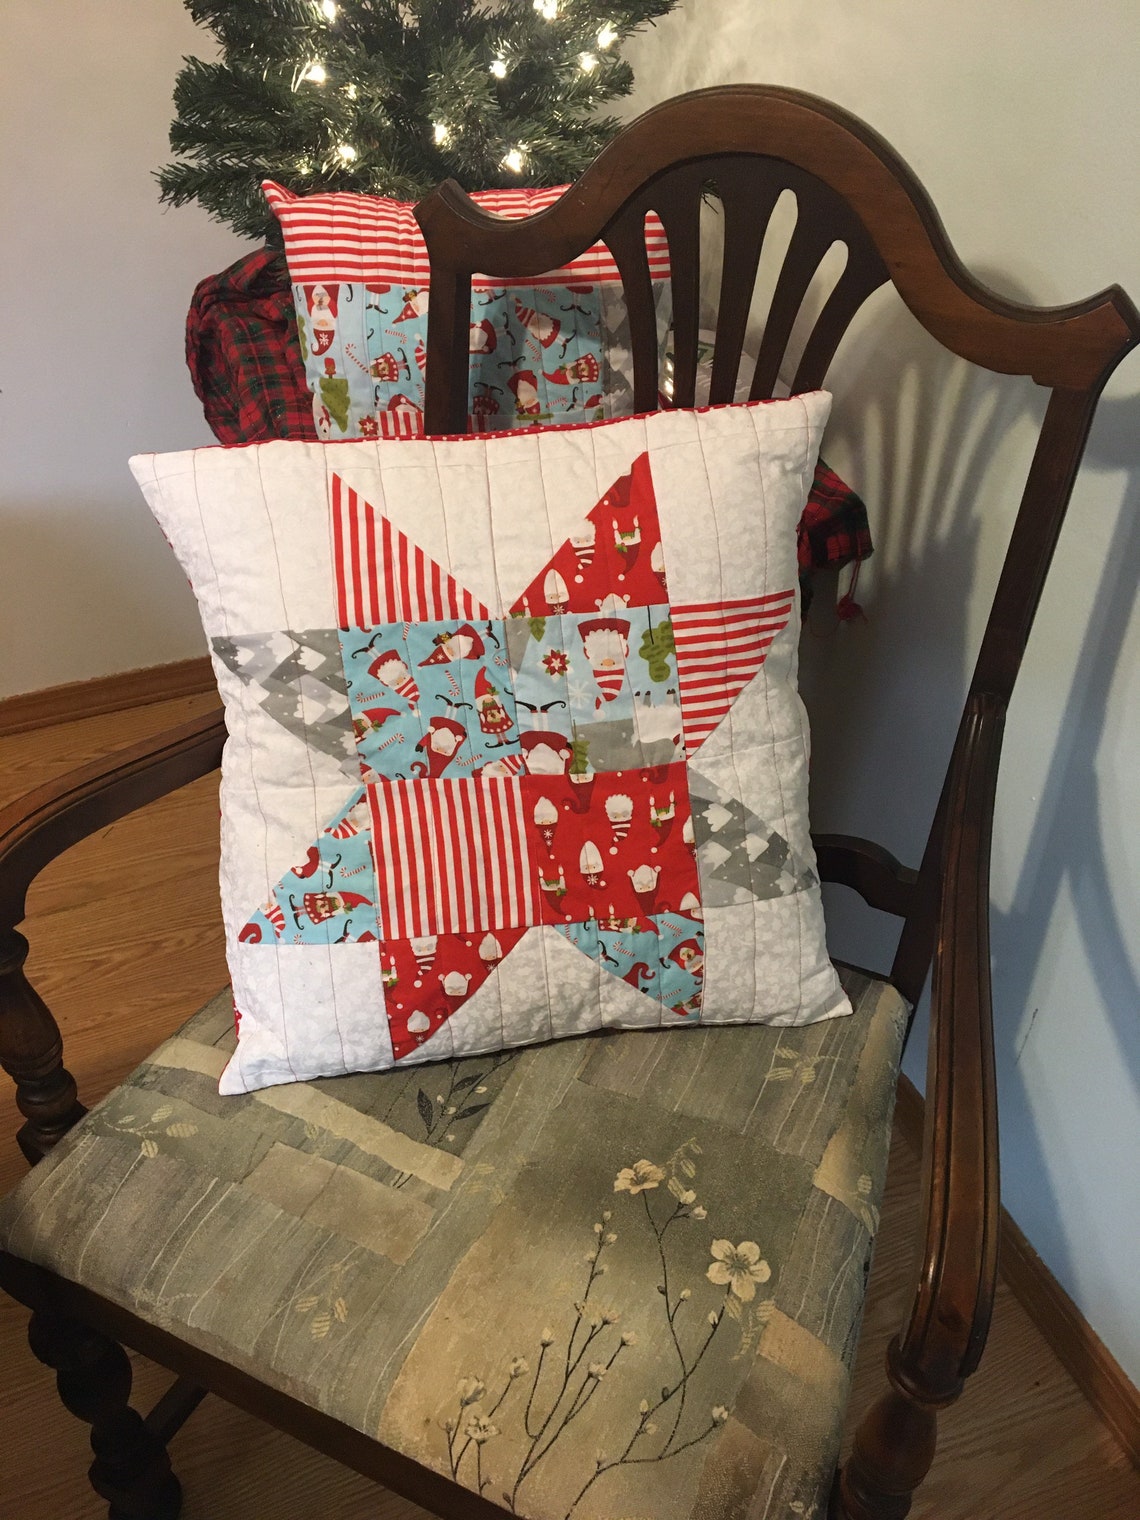
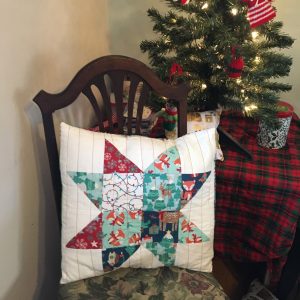
I love making this block with all different Christmas fabrics. I even sold a few of these on etsy last Christmas. They are really fun to make and make a really nice gift!
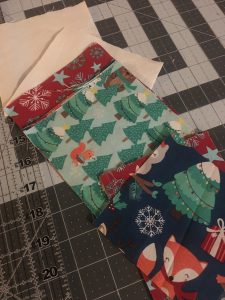
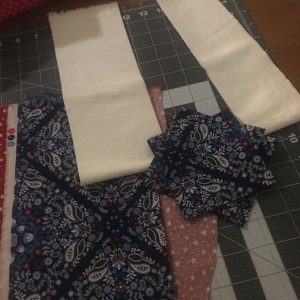
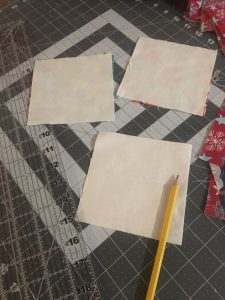
Gather your materials and Cut the fabric:
- 4 coordinating fabrics for the star – about 5 ” inches wide – you will cut 4 – 5″ squares and 4 – 4 1/2″ squares for each pillow
- 8″ of background fabric – you will cut 4 – 5″ squares and 4 – 4 1/2″ squares for each pillow, and then 2- 1 1/2 x 36″ inch strips to border the star
- a little less than 1/2 yard of fabric for the back of the pillow
- 20″ inch square of warm and natural cotton batting
- thread, sewing machine, scissors, rotary cutter, walking foot
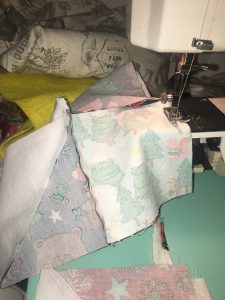
Step 1 Make Half Square Triangles
The first step after cutting, is to make half square triangles (HST) with the 5″ star and background fabric squares. First draw a diagonal line on the back side of the lighter fabric square for each HST set. You then put these squares together with the right sides together and wrong sides facing up. You will be sewing on the wrong side of the fabric 1/4″ inch away from the diagonal line you drew.
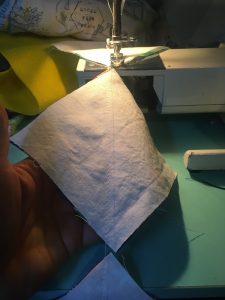
There is no need to lift up the presser foot between squares, just put the next up to sew and keep sewing. This is called chain stitching. Then cut along the diagonal line, open and iron flat – you just made 8 HST!
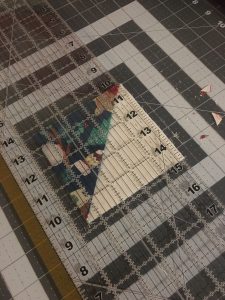
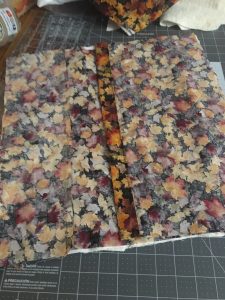
Trim the each HST to 4 1/2″ squares.
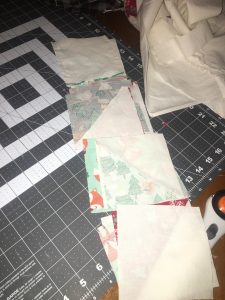
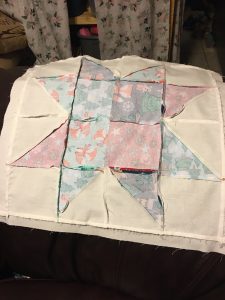
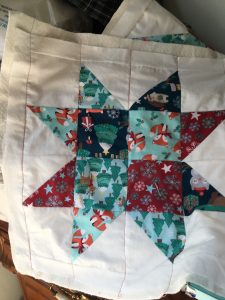
Step 3 – Lay out the Sawtooth block
You should have a total of 16 4 1/2″ squares- the plain background pieces should make up the 4 corners of the block and the coordinating patterned squares should make up the middle, the HST will make up the star points. Try to not let any of the same fabrics touch each other.

Place the squares on top of each other in order so that you sew them all the way you’ve laid them out.
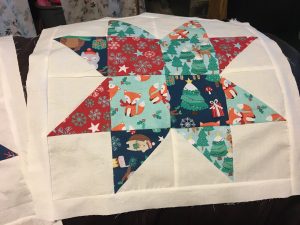
Now sew them together. The most efficient way I know is to utilize chain stitching and just keep running them through the machine sewing sqaures of the first row, then second row, third, and then 4th. Then complete the first row, second, etc. Finally sew the first and second rows together, followed by the third and fourth rows. Then sew the second and third rows completing the star block. It may help to keep a picture nearby so you can be sure you are sewing them in the right order!

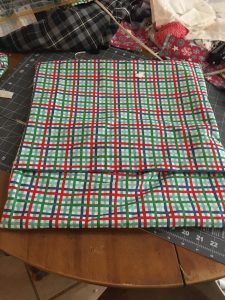
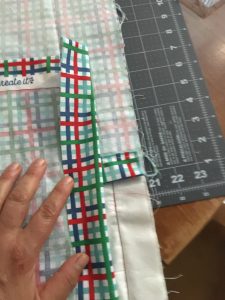
Open and iron the block out flat. Sew the strips to the outside of the block, making a frame. The finished size should be 18.5″ at this point.
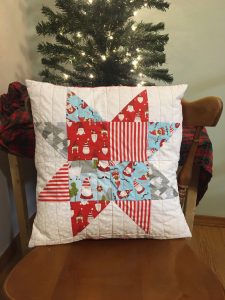
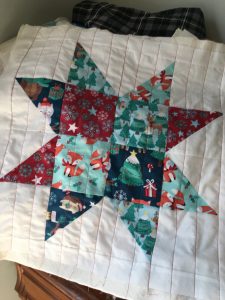
Step 4 – Quilt the Pillow top
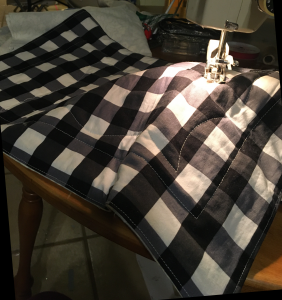
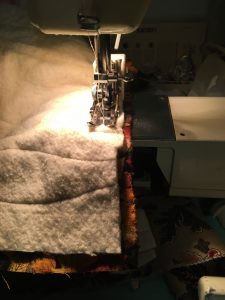
Smooth out the batting square and pin the sawtooth star block to it. The batting should be larger than the block since it may move some during the quilting process. Then using a walking foot ,quilt the pillow however you like.
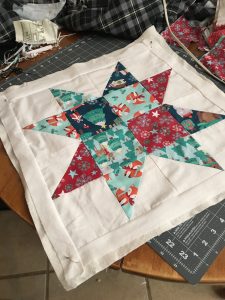

I used just straight lines along the seams of the rows and then somewhat evenly spaced lines between each square as shown.
Trim the batting so the front piece is all the same size.
Step 5 – Turn it into a pillow
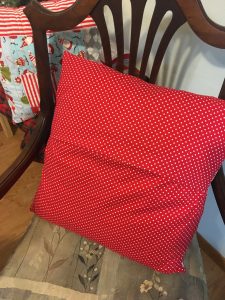
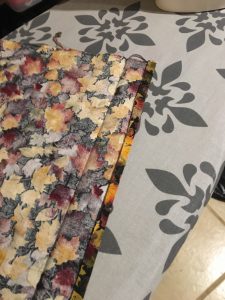
Cut the pillow backing fabric into 18.5 x 14 ” pieces. Iron one of the 18.5″ sides dow 1/4″ and again down 1″ on both pieces. Then sew in place. These will form the opening in the envelope closure of the pillow.
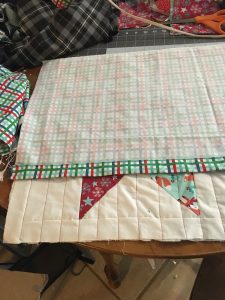
Set back pieces face down on top of the quilted sawtooth star block so that the sewn edges are overlapping by about 4 inches. Trim the bottoms and sides so that it is a square ready to be sewn all the way around right sides together. Trim the corners.

Step 5 – Finish
Turn the pillow right side out, put in a pillow form, and you are done! Enjoy your new festive pillow!