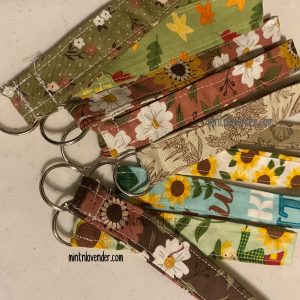

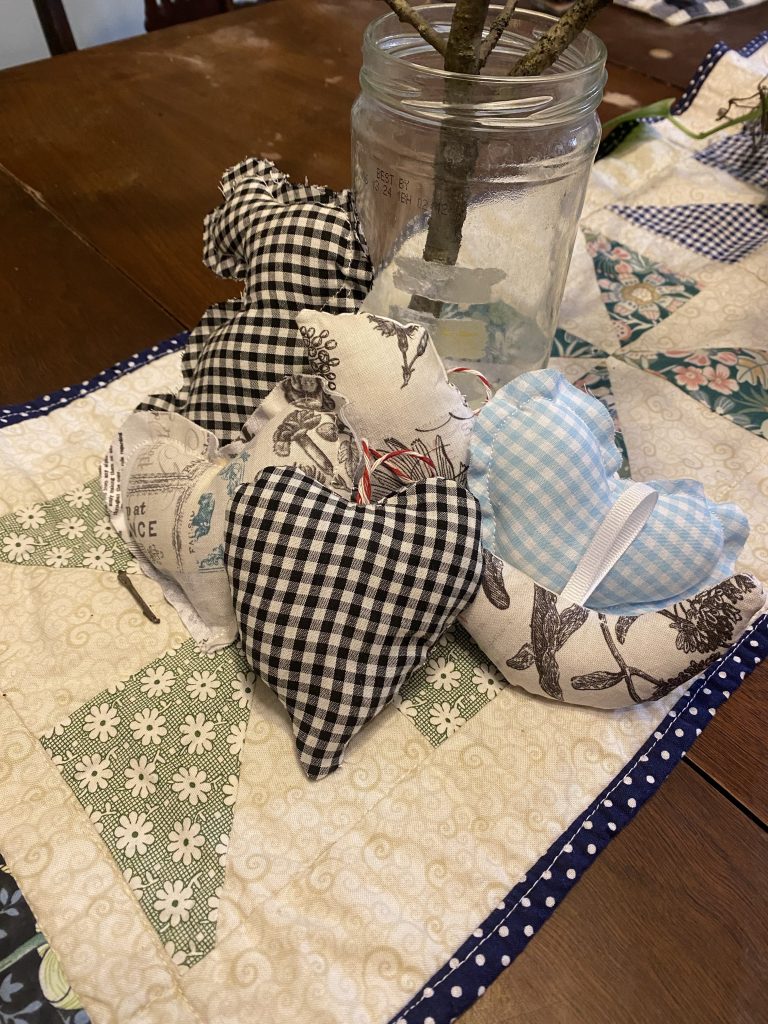
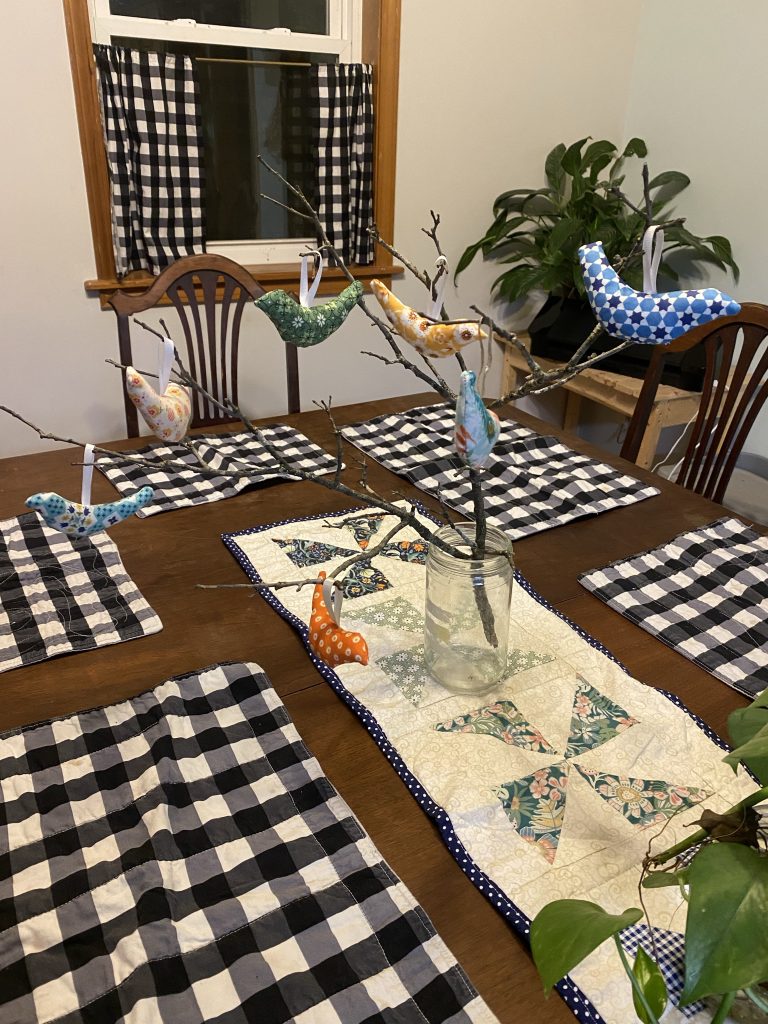
These are super easy mini pillows that can be used to decorate tiered trays or little baskets or given to toddlers to play with. You can add a ribbon to turn them into an ornament too!
All you need are some scraps of fabric, sewing machine, scissors, thread and poly-fil. You can also use fabric scraps from other projects for the filler and even old clothes or jeans to make your mini pillows for an eco friendly, recycling option!
Cut out Pattern Shapes
I’m working on getting a PDF done of the shapes I used for this project. But making your own pattern pieces is not that hard. For hearts, fold a piece of paper in half and cut out a heart shape just like in elementary school days! Open it up and you have symmetrical hearts! That”s all you need for the ragged edge pillows. For the pillows you plan to turn right side out, outline, the shape you just made 1/4″ away from the edge so that your final pillow is the side you want!
You will need two fabric mirror image fabric pieces for each pillow- fold your fabric so that you get mirror image pieces for each pillow, especially when cutting out the bird pieces.
Lay Out Pattern Pieces
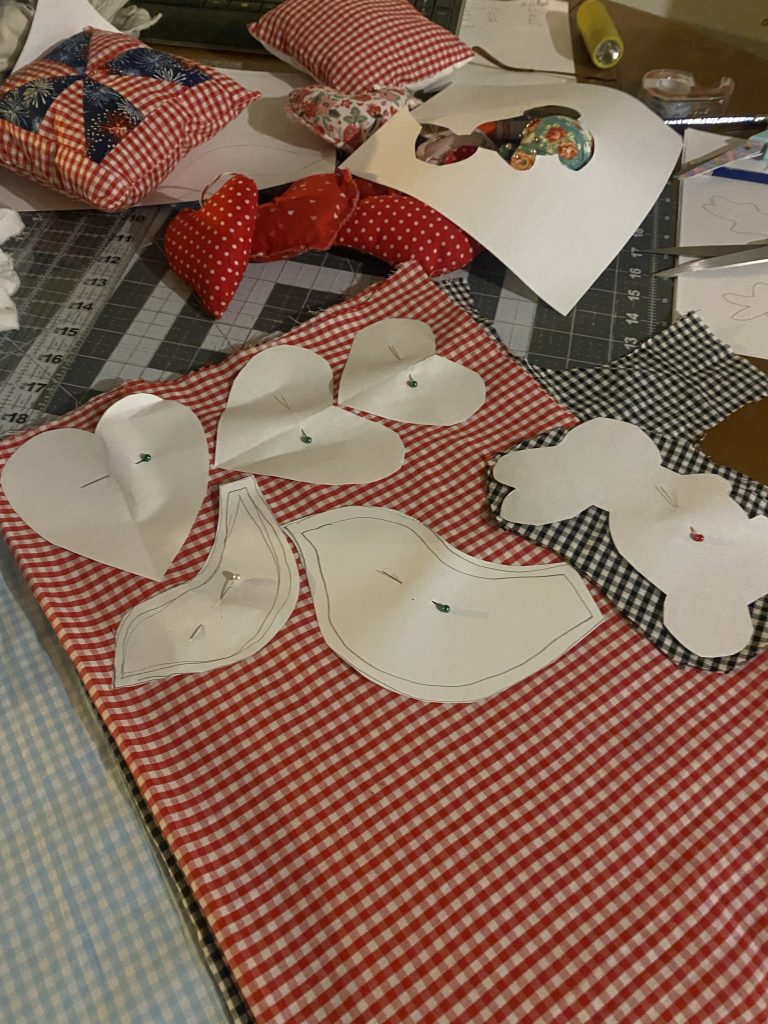
You can cut several thicknesses of fabric at once. Here I’ve layered 4 different fabrics and pinned the pattern pieces through all 8 layers. I will end up with two mirror image pieces of fabric for each ot the fabrics I chose.
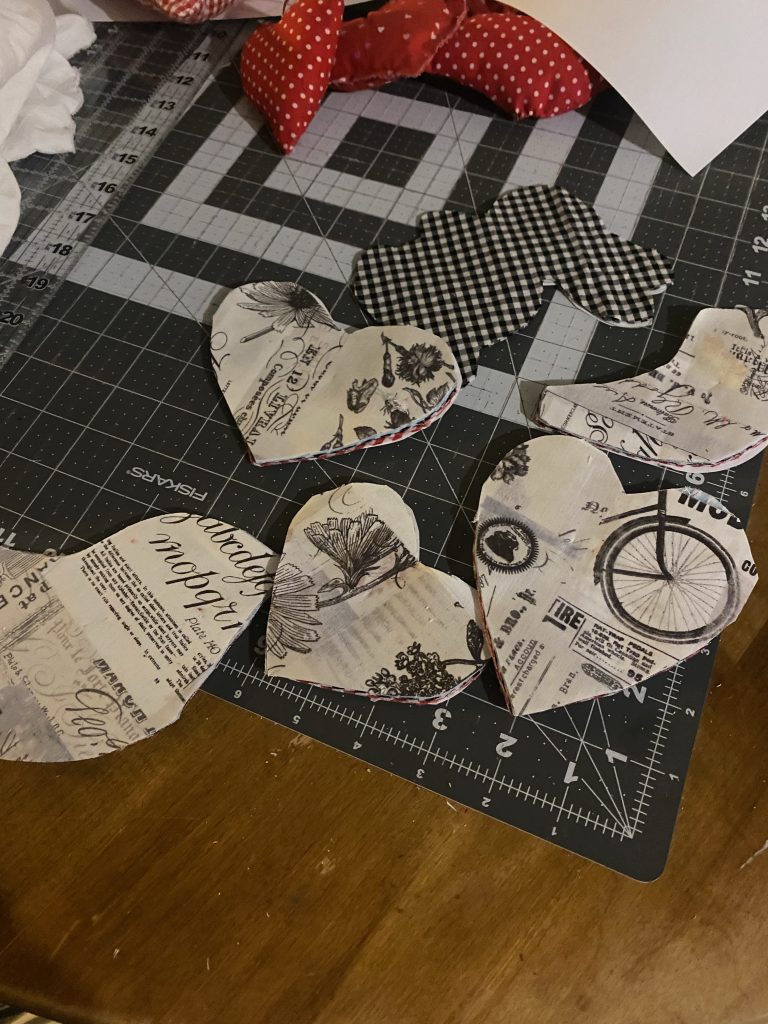
Cut out the Shapes
Then, using scissors, cut out the shapes. I like to cut around each shape to get a more manageable piece and then cut the fabrics right out.
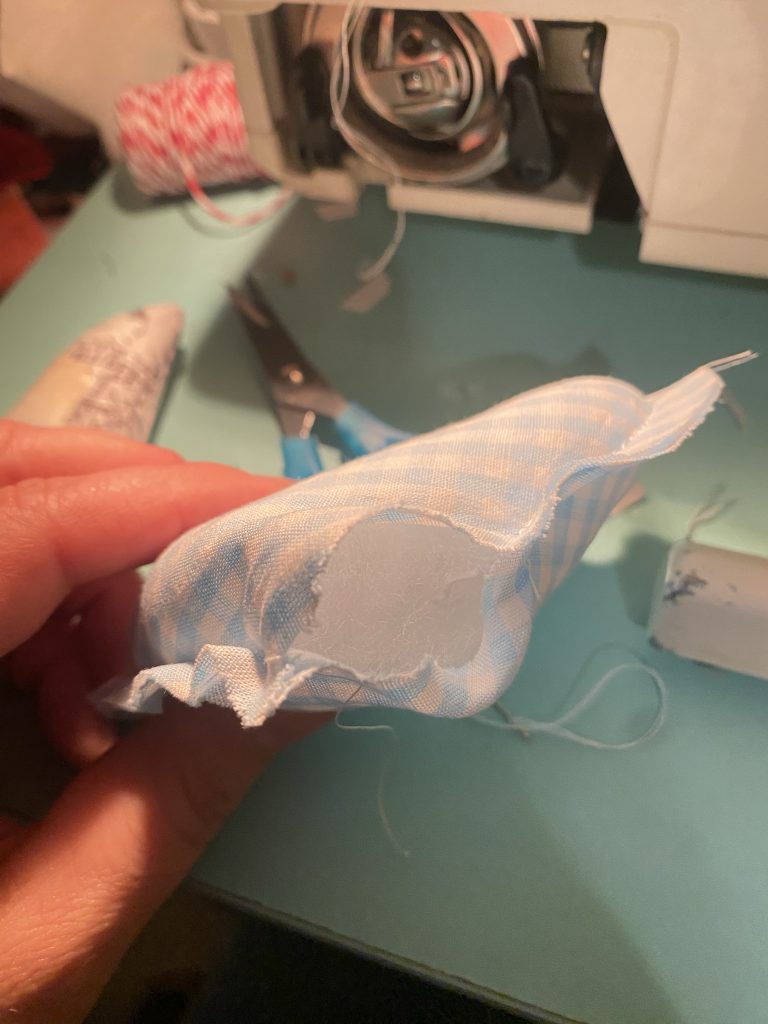
Ragged Edge Mini Pillows
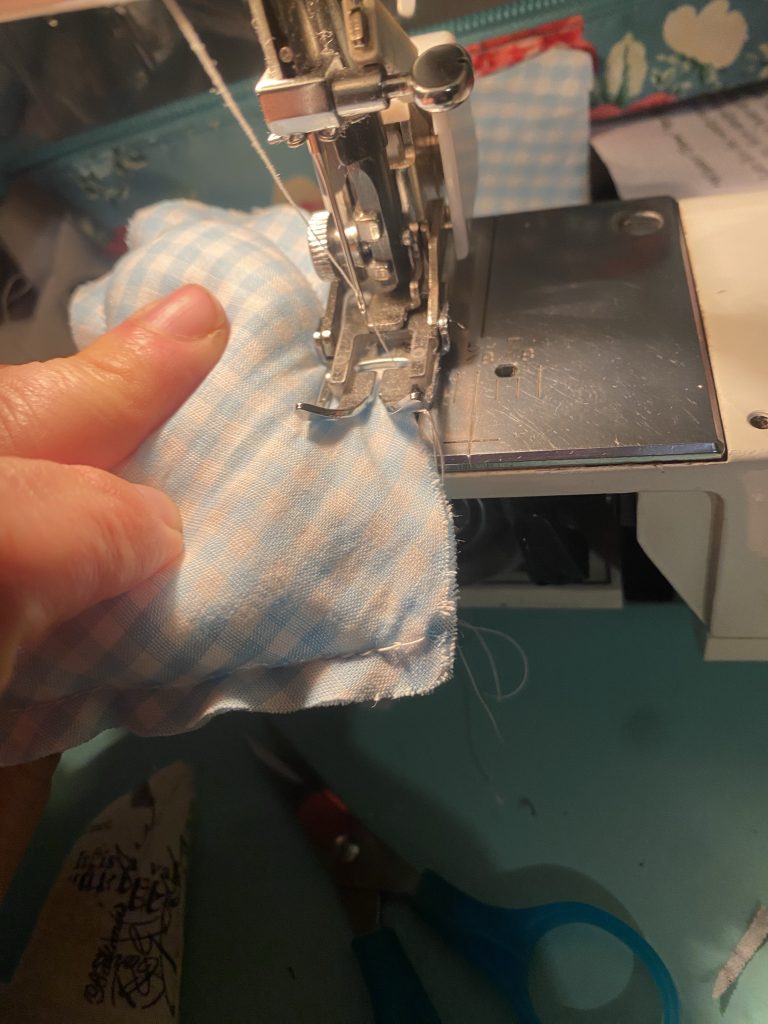
For the ragged edge mini pillows, all you have to do now is put your tw pieces with right sides facing out and stitch all around the edges leaving a small opening for the stuffing.
Stuff it through the opening, pushing stuffing into all the edges and corners.
Then using the sewing machine, stitch the pillow closed. And that style is all done!
Here are photos for thei same style but for a bunny pillow.
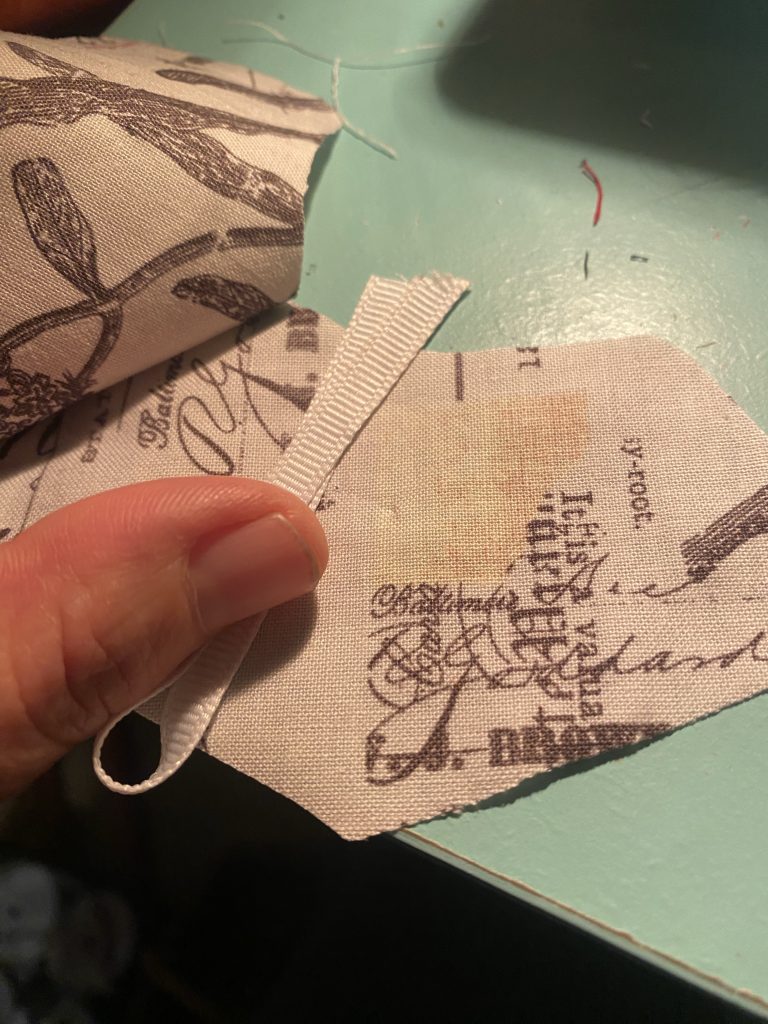
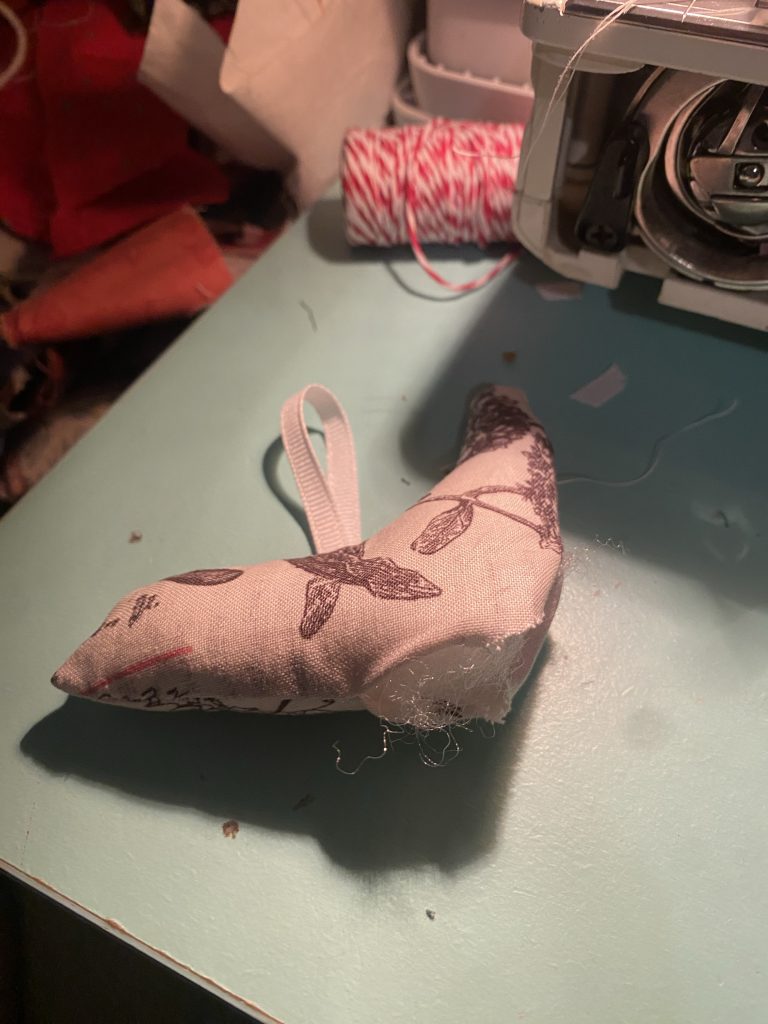
Stuffed, clean edge Pillows
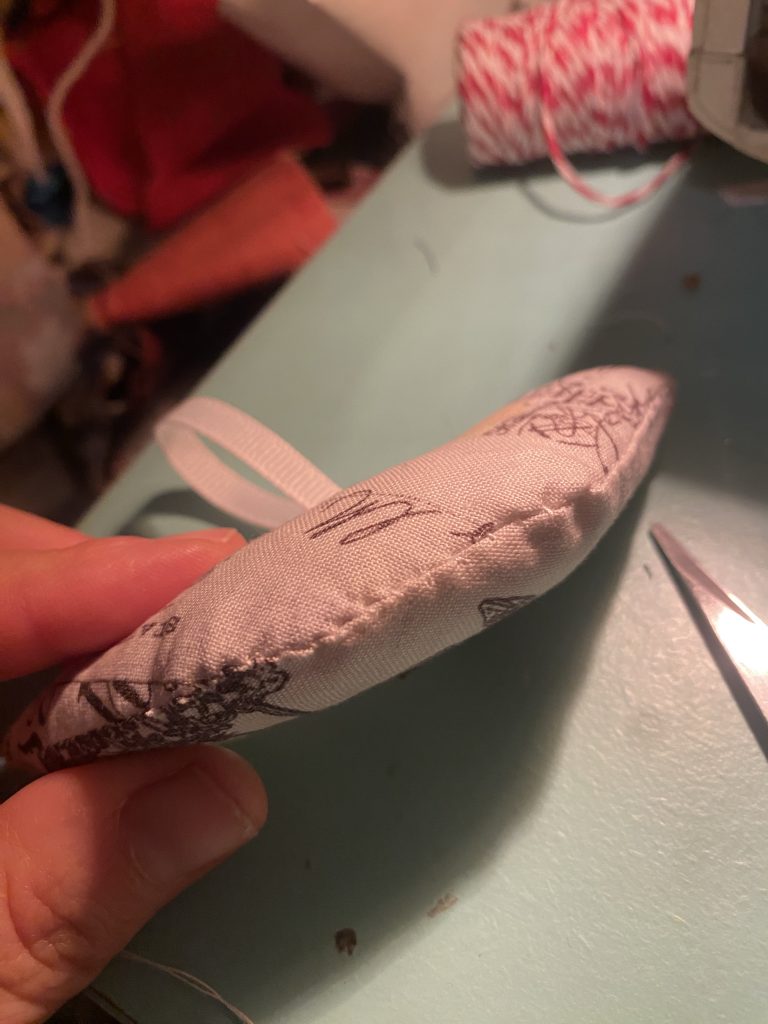
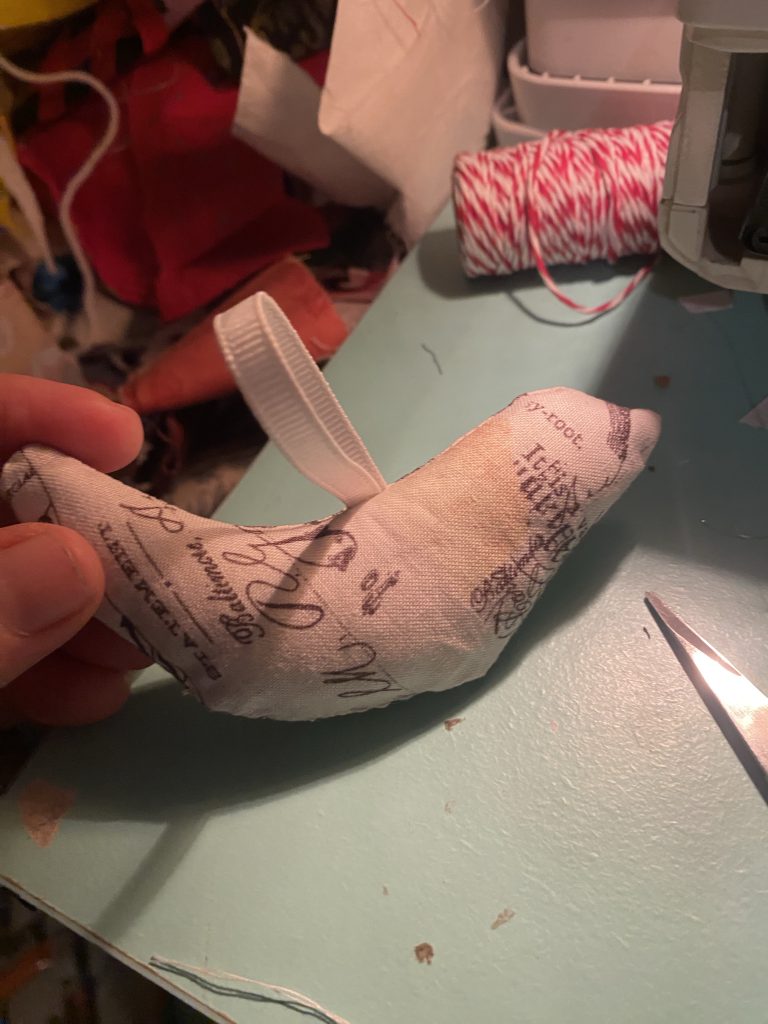
For these if you want to turn it into an ornament, sew the ribbon or string in place first.
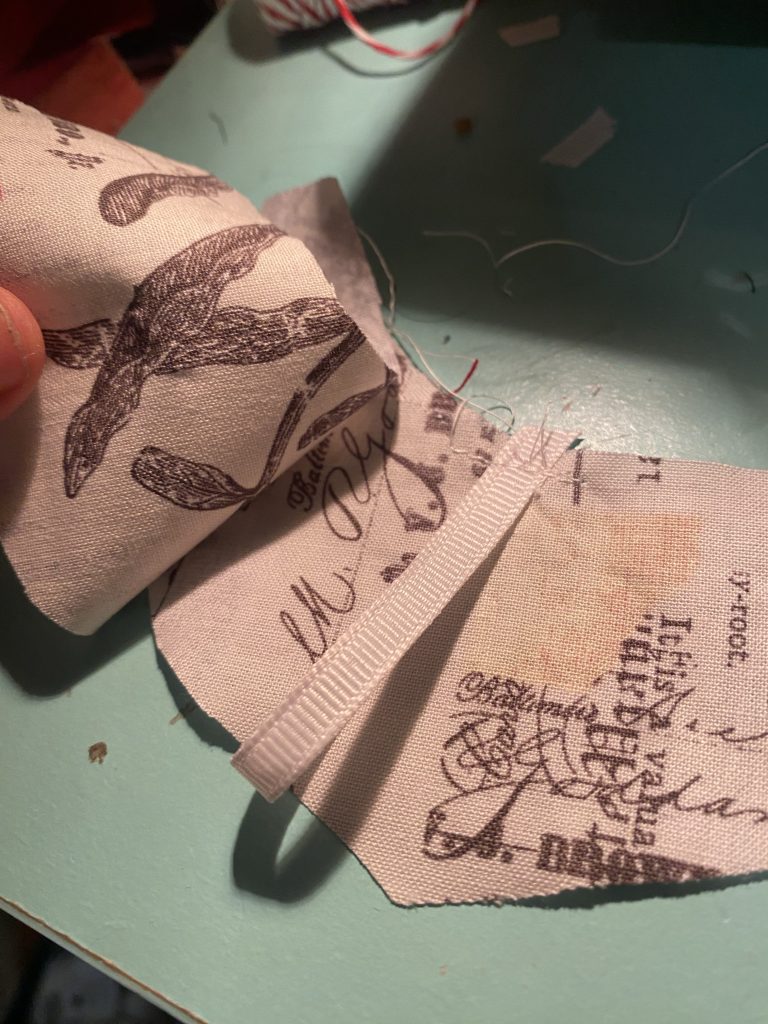
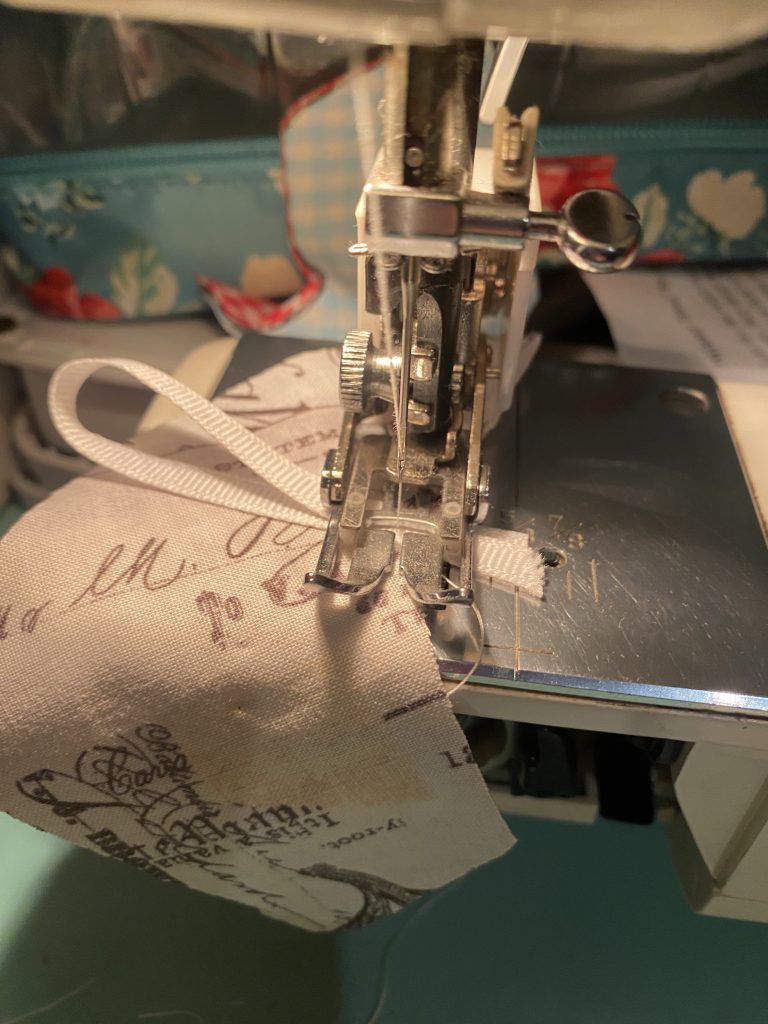
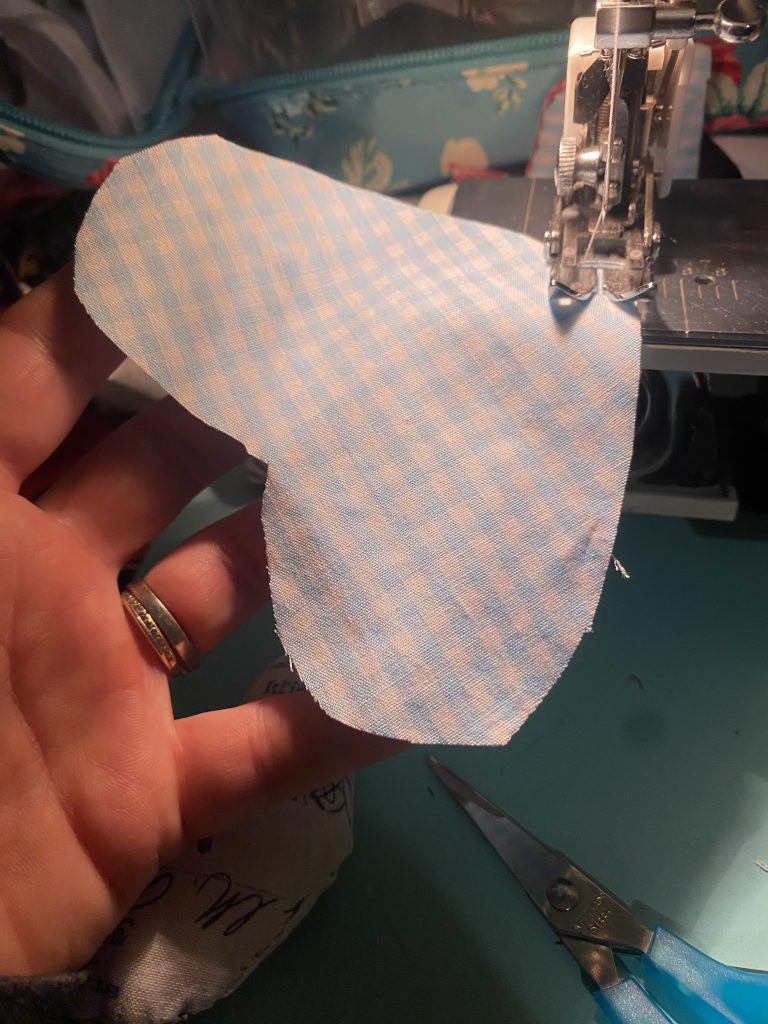
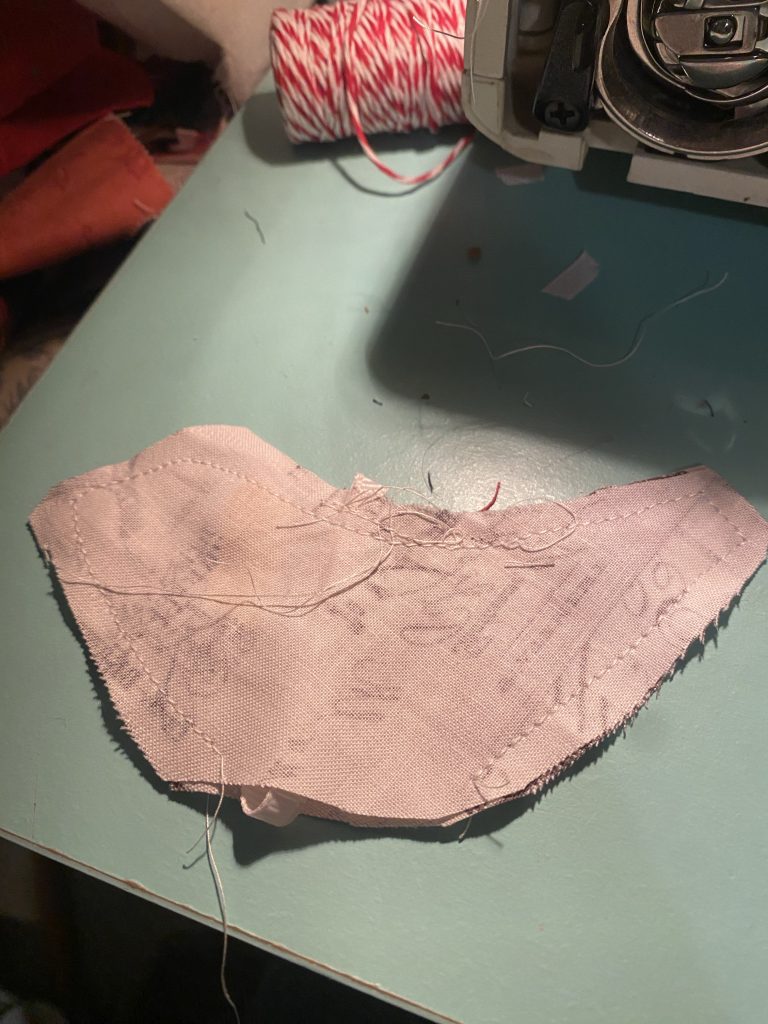
Then place the fabric pieces right sides together and stitch all around the edge leaving an opening at the bottom.
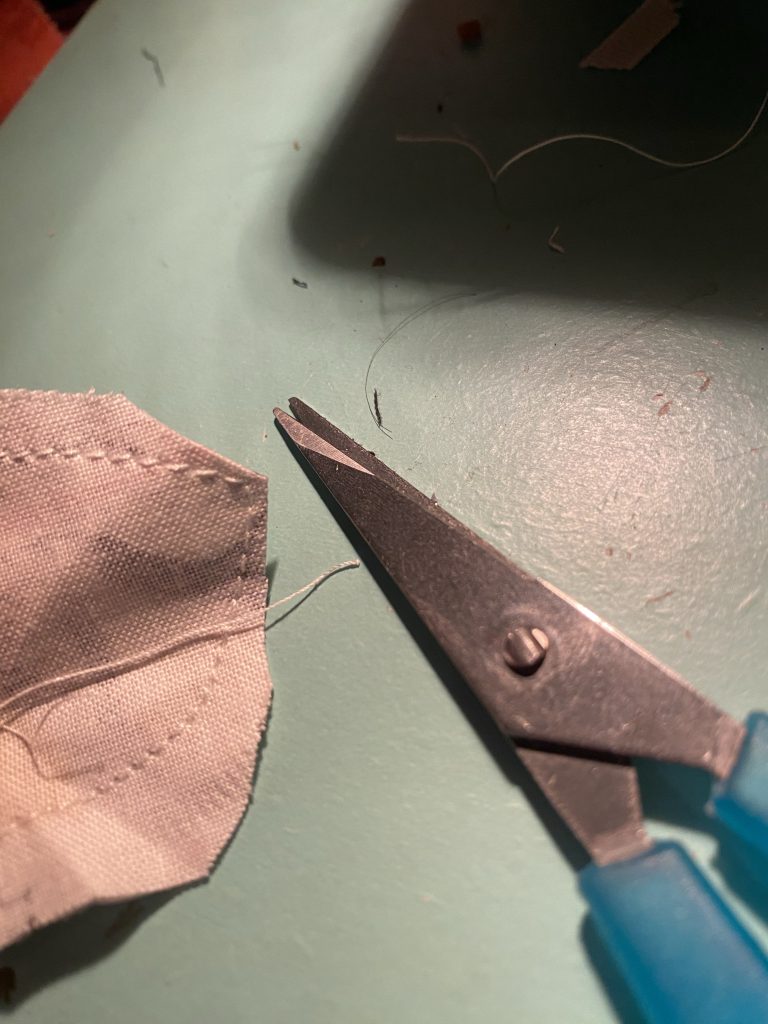
For the birds, I like to trim around the beak to reduce bulk for stuffing and to make the beak a little more pointy.
Turn right sides out and stuff
It helps to use a crochet hoo, knitting needle or even the sharp end of scissors to push out all the corners and edges to give the pillow a good shape before stuffing- just be sure to do it gently enough that you don’t poke a hole in the fabric!
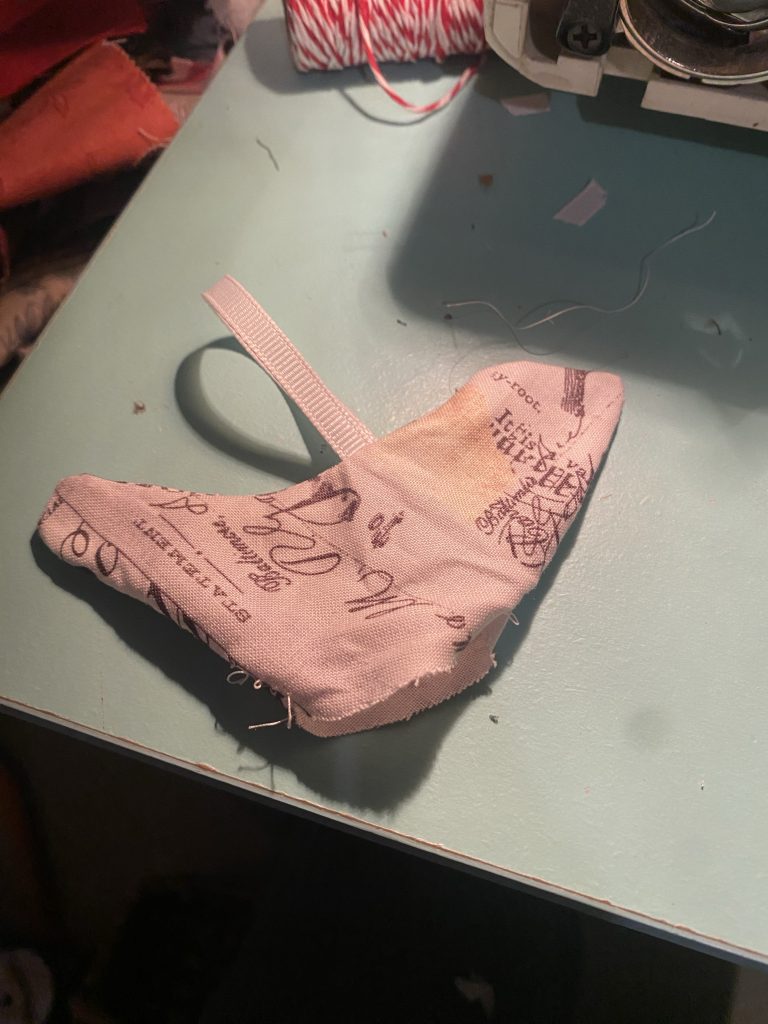
Then stuff, pushing the filling into all the edges and corners.
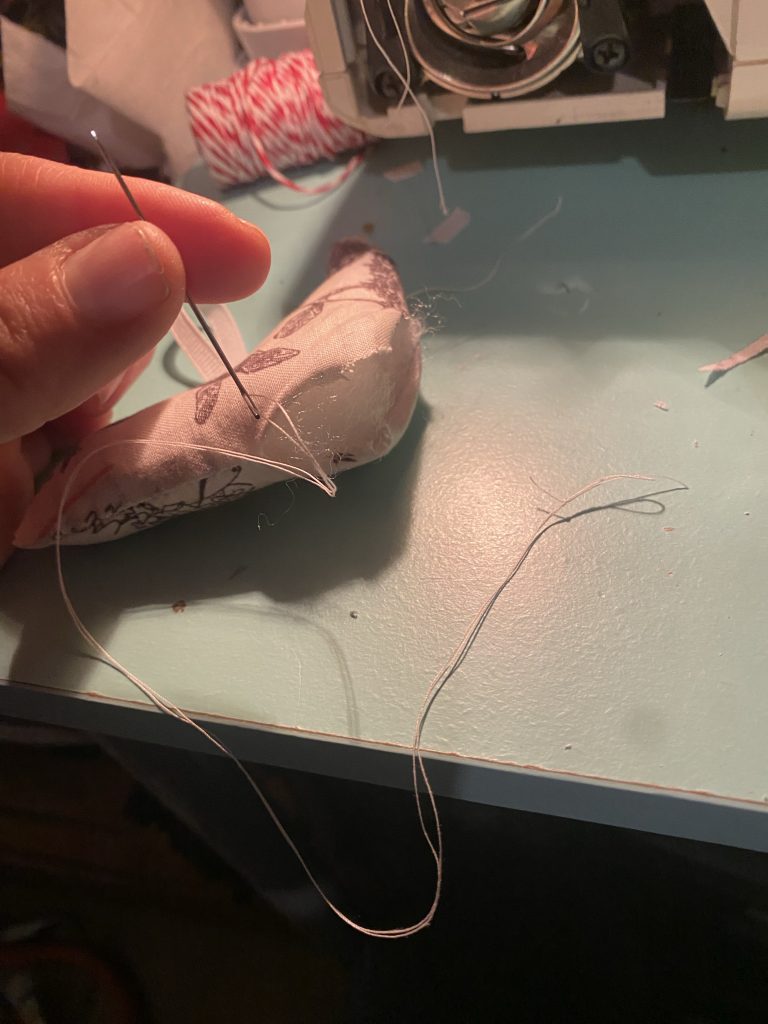
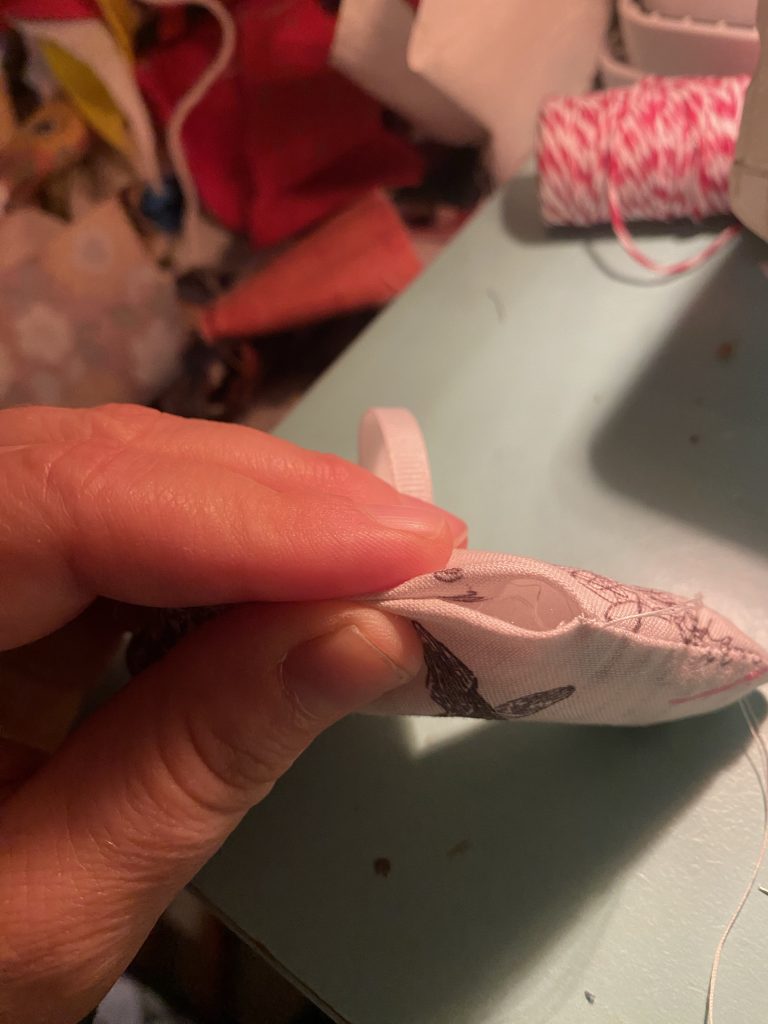
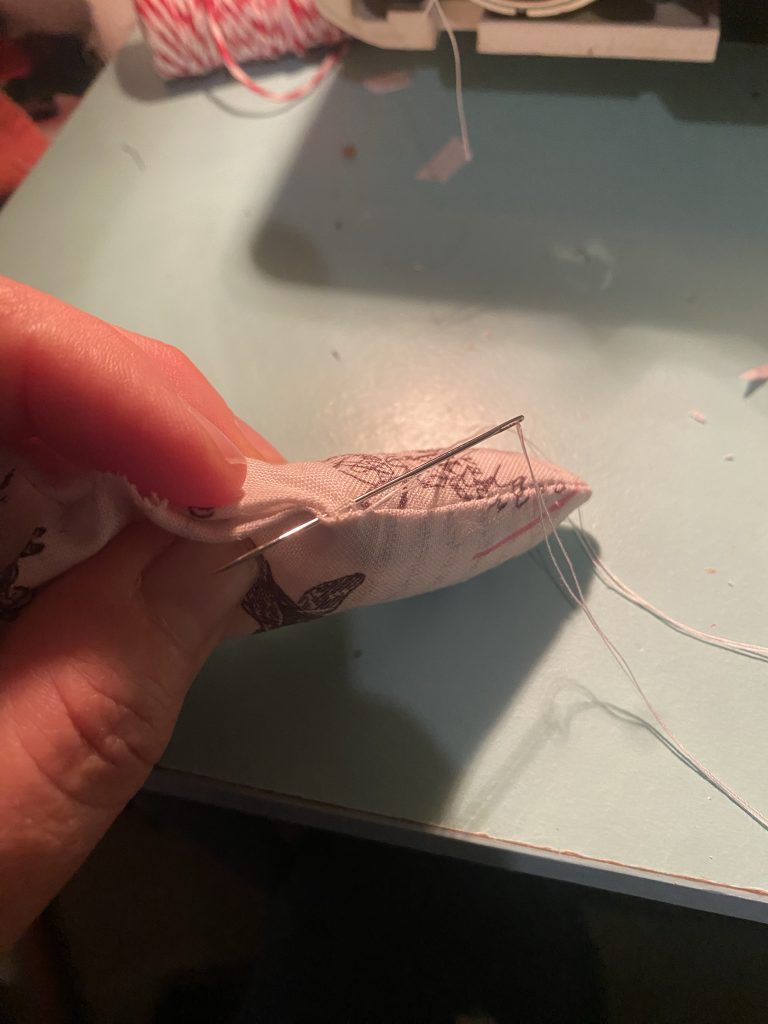
Stitch Opening Closed
This looks best with a slip stitch done by hand. I like to thread my needle with one strand of thread, but make it long enough to double it and tie a knot in the end. Then I bring it out through one of the edges of the opening and slip stitch all the way to the end of the opening.
All done!