The hardest part about this project is smoothing out the fabrics and getting them pinned. You can quilt on any regular sewing machine, but it is much easier if you use a walking foot. You can find them online or in sewing stores, just do a search.
- Skill Level – Beginner
- Time to finish- 3-5 hours
- Materials- 1 yard each of coordinating fabrics, 10 inches of fabric for the binding, 1/4 of a twin size cotton batting package
- thread
- sewing machine
- scissors
- safety pins
If you would like an easy to follow step by step printable and pretty PDF of this blog post, you can purchase it here:
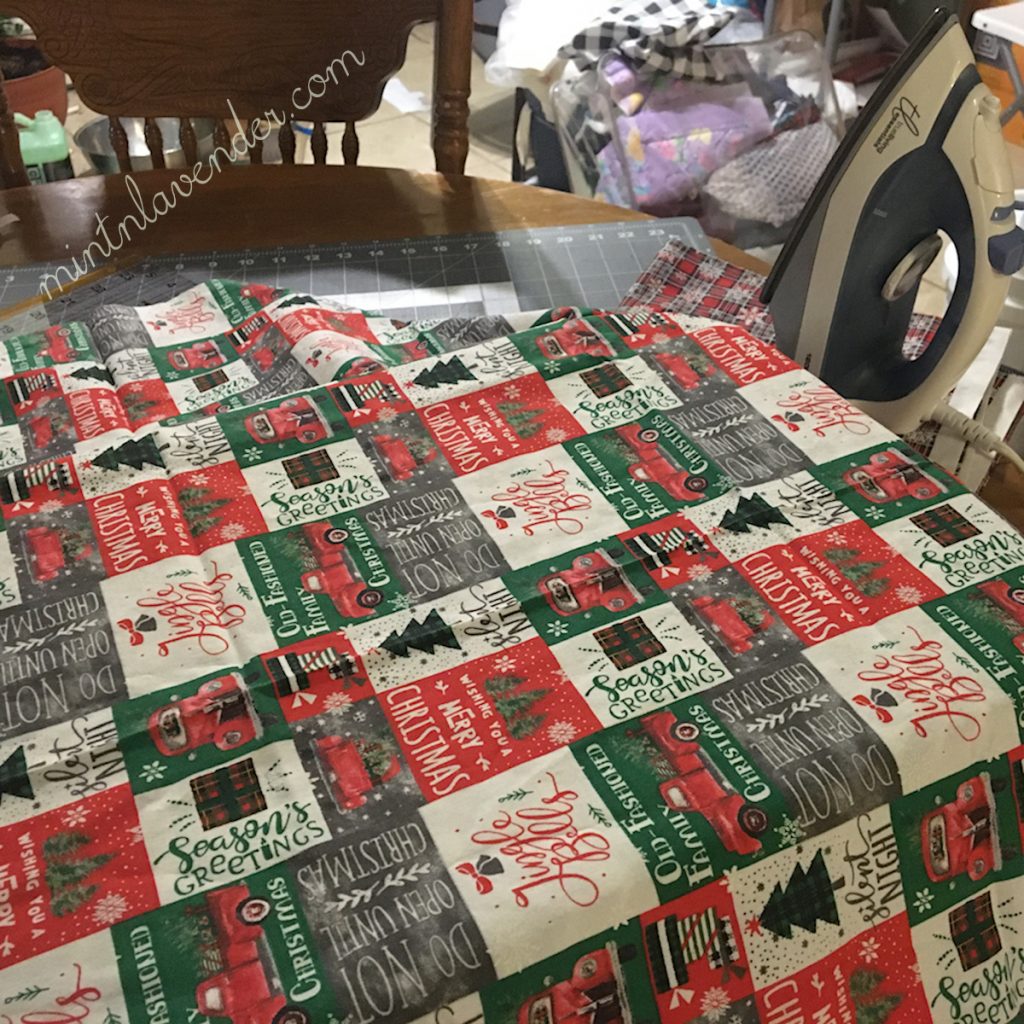
Step 1 Pick and Iron out your fabrics
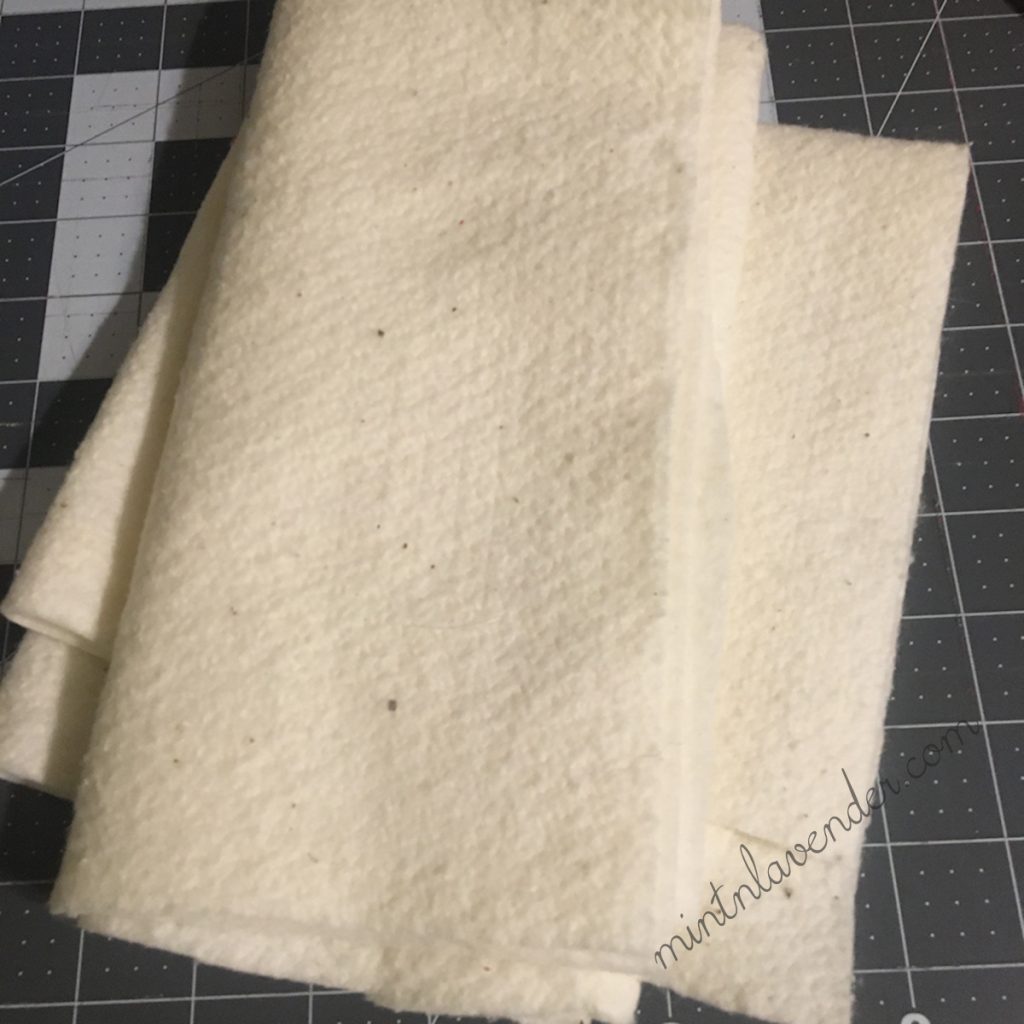
Decide which fabrics you will use for your quilt. It is always best to wash and dry them, and then iron them out flat. It’s also good to lightly iron the batting or at least make sure it is smooth. Here is also a picture of the batting I like the best.
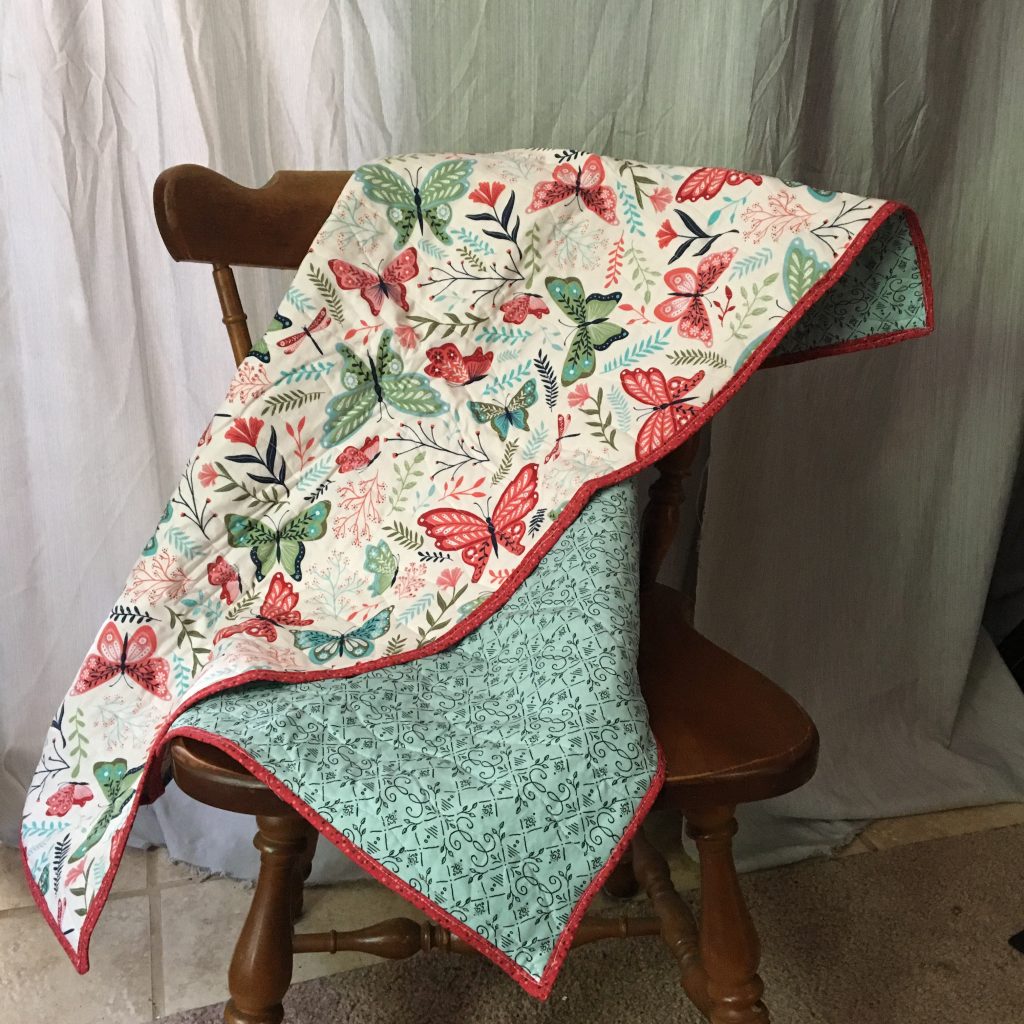
Step 2 – Make Your Quilt Sandwich
A quilt sandwich refers to the 3 layers which you will quilt together to make your quilted blanket. It’s easier if the bottom fabric and the batting layer are a little bigger than the top layer, since you may have to do some adjusting- you want your top to look the best.
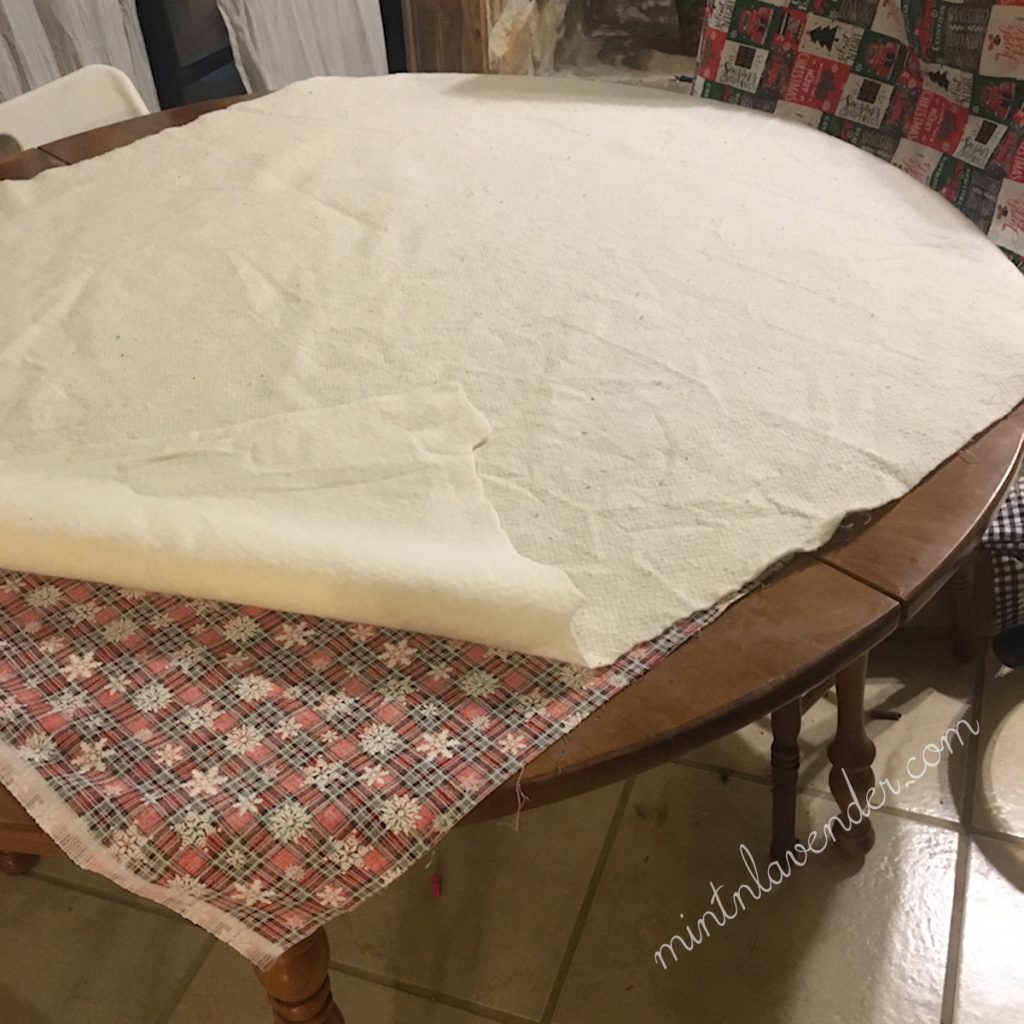
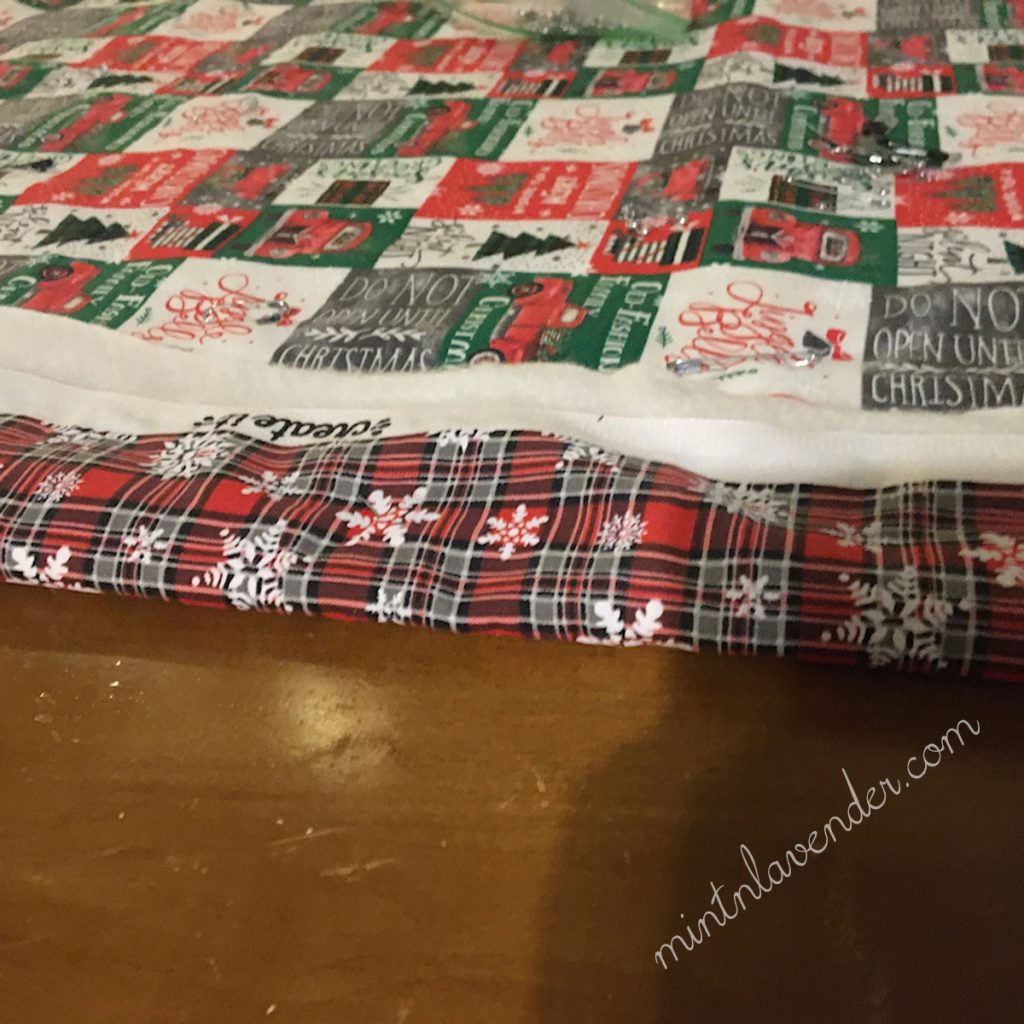
The first thing you will want to do is find a clean, flat surface where you can lay everything out. A large table top is ideal, but the floor can work too. Spread out your bottom layer right side down, then place the batting layer on top of it, making sure both layers are smooth with no wrinkles anywhere. It is also a good idea to iron your fabrics first.
Finally lie the top layer of fabric right side up on top of the batting layer. It also helps to shake them out together in the air like you are folding a large blanket. Keep the edges of the fabrics together and smooth them out with your hands. Make sure they are all smooth and wrinkle free. This is your quilt sandwich.
Step 3 – Pin the layers together
Now that your quilt sandwich is all lined up and smooth, you are ready to pin them all together with safety pins. Medium sized safety pins seem to be the best, too small and they may not be large enough to get all 3 layers, too large and they just aren’t sharp enough to poke through all 3 layers easily.
I like to start in the middle and work down and out. It’s best to have a pin about every hand width or more. The pins keep the sandwich together so it doesn’t fall apart or get misaligned as you quilt.
Step 4 – Quilt!
Now you are ready to quilt. This can be done whichever way you prefer, but you need to have the right supplies and a little practice. I recommend practicing on scraps until you get the hang of it. You can do free motion quilting with an embroidery foot and putting the feed dogs down and guiding the fabric with sticky gloves. Or you can just quilt in straight or wavy lines or along seam lines using a walking foot. The walking foot makes it much easier to quilt through all the layers because it will help feed the top layer of fabric as well as the bottom layer at the same time.
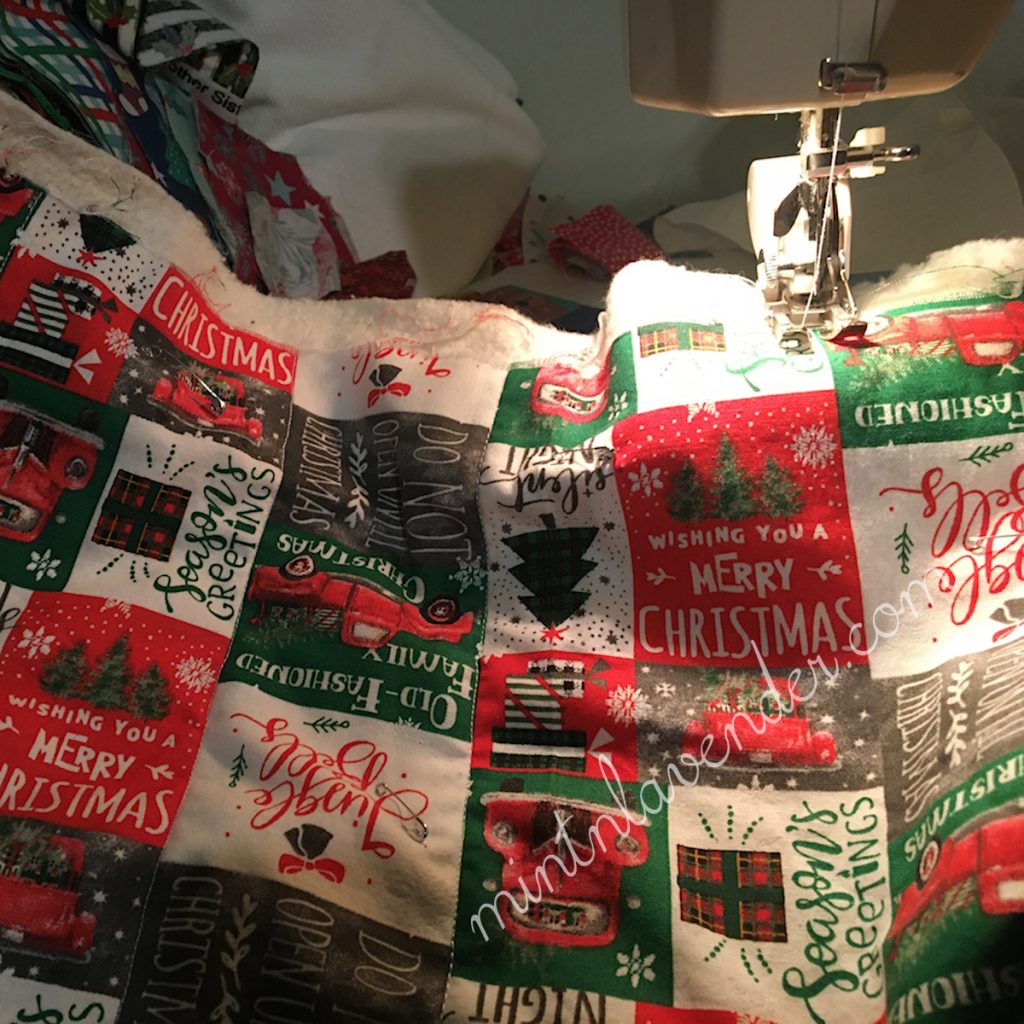
For fabric with defined straight lines, I like to follow whatever lines make sense to me. For more whimsical patterns, I really like the wavy line look. For a 4-patch quilt I made, I really enjoyed quilting diagonal lines which made x’s in the quilt. It’s not a bad idea to do some practice quilting. Quilted placemats are a great way to practice. And check out quilting patterns for inspiration.
Step 5 – Even Out the Edges
The quilt is starting to take shape! Now it’s time to even out all the edges. All you have to do is cut each side of the quilt in a straight line. This is best done with a cutting mat or by drawing a straight line on the fabric and then cut with scissors.
Step 6 – Make the Binding
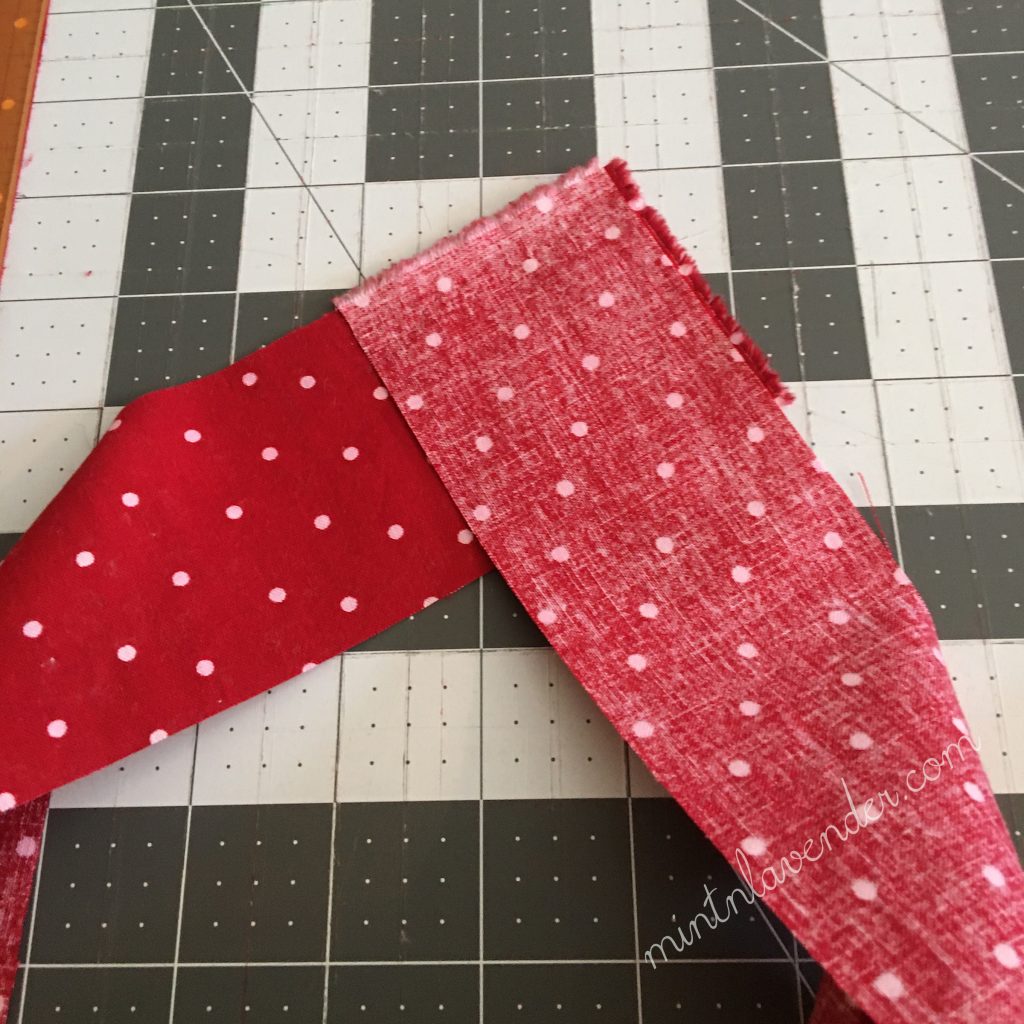
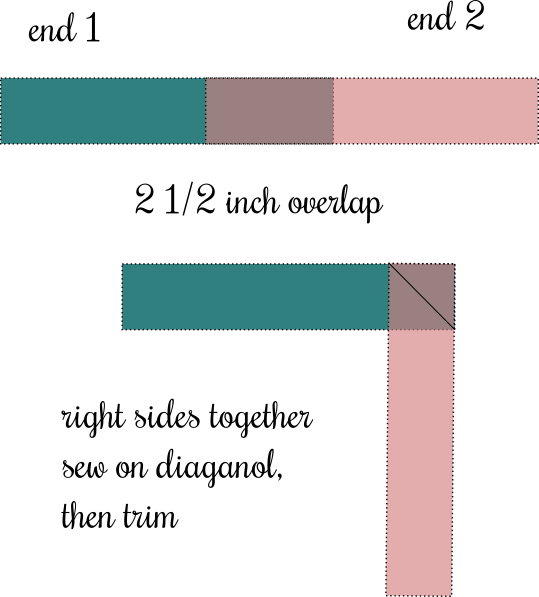
Cut the fabric you are using into 2 1/2 in wide strips. Stitch the strips right sides together, diagonally to form a nice long strip. You will need about 4 of these cut the full width of the fabric.
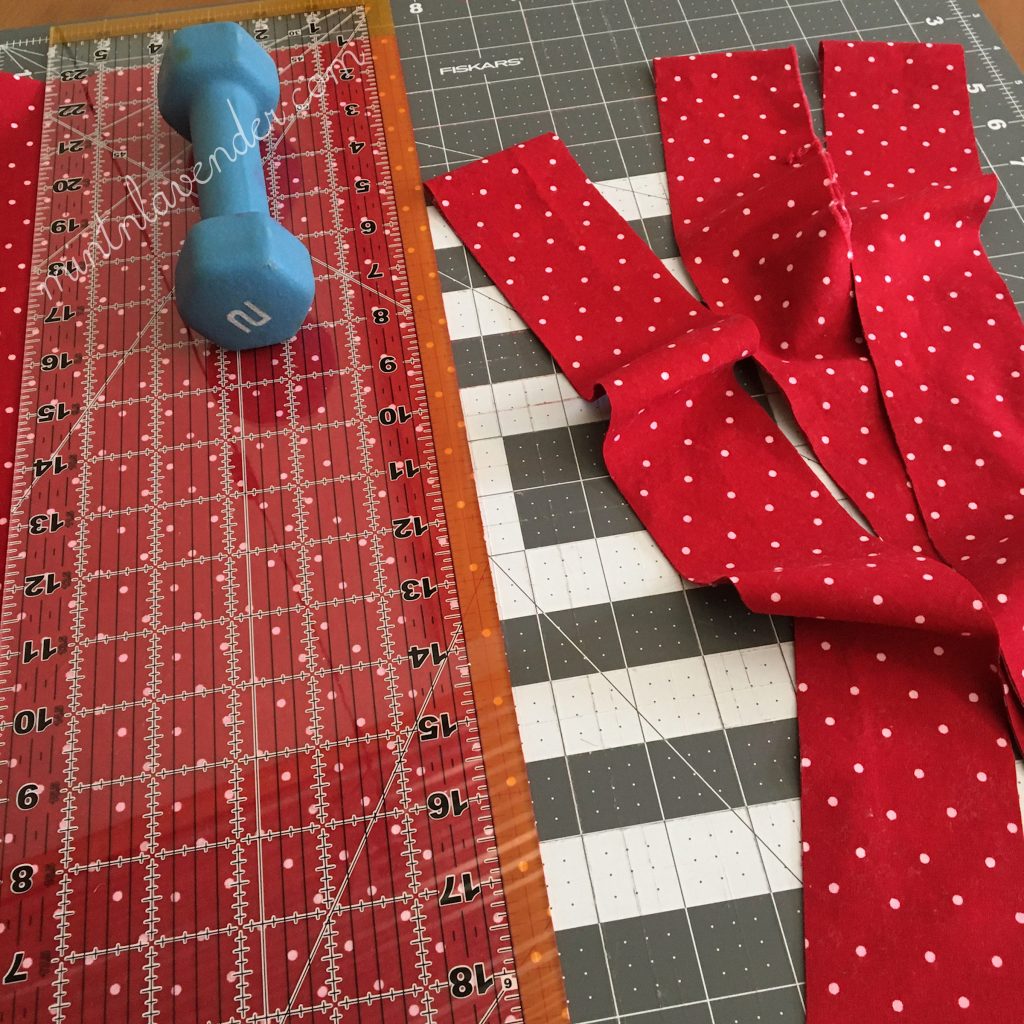
Fold it in half and press.
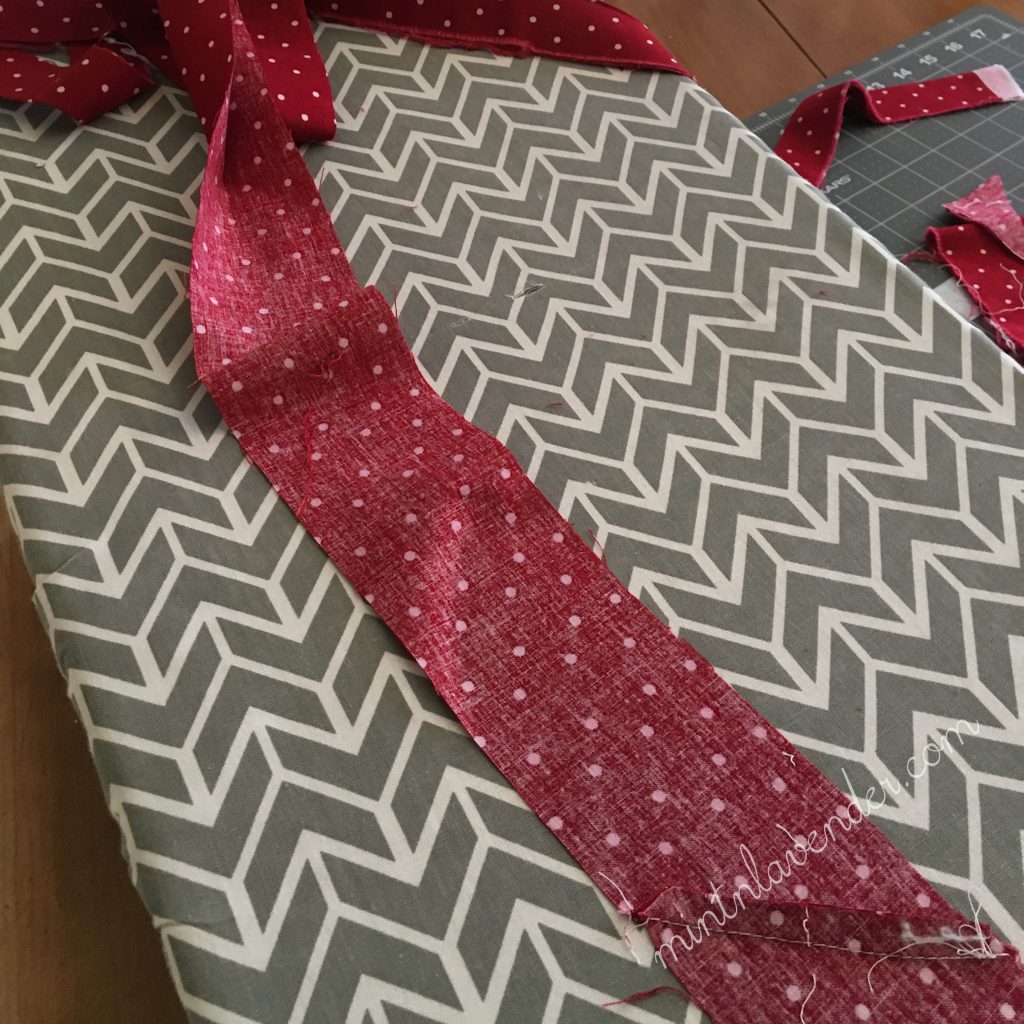
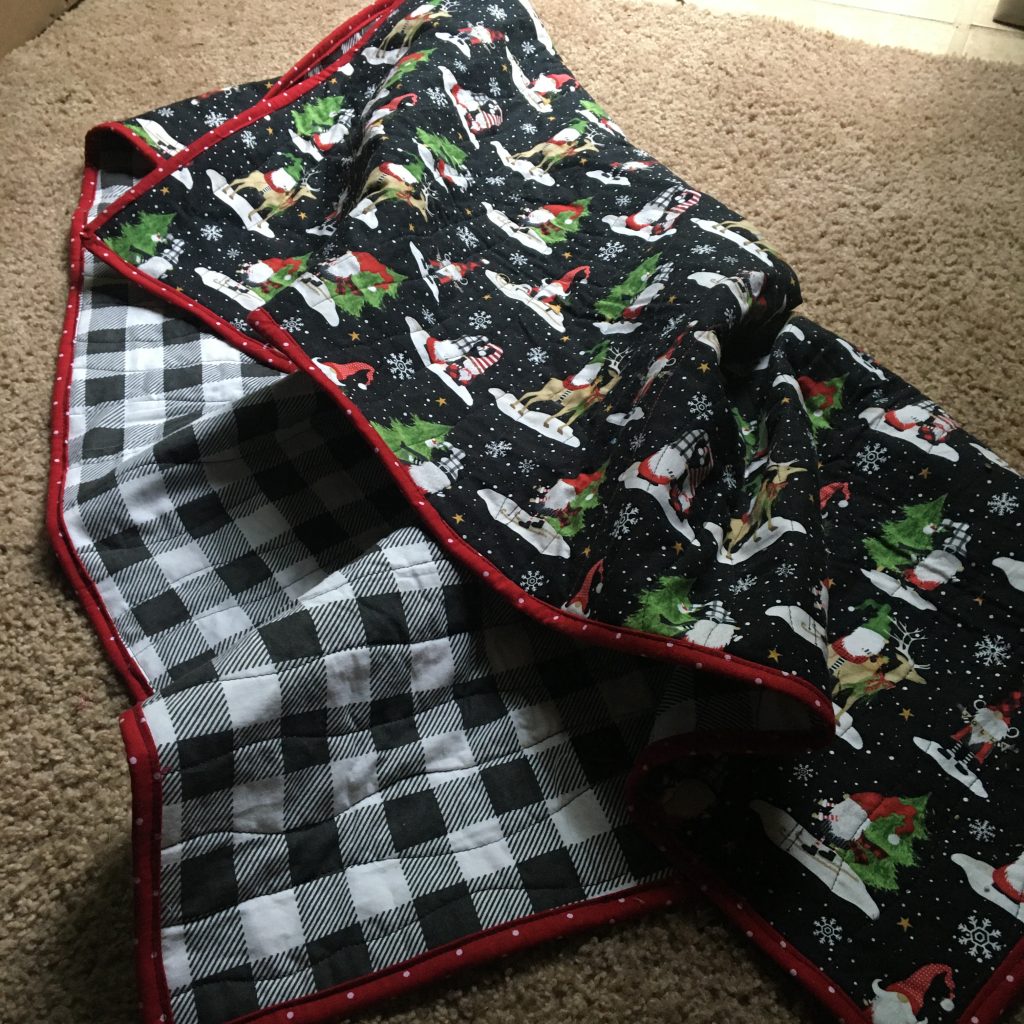
Step 7 – Sew the Binding to the Quilt
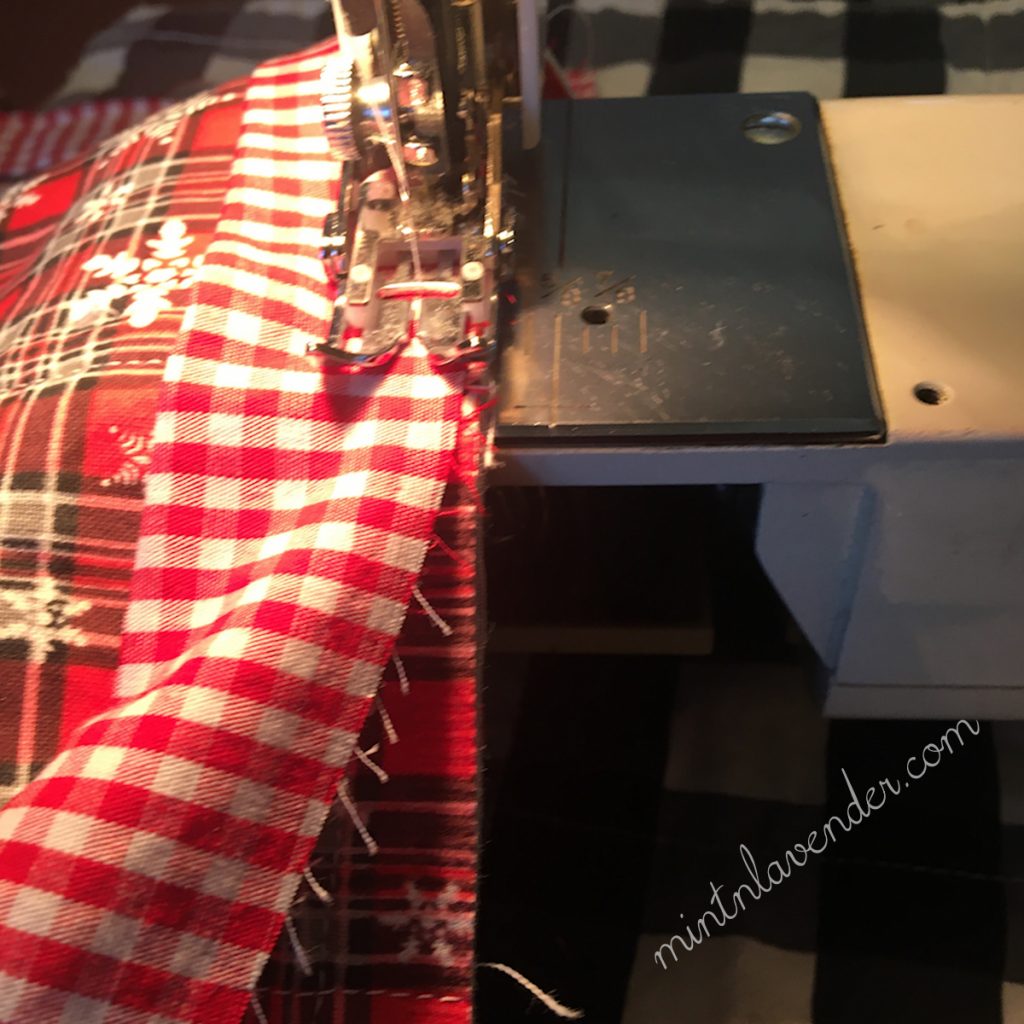
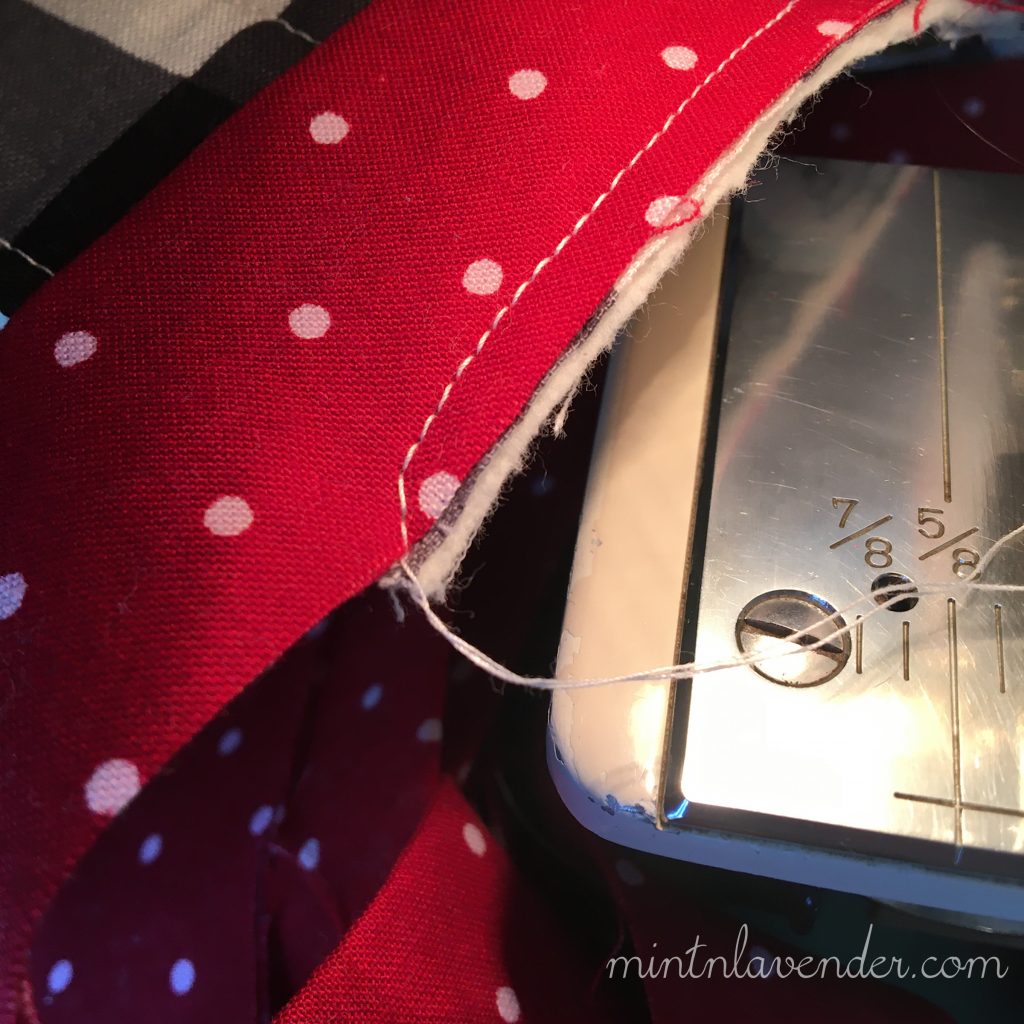
You can either hand sew or machine sew the binding to the quilt. To hand sew, machine sew the folded strip to the front side of the quilt and then hand sew to the back side of the quilt. To machine sew, machine sew to the back side of the quilt and then machine sew the binding to the front side. Start sewing leaving a few inches of binding free in order to have space enough to connect it at the end.
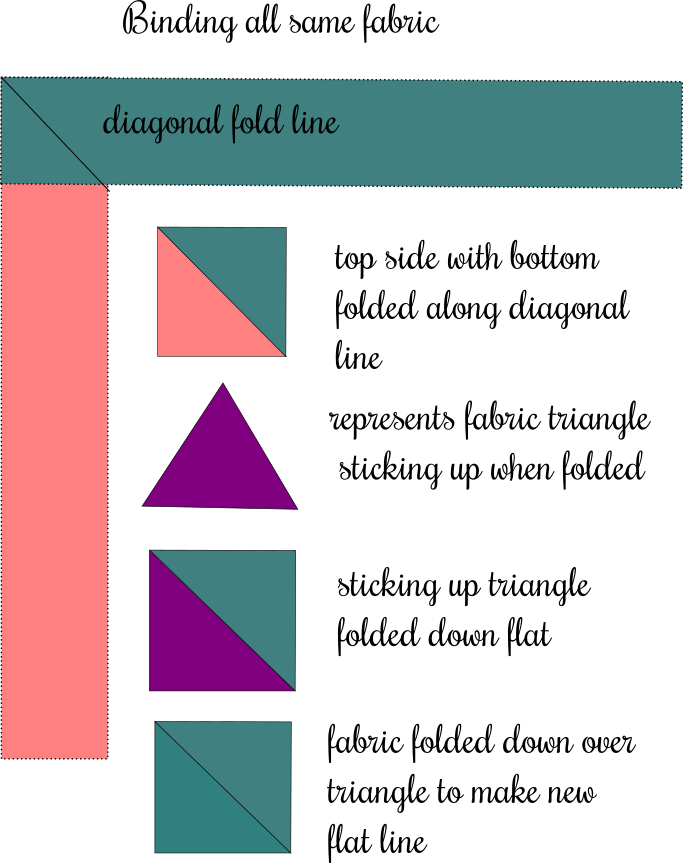
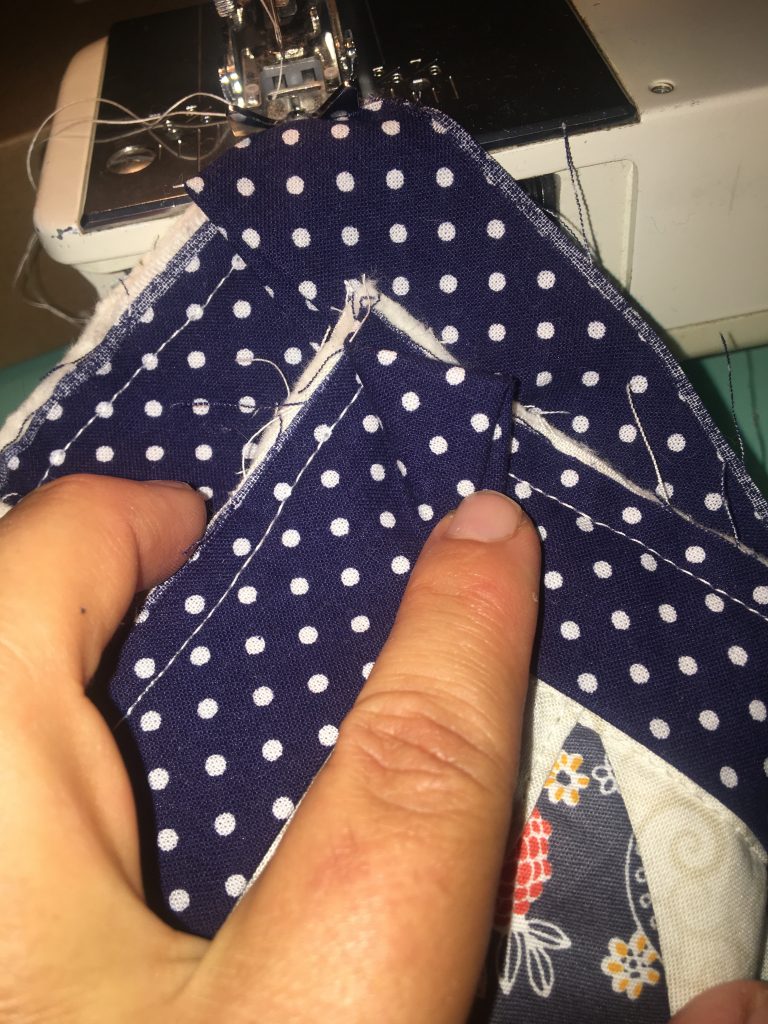
For corners you can either miter them or keep them square. It is best to watch a video to see exactly how this is done. Basically, when you get to the end of the side of the quilt, stop 1/4 inch away from the edge and sew diagonally to the corner. Cut the thread and fold the binding diagonally and then straight to start on the next side. Repeat for all the corners.

Cut the binding so that both sides overlap the exact width of the binding which in this case is 2 1/2 inches. Sew them together diagonally just as you did when you made the binding. Then finish sewing to the quilt.
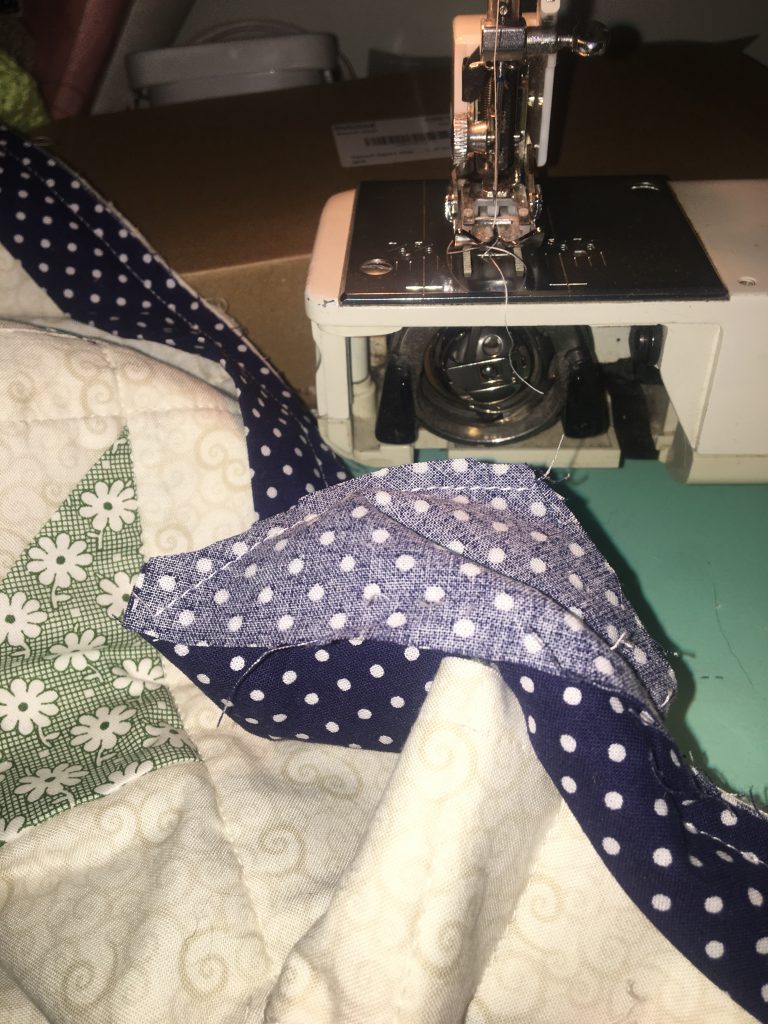
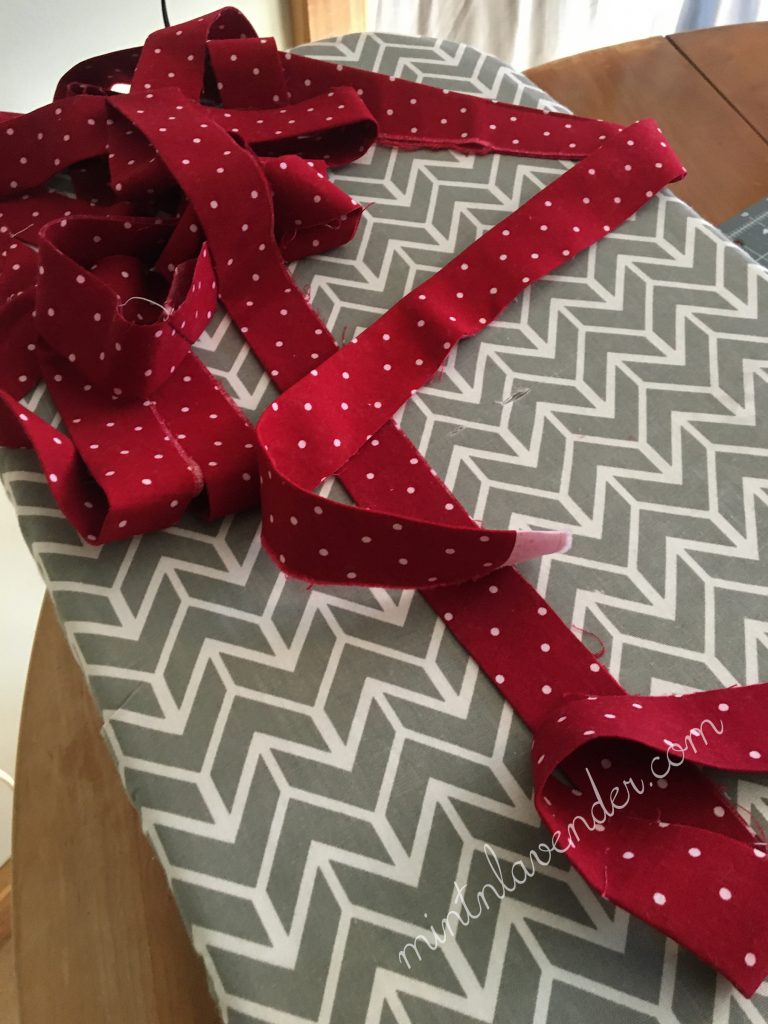
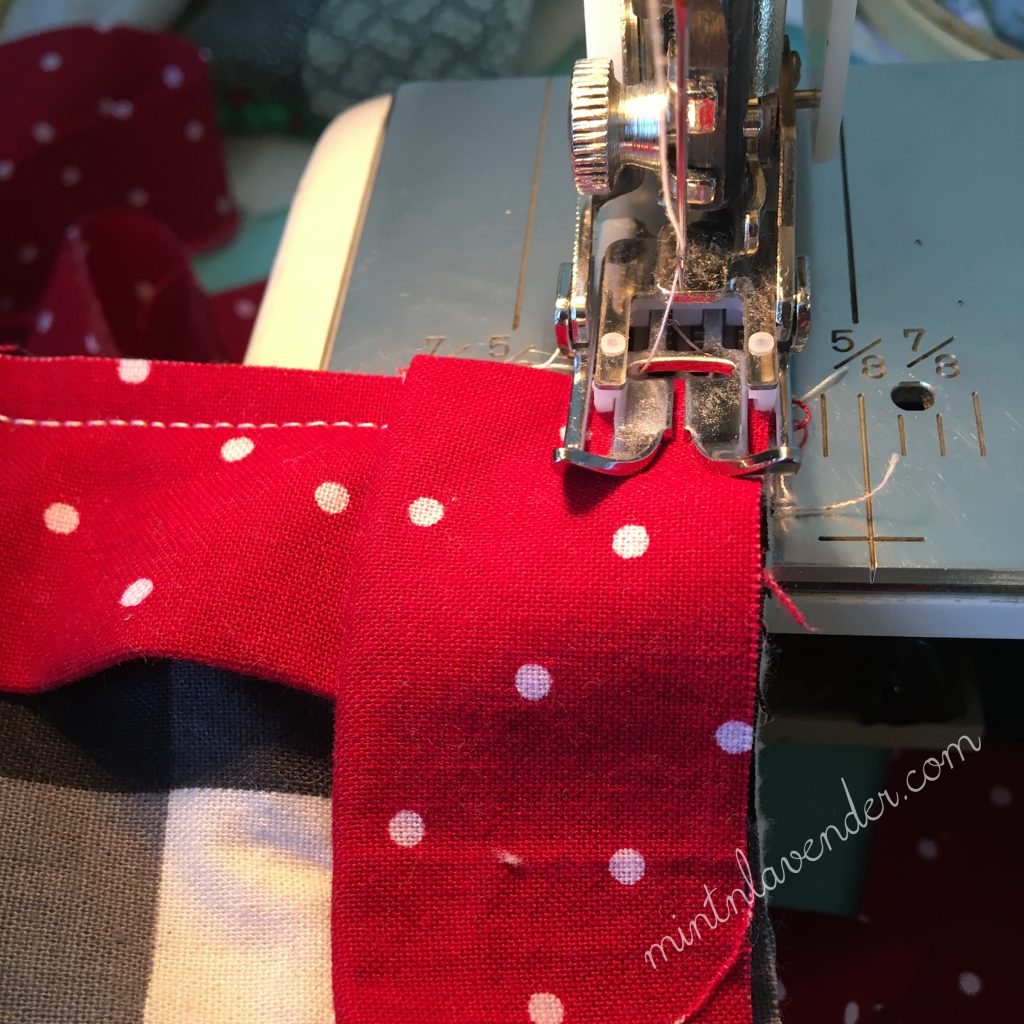
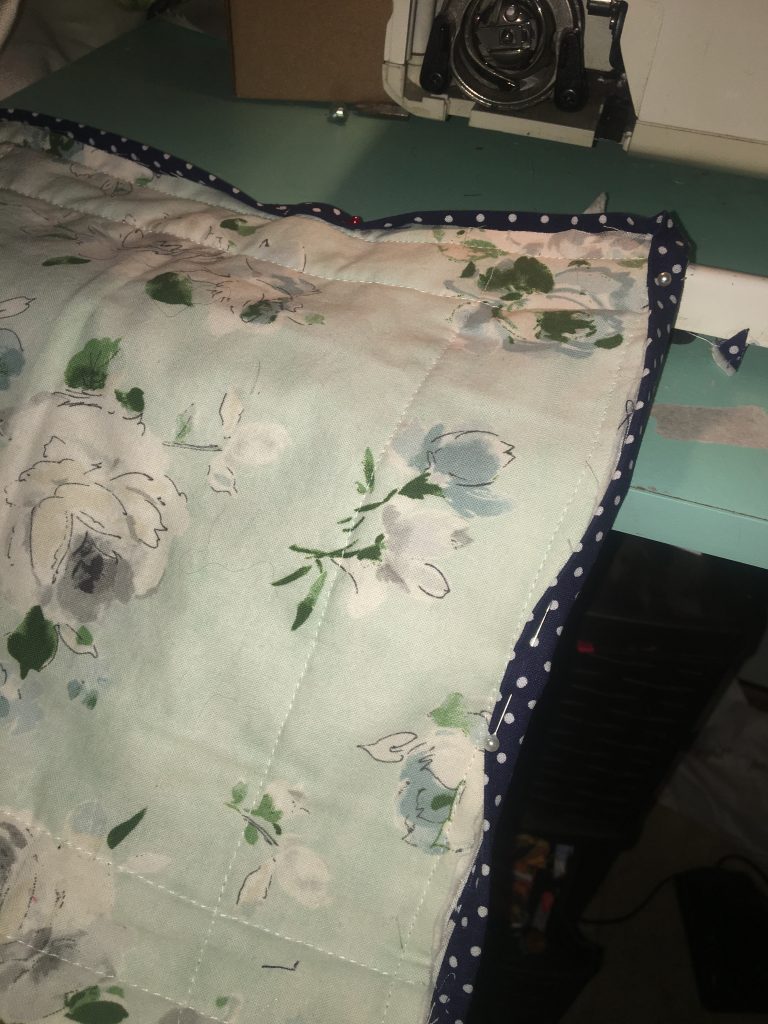
Finally you turn the quilt and machine sew the binding to the front. It really helps to pin it first. It takes a bit of practice to get the corners right. But most people won’t notice the imperfections, just leave it and enjoy it. You will get better the more you sew.
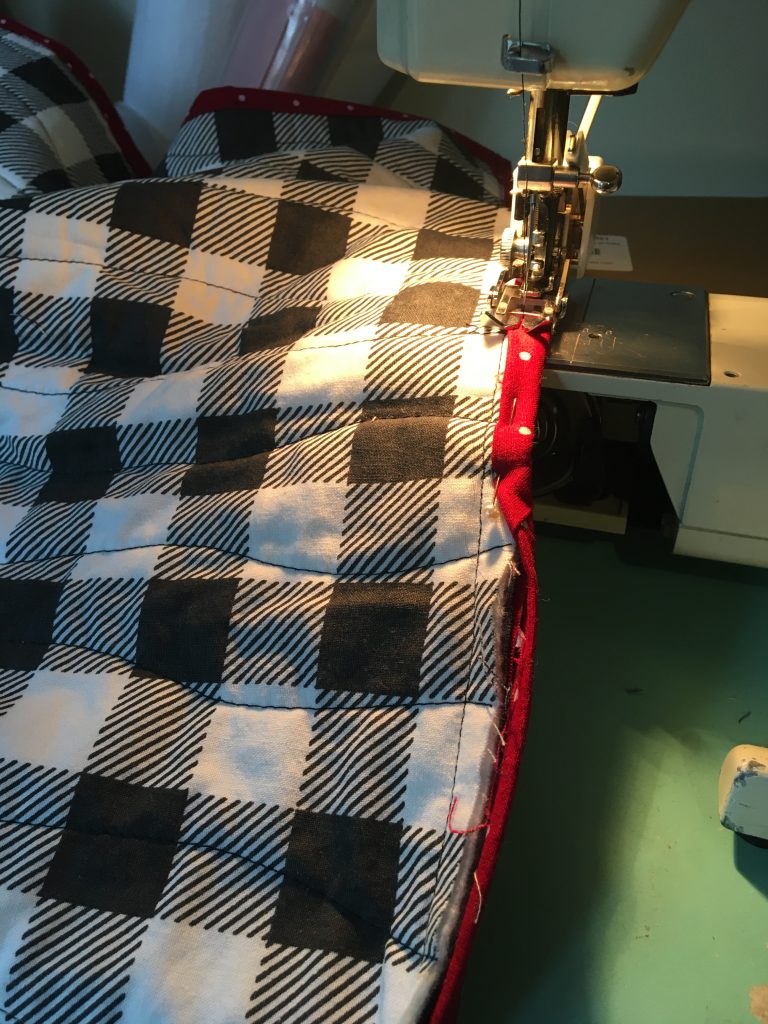
Pin the binding to the quilt front before sewing. It takes some time to pin the whole thing together, but it will make your binding so much more flat and even, saving you tons of time when you go to sew it. Also use the walking foot for all of the stitching to keep it smooth and even.
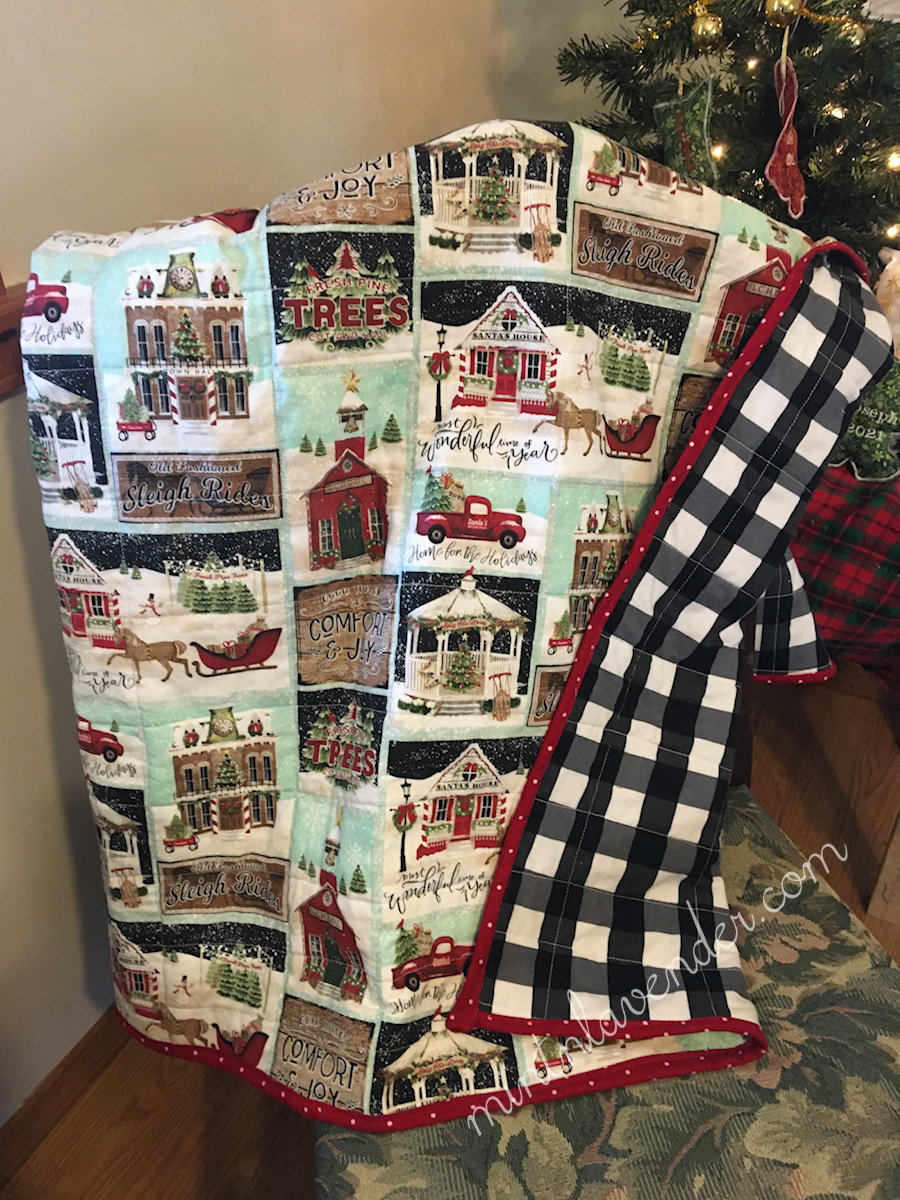
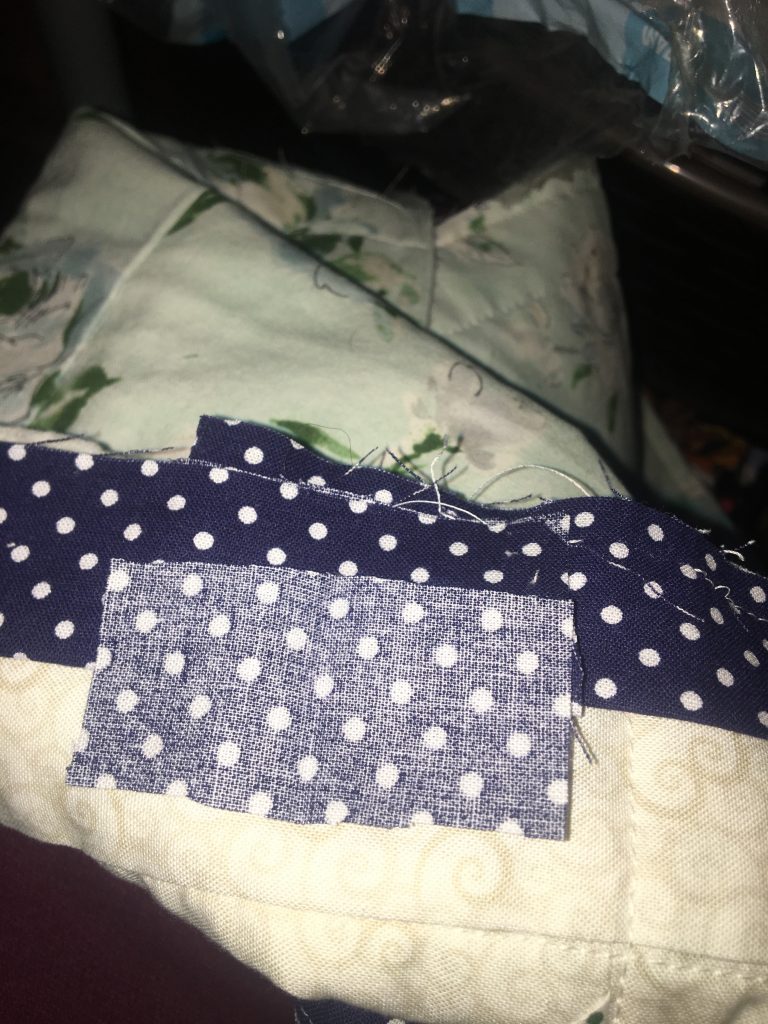
Finally you turn the quilt and machine sew the binding to the back. It really helps to pin it first. Fold the binding over the edge of the quilt and pin it to the back of the quilt. At the corner, fold one side flat and then the other side and pin. It takes a bit of practice to get the corners right. But most people won’t notice the imperfections, just leave it and enjoy it. You will get better the more you do it.
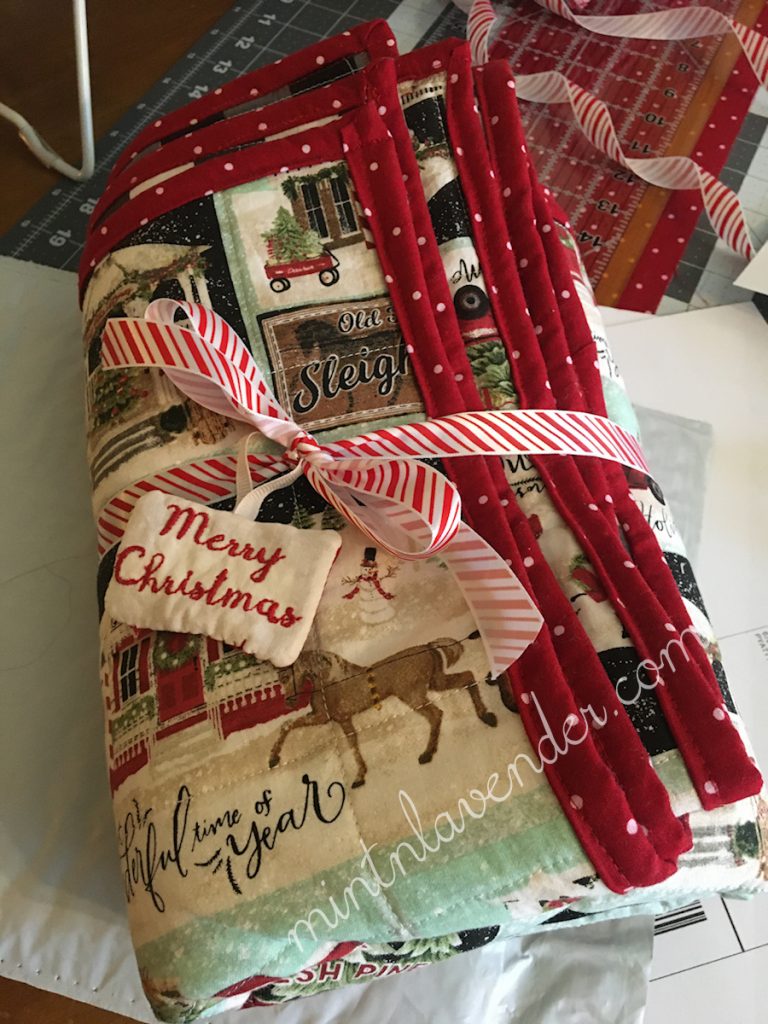
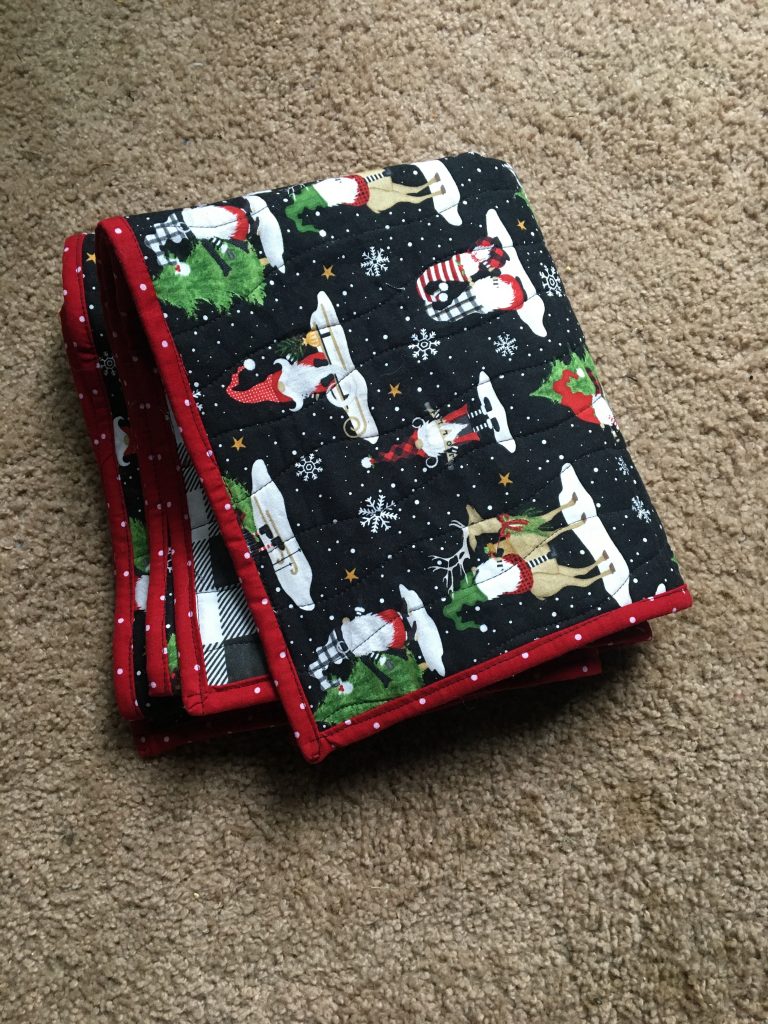
And that’s it, enjoy your quilt or quilts!
If you would like to see another way to finish off the quilt, this is a great video showing exactly how to do all this with connecting the binding without mitering the edges. You don’t need a fancy machine or a fancy foot to do it, just make sure you are sewing 1/4 inch away from the edges as shown in the video.
All Done! Enjoy your new Quilt!
If you would like an easy to follow step by step printable and pretty PDF of this blog post, you can purchase it here: