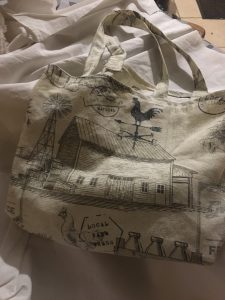

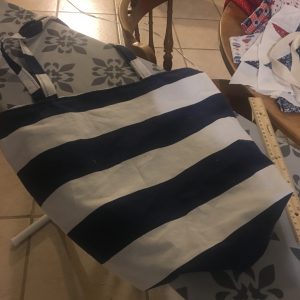
This tote bag tutorial works for any size of tote bag. You can make it large or small, just make your 2 rectangles the same size and the size you want. You can make it large or small, the steps you use to sew them together is the same. The one used in the pictures is on the small side, but makes a good little bag to carry in your purse in case you need a grocery bag or to carry something unexpected!

Gather Materials:
- 2- 12 x 15 inch fabric rectangles
- 2 – 2 1/2 inch x 24 inch strips of fabric for the straps
- sewing machine
- thread
- scissors or cutting mat
- trimming scissors
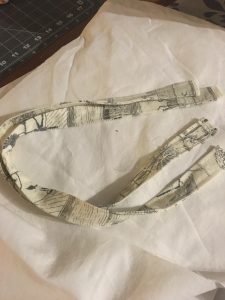
Step 1 – Make the Straps
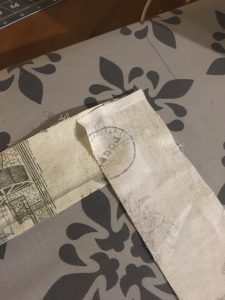
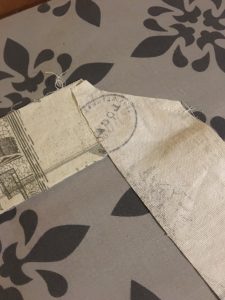
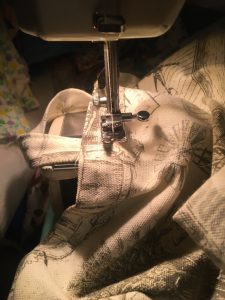
If you don’t have enough fabric to cut a 24 inch strip, you can sew them diagonally and then trim to the size you want as shown:
Iron the fabric strips in half, and then iron all the edges in about 1/4 – 1/2 inch.


Now stitch all the way around to make straps.

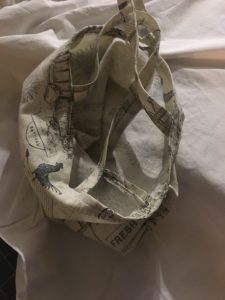
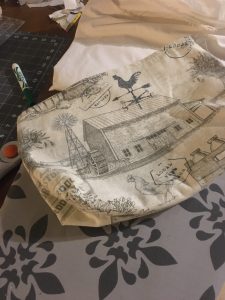
Step 2 – Sew the Bag
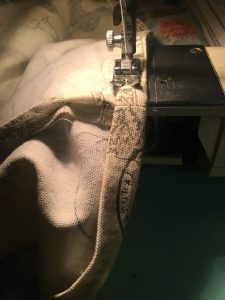
Sew around 3 sides of the bag leaving the top unsewn. Iron about 1/4 inch down all the way around the top edge, and then again 1/2 inch all the way around. Stitch the top hem in place.
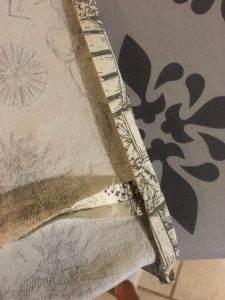
Step 3 – Make the box corners
Fold the corner out and draw a line 1 1/2 inches from the tip, the important thing is that both sides are about the same size. Then sew along the line and trim. Repeat for the other corner.


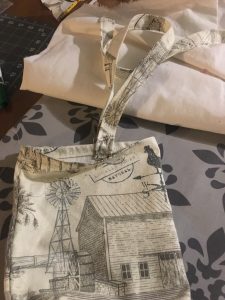
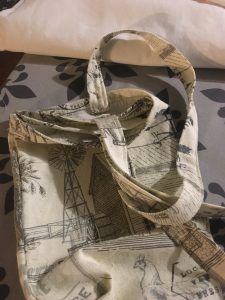
Step 4 – Attach the Straps
Fold the bag in half and attach the straps one on each side. Make sure they will be even and lie the way. you want them to. Then pin them in place and topstitch into place. I stitched a rectangle shape around the edges and then an “X” in the middle.
That’s it! You are done! Enjoy your bag!