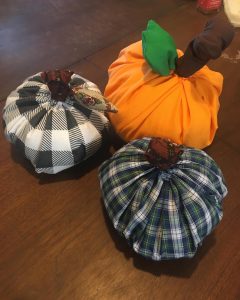
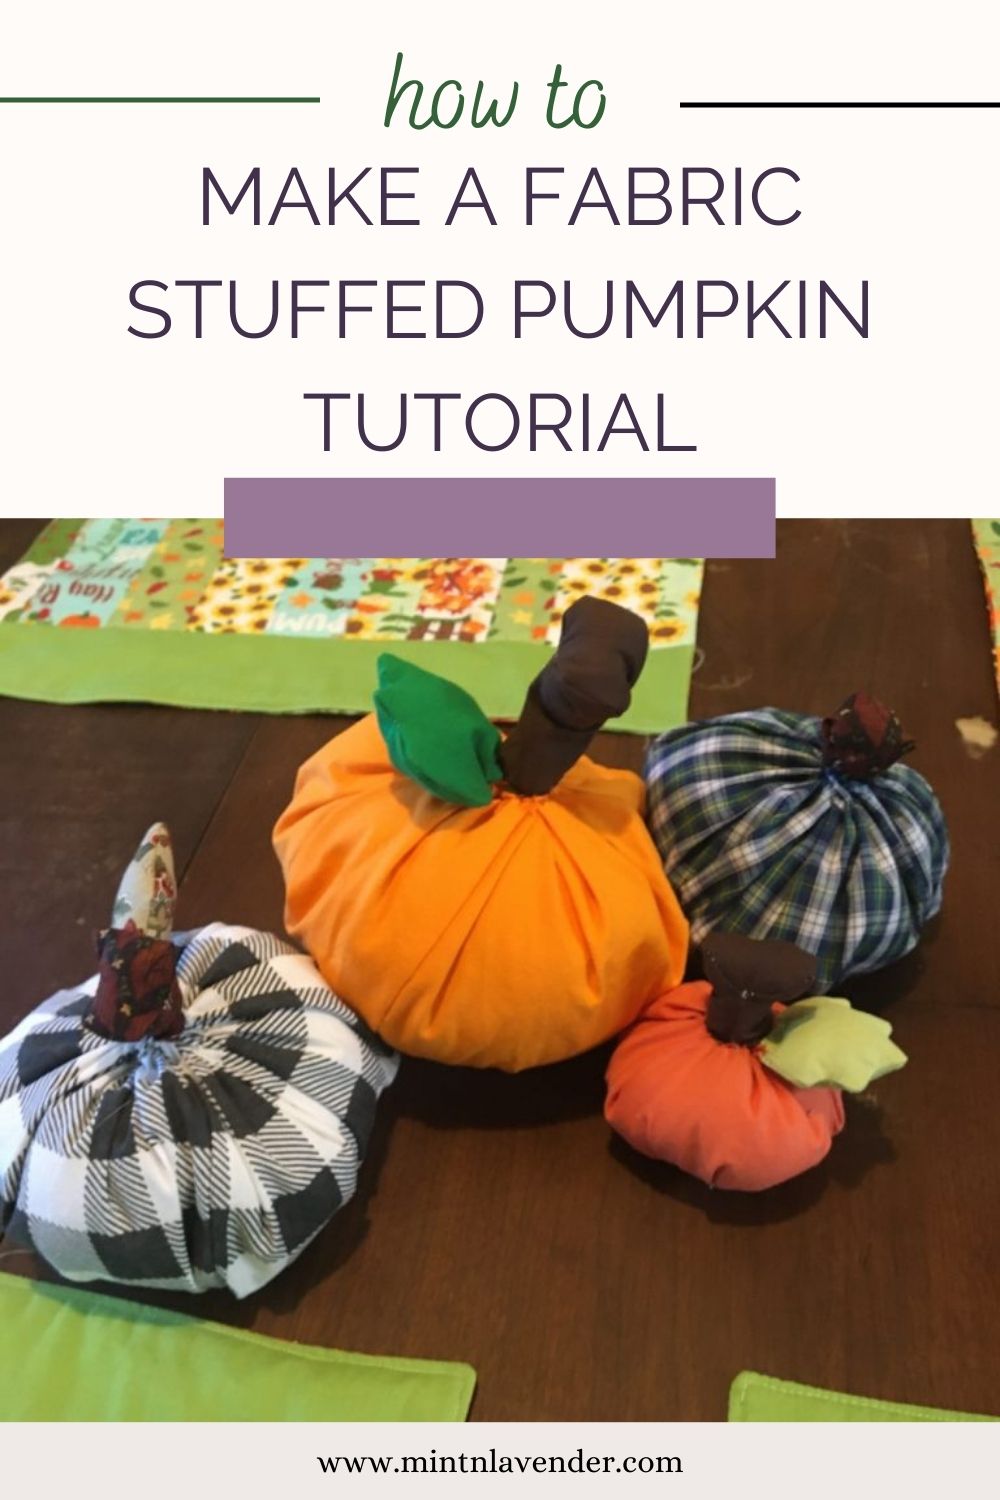
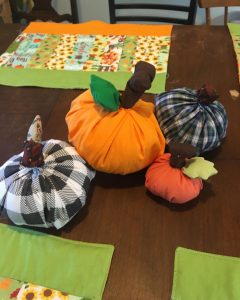
These are fun and easy little decorations for fall that you can make in all different sizes!
Materials:
- large rectangle for the pumpkin (use the sizes below or experiment with many different sizes, make them tall or short, wide or narrow)
- 10×36 inches for large
- 9×18 inches for medium
- 7×16 inches for small
- small rectangle for the stem
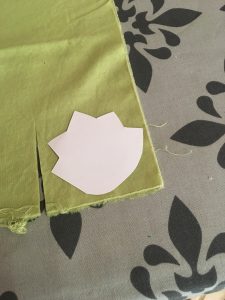
- fabric for the leaf
- thread
- sewing machine
Step 1- Make the Pumpkin
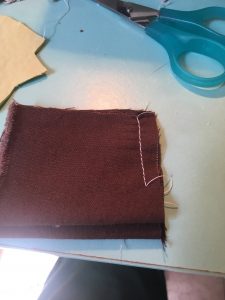
Sew the short side of the pumpkin right sides together in one seam.
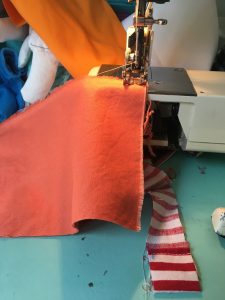
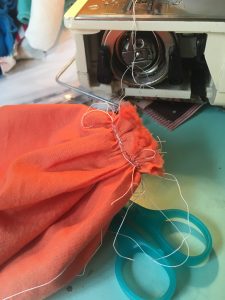
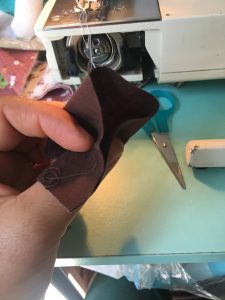
Stitch along the two new edges with the longest stitch you can all the way around. Pull the thread on the bottom in order the gather the edges.
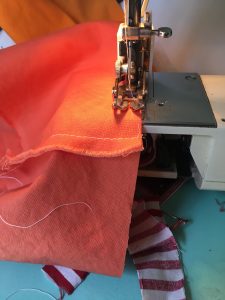
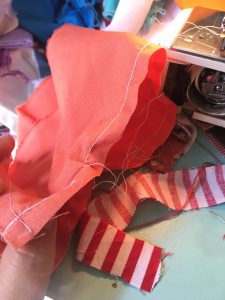

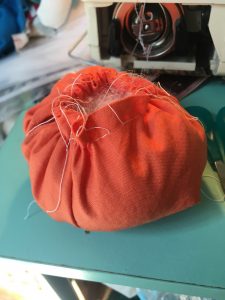
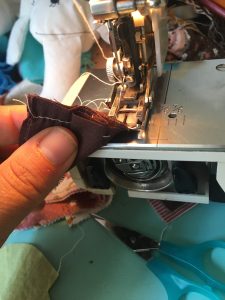
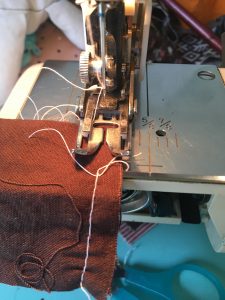
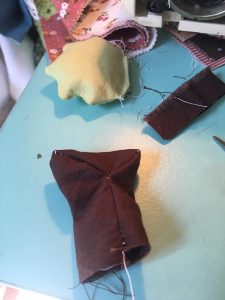
Put one of the gathered edges together and fold over itself to form the bottom of the pumpkin. Stitch in place- it helps to lift the pressure foot and manually pull the fabric through.
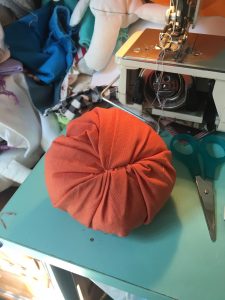
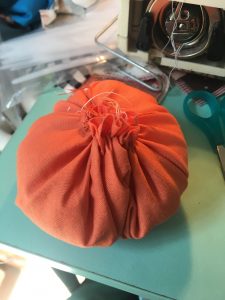
Then stuff with stuffing and pull the top as closed as possible.
Step 2 – Make the Stem
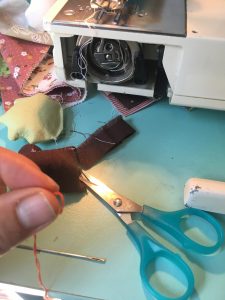
Fold the stem fabric rectangle in half lengthwise, Sew the edges right sides together about halfway up the rectangle. Fold the middle folded part down and sew one half at a time that creating a T-shape.
Fold out so right sides are on the outside, and stuff. The stem is ready to be sewn to the pumpkin.
Now for the leaf- cut out 2 leaf shapes (I made mine out of paper first) and stitch them right sides together leaving an opening along the smoothest side. Turn the leaf right sides out, stuff and stitch closed.
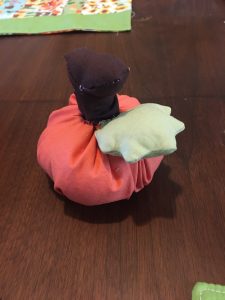
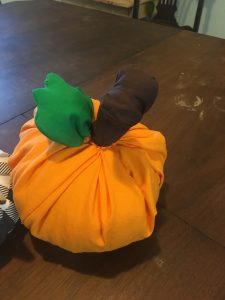
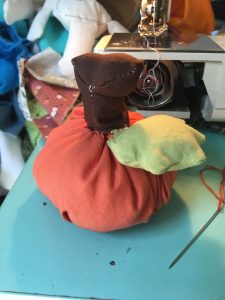
Finally hand sew the stem to the top of the pumpkin. You want to allow as few raw edges showing as possible. I folded the raw edge under the stem about 1/4 inch before I sewed it to the top of the pumpkin, keeping the raw edges of the pumpkin inside the stem. Then I hand sewed the leaf in place where I liked it. All done, enjoy!