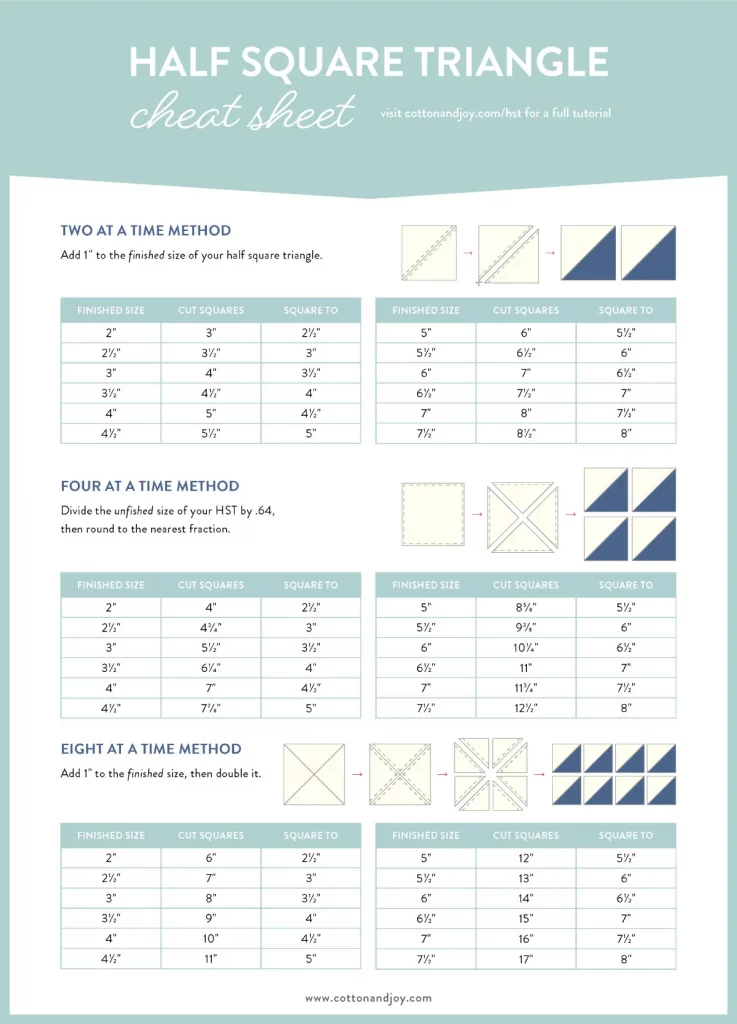
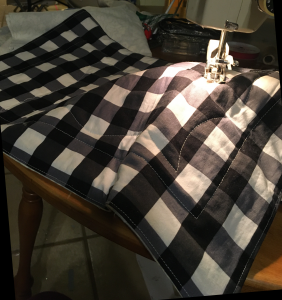
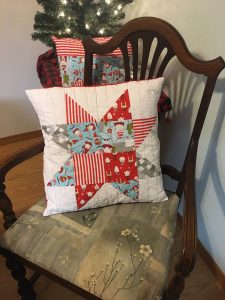
Like squares, half square triangles are very versatile in quilting. And they are fairly easy to put together and make. There are lots of tutorials online, and lots of ways to make them. This site from cottonnadjoy.com I think has the best descriptions and an excellent chart for figuring out what sizes you want:
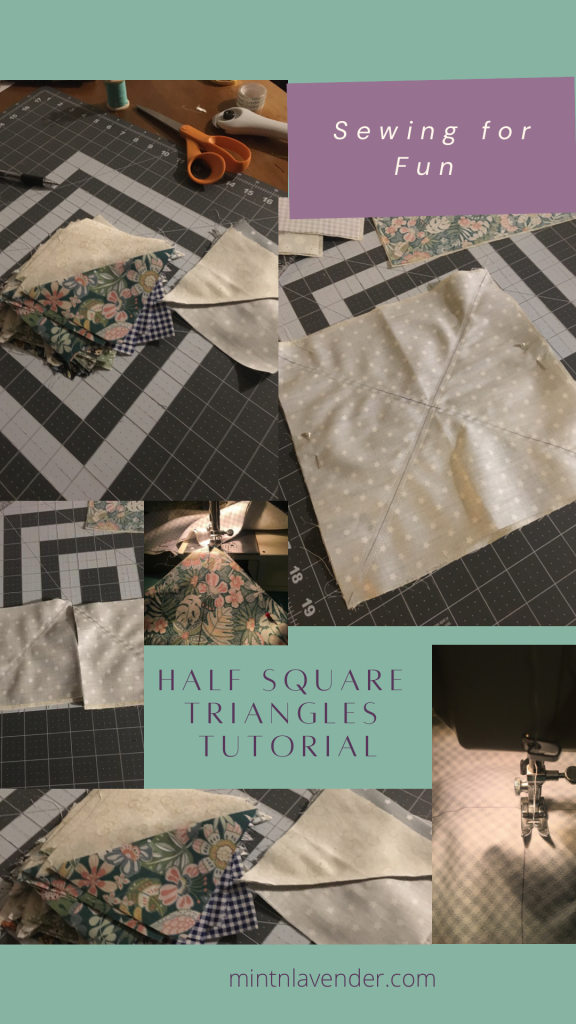
Here is the 8 at a time method in photos:
I used 10 inch squares from a layer cake and cut 10 inch squares from a neutral fabric I’ll use for the background. Half square triangles look better when there is a good contrast between colors. These will become pinwheels and I’m not sure what else yet.
So pin the 10 inch triangles right sides together and use a ruler to draw a straight line from corner to corner. For smaller squares you may be able to skip this step and eyeball it, but I knew it would be too far off if I tried that with these. This will be the sewing line. You will sew 1/4 inch away from this line on both sides- making 4 lines of stitching in total as shown.
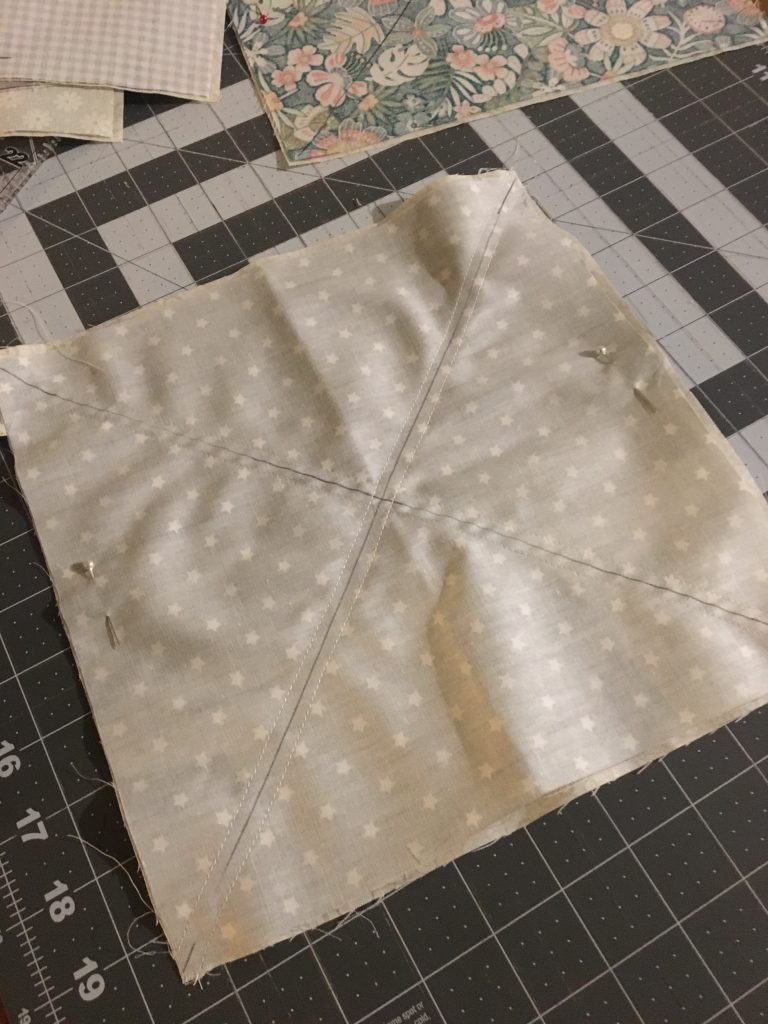
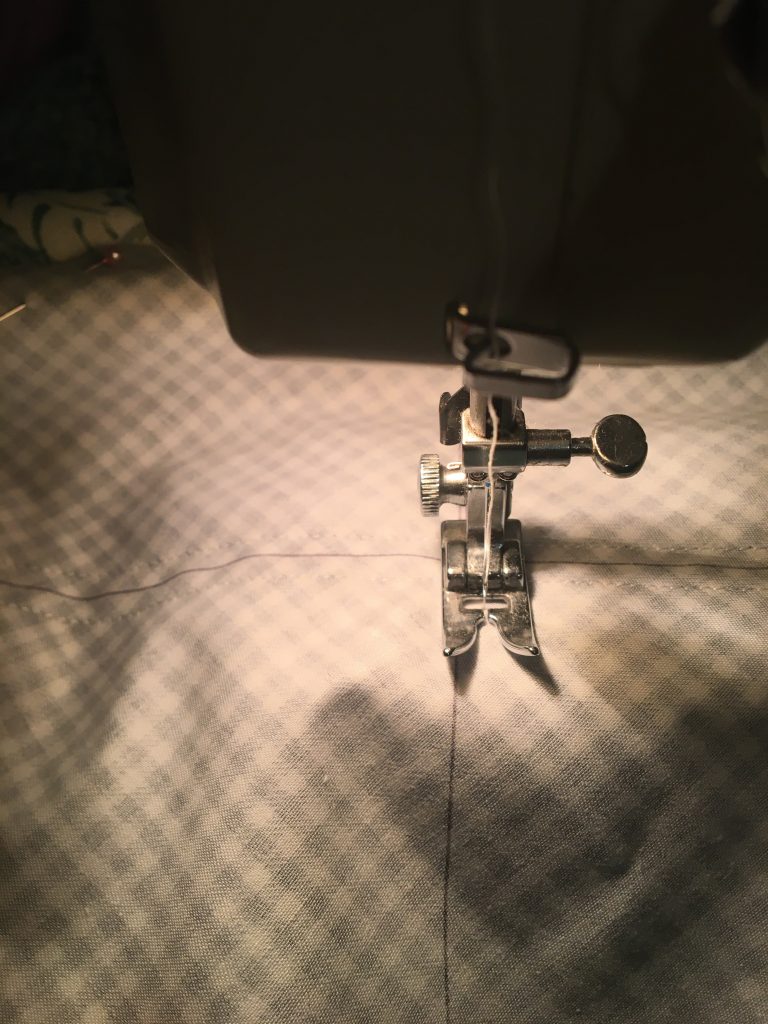

If you are making more than 1, you can chain stitch them in a row to save time.
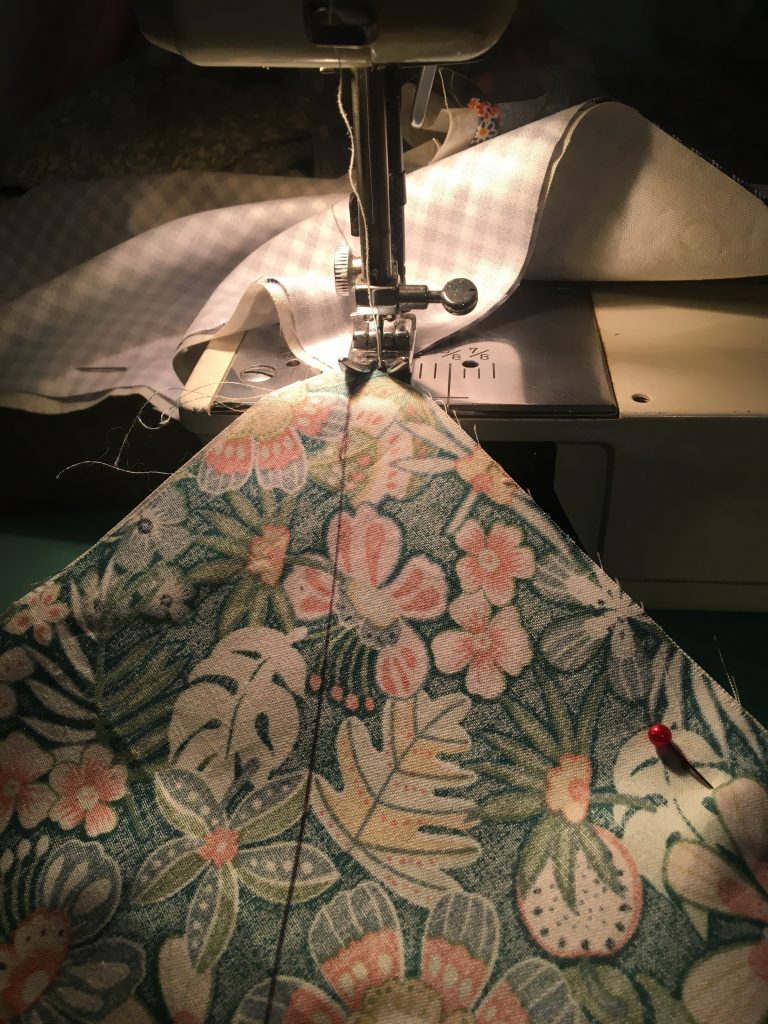
Once it’s sewn, all you have to do it cut, fold the square in half and cut right down the center.
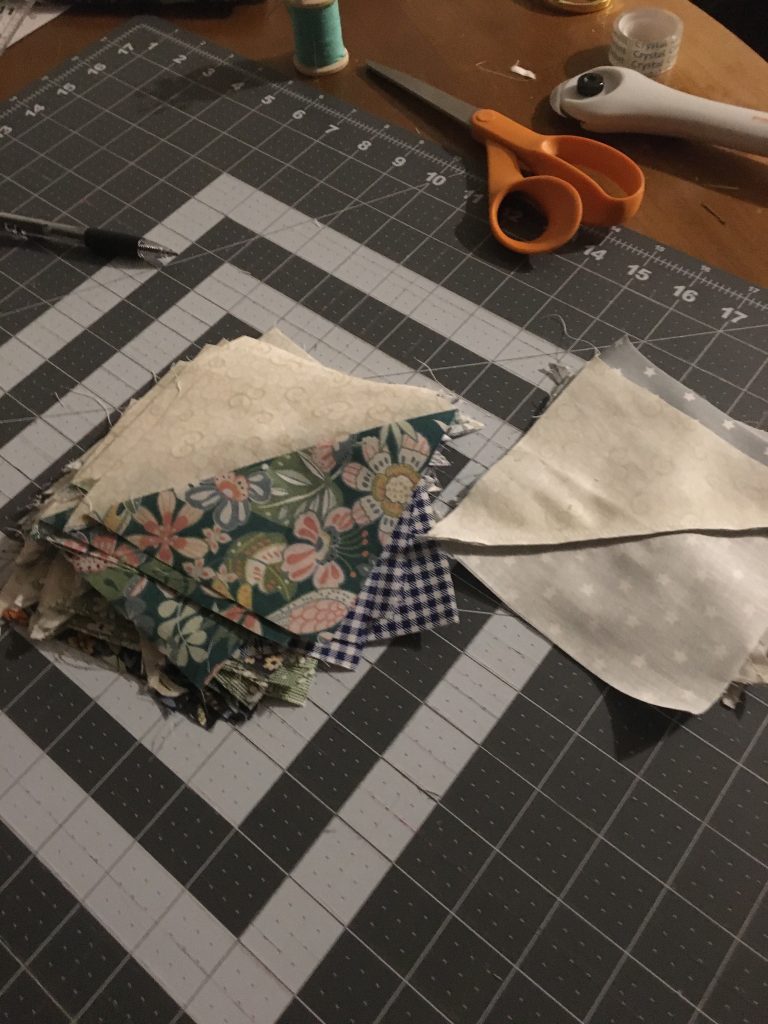
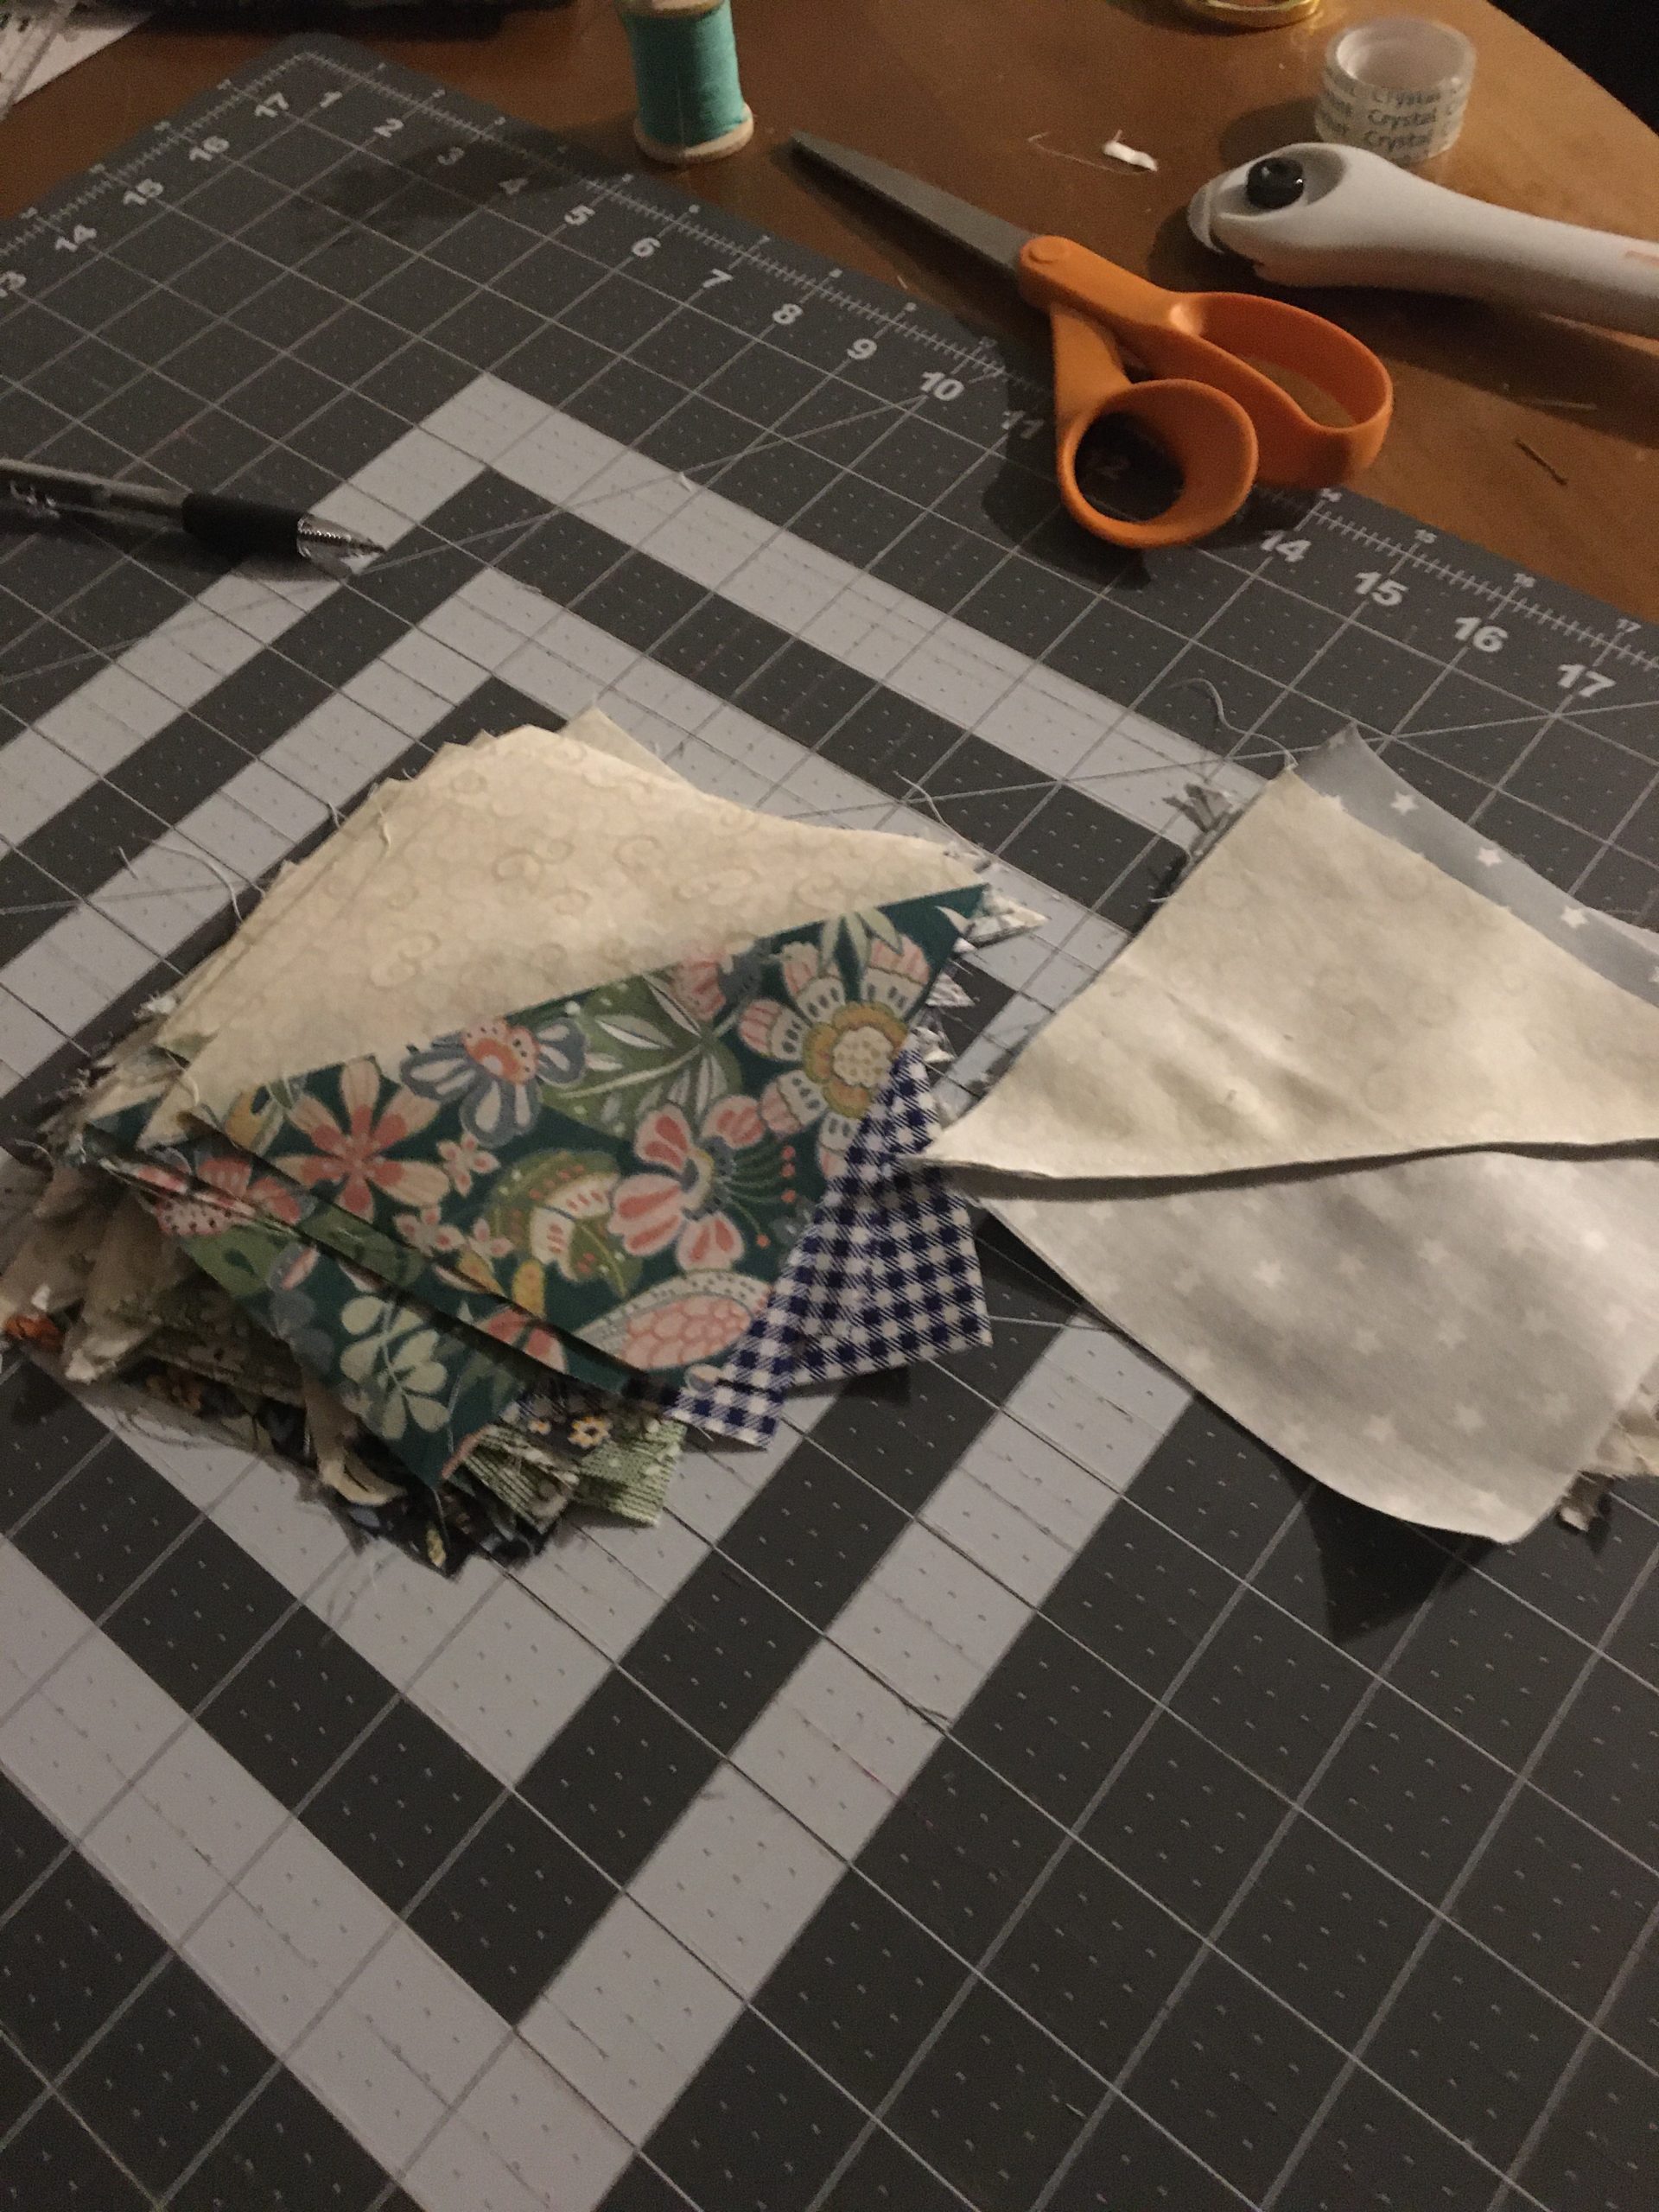
Then cut each of those down the center- and finally along the diaganol line. I keep them stacked so I am able to cut more at time saving time.
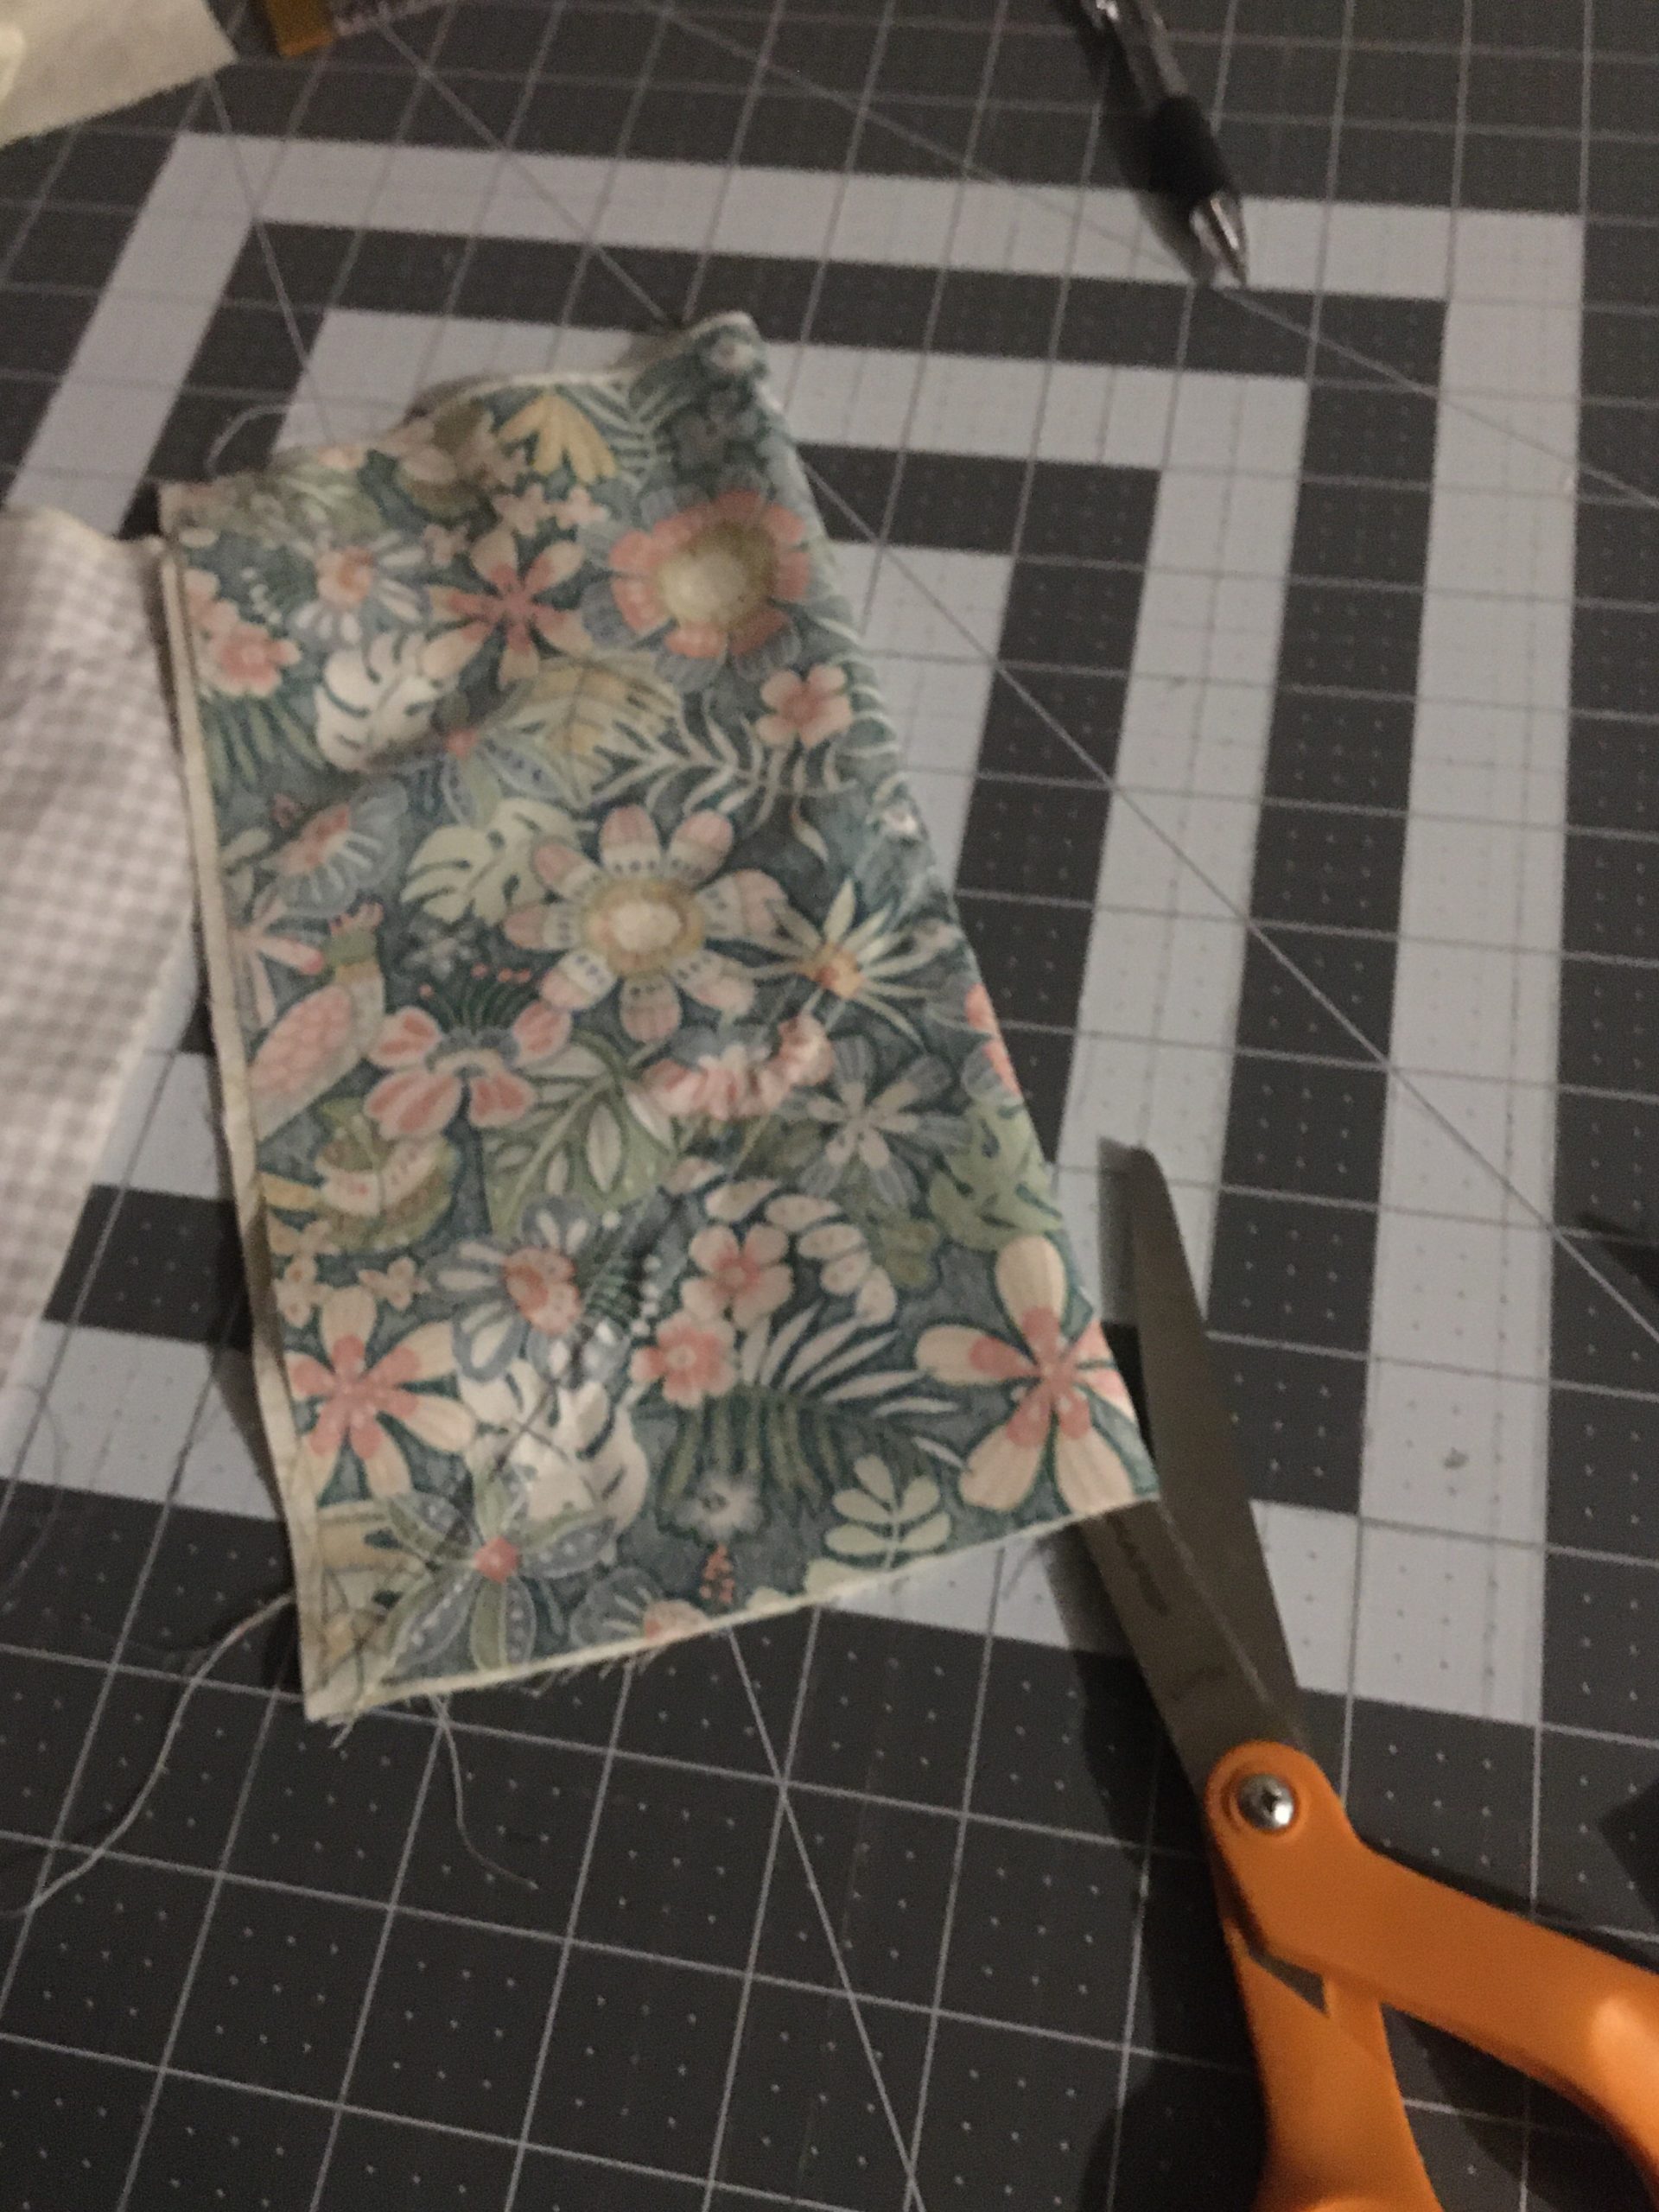
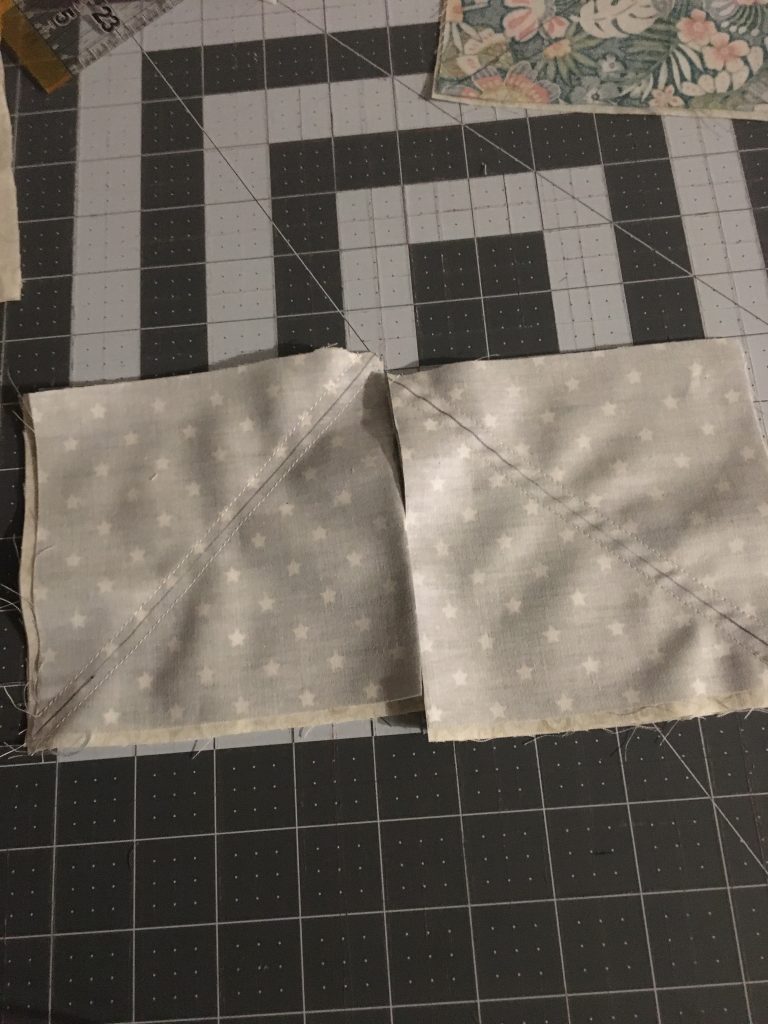
All that’s left now is to open them up and iron them to one side. It’s usually smart to iron them towards the darker fabric since the darker color could show through the lighter fabric,
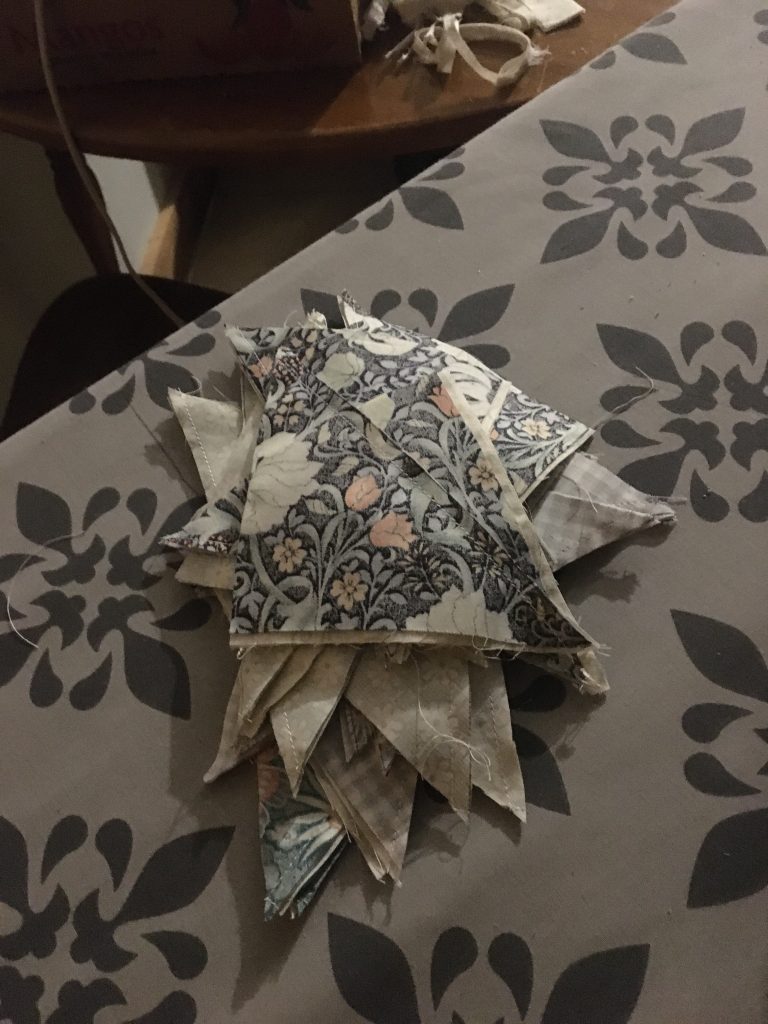
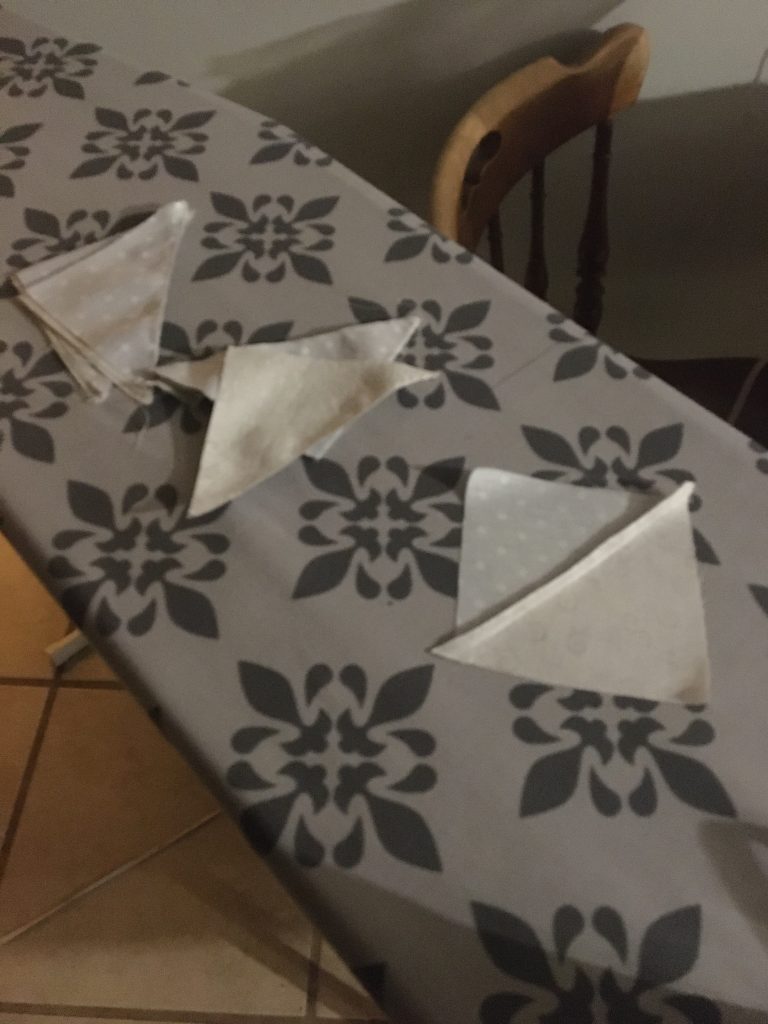
Some people like to trim them to size, but I never do- I just match up the seams as best I can when sewing them together.
And that’s it – a bunch of half square triangles ready for a project!
