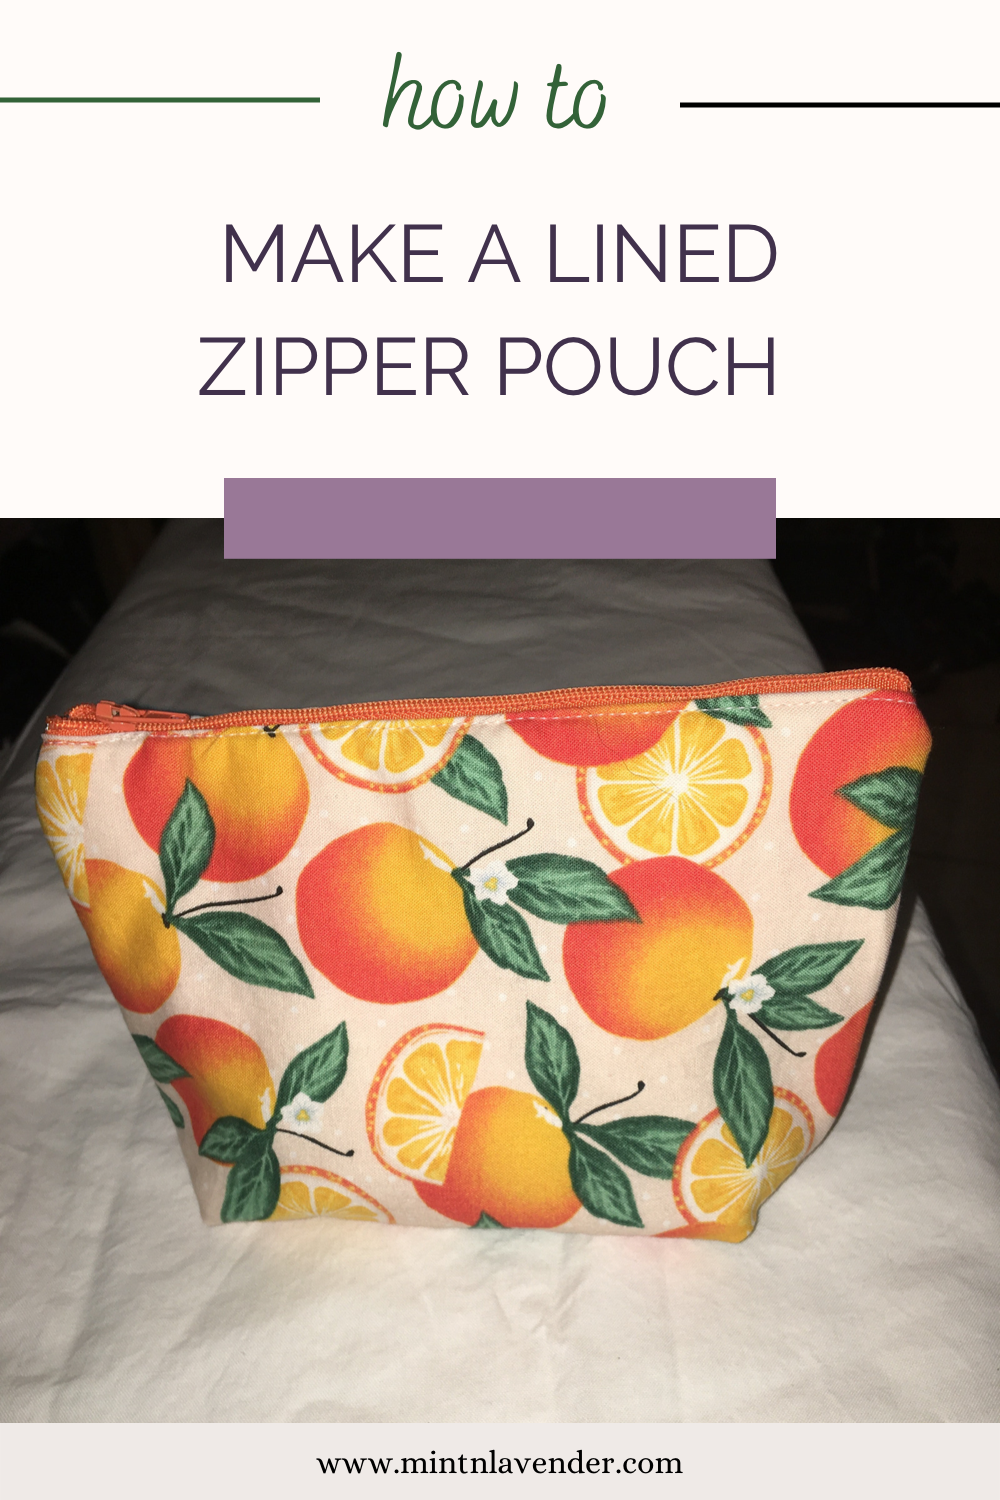
Pouches are an easy project that can be done in about 30 minutes. This one has batting to give it a little more stability. Pouches are great for makeup, stamps, pens, change, small toys or any other little things you may want to organize.
If you are new to sewing, read through the whole tutorial before starting so you have a good idea of what to do. You can always unpick, it’s just

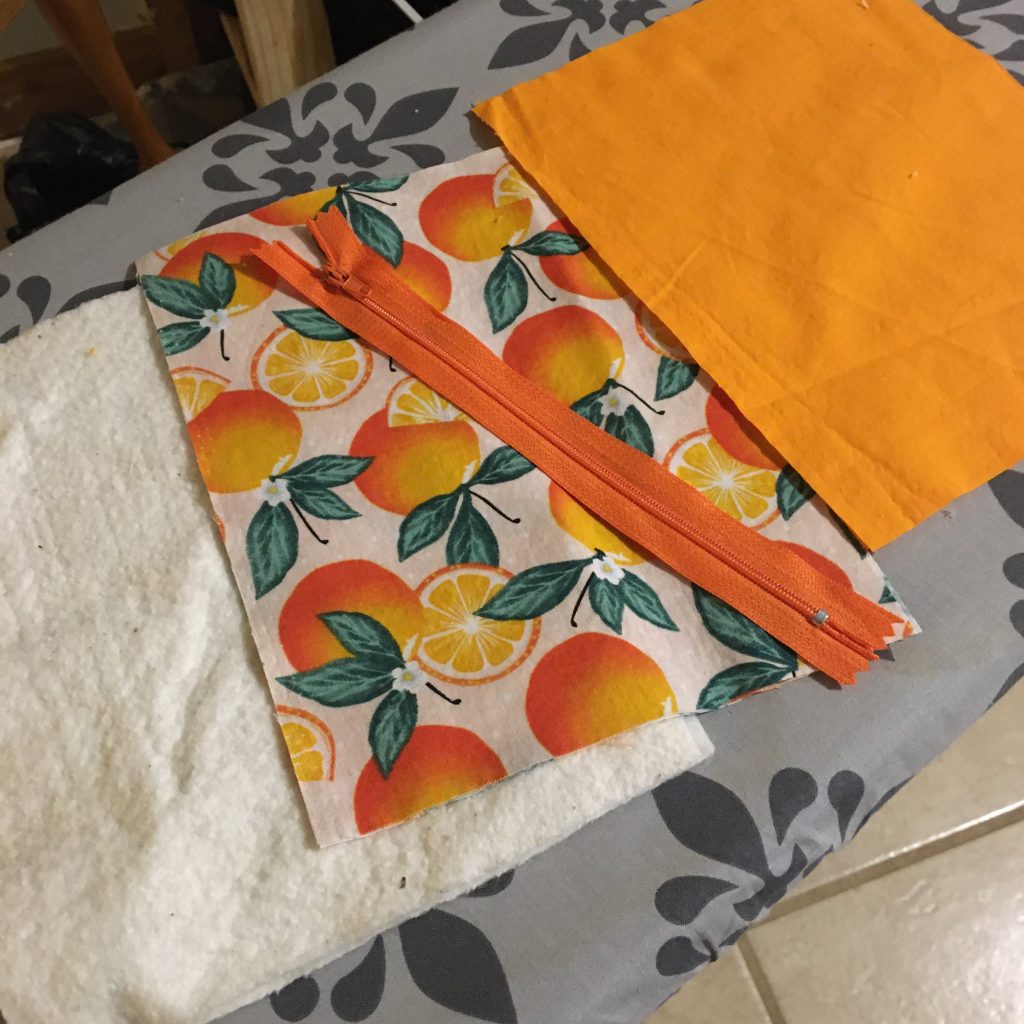
Materials:
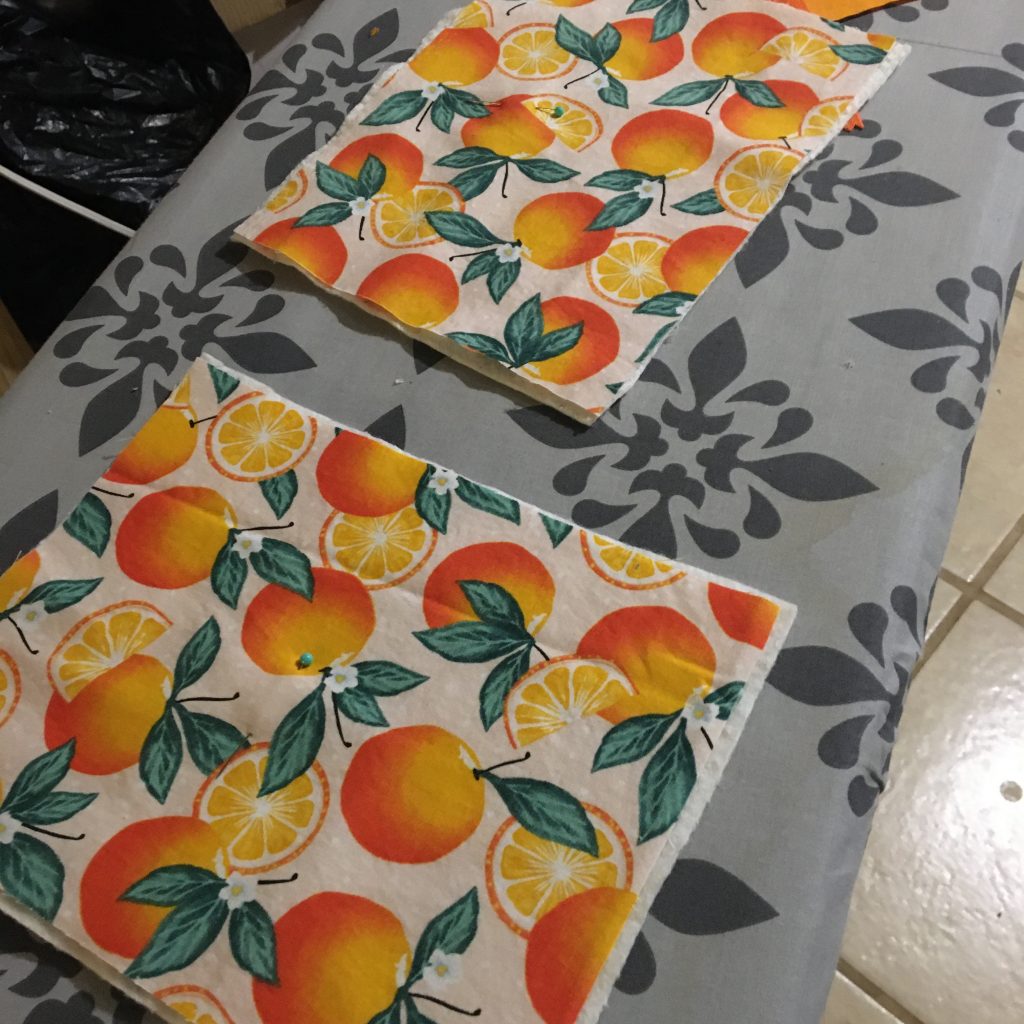
- 2 – 7×9 in rectangles of outer fabric
- 2 – 7×9 in rectangles of lining fabric
- 2 – 7×9 in rectangles of batting – I use 100% cotton- Warm and Natural brand
- 7 in zipper
Pin the outer fabric pieces to the batting pieces to keep in place.
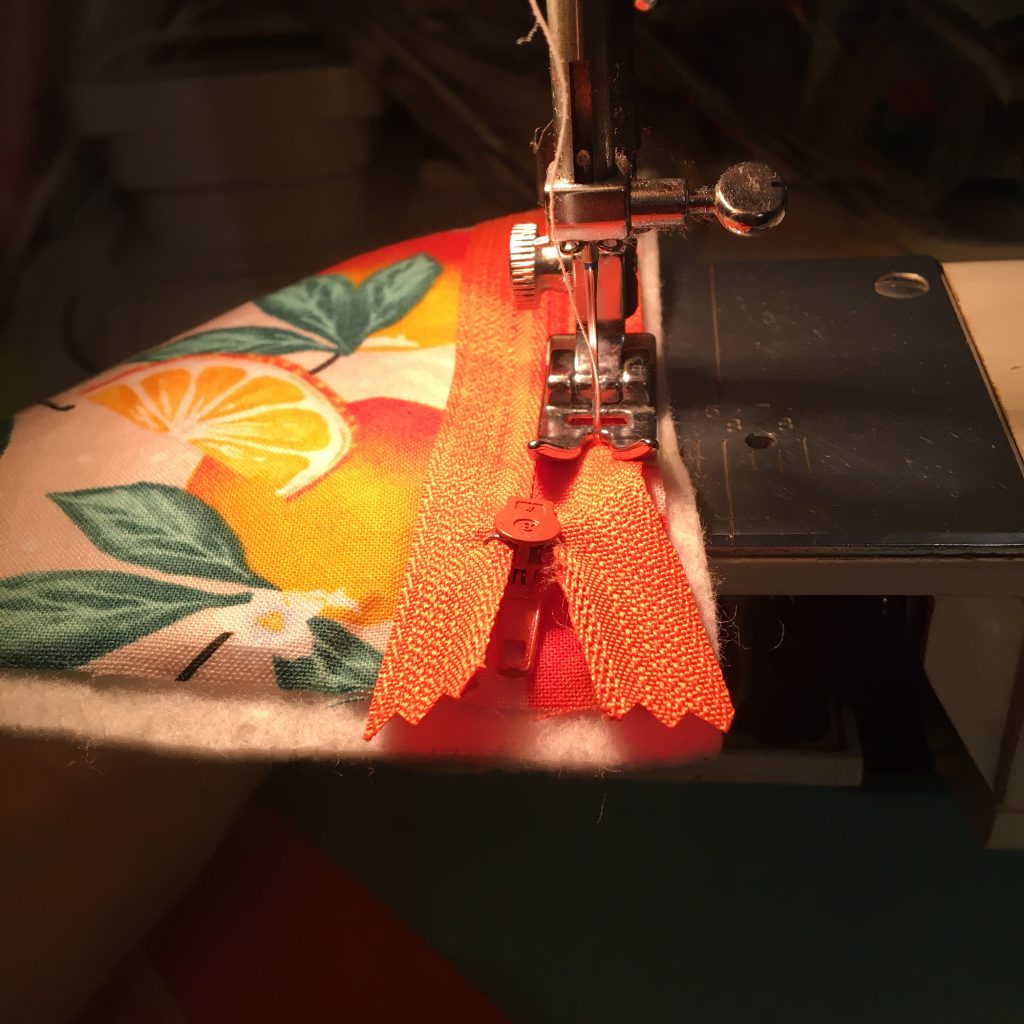
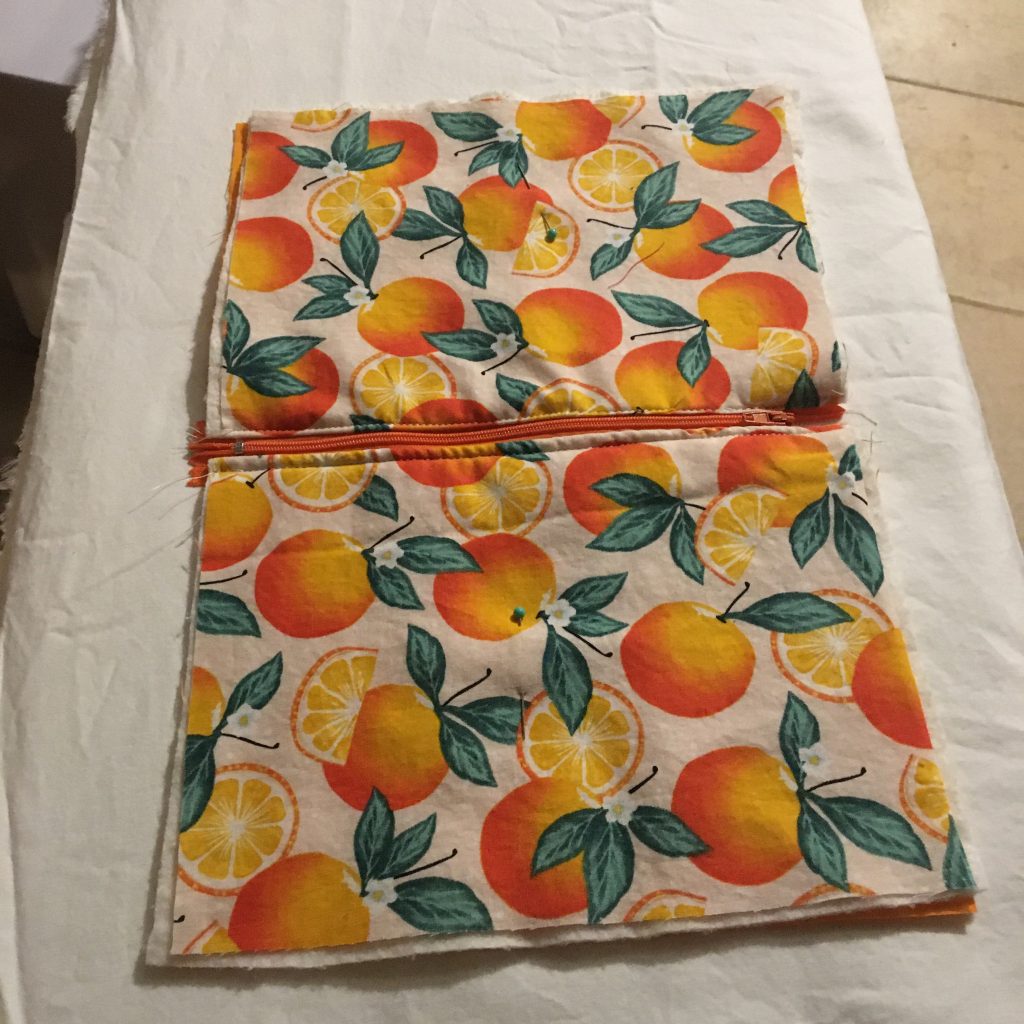
Sew the zipper to the right side of the outer fabric. Open the zipper when you get to the zipper pull and then finish sewing the zipper to the outer fabric.
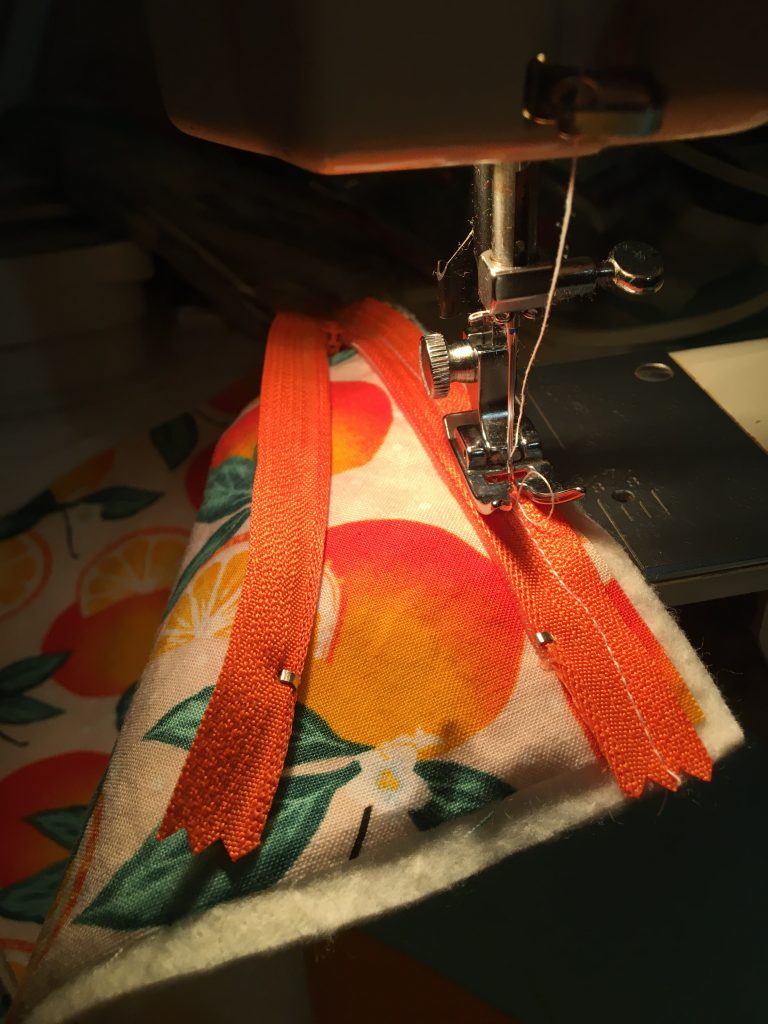
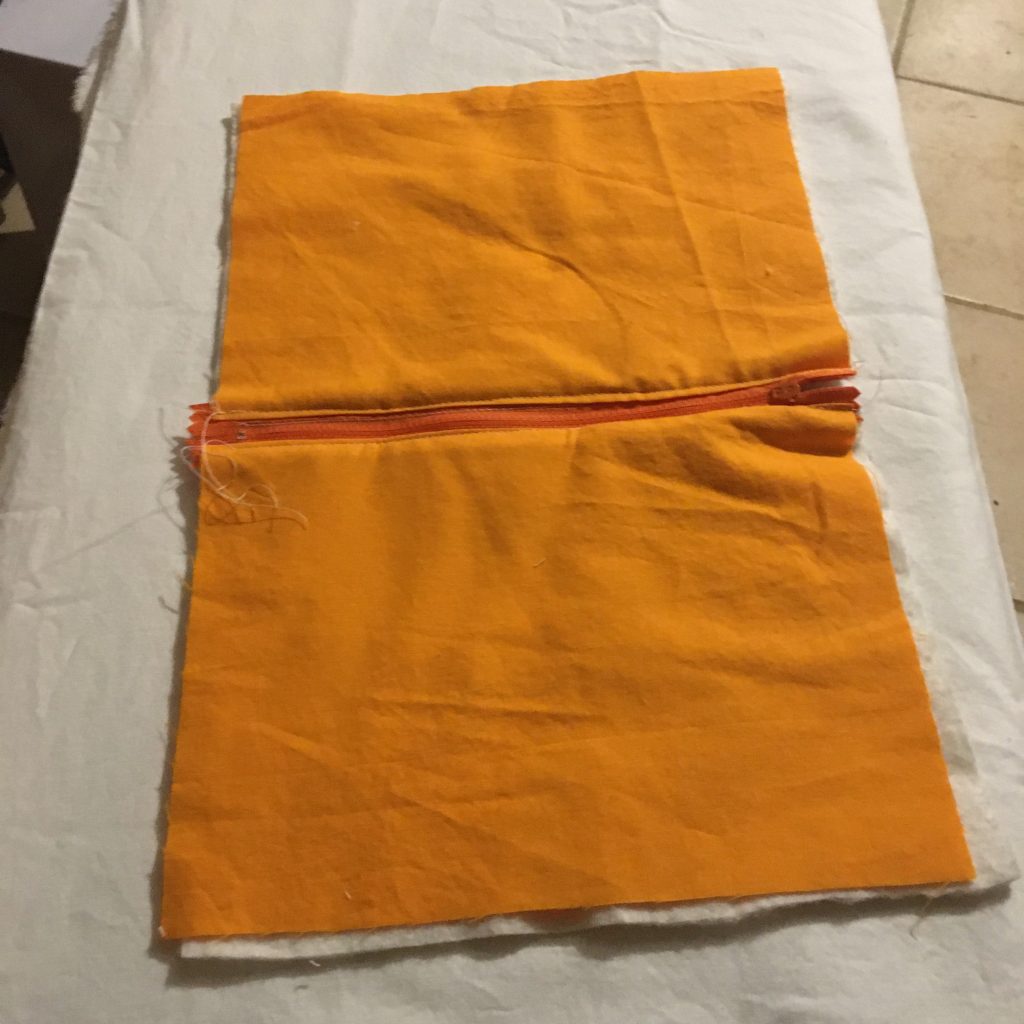
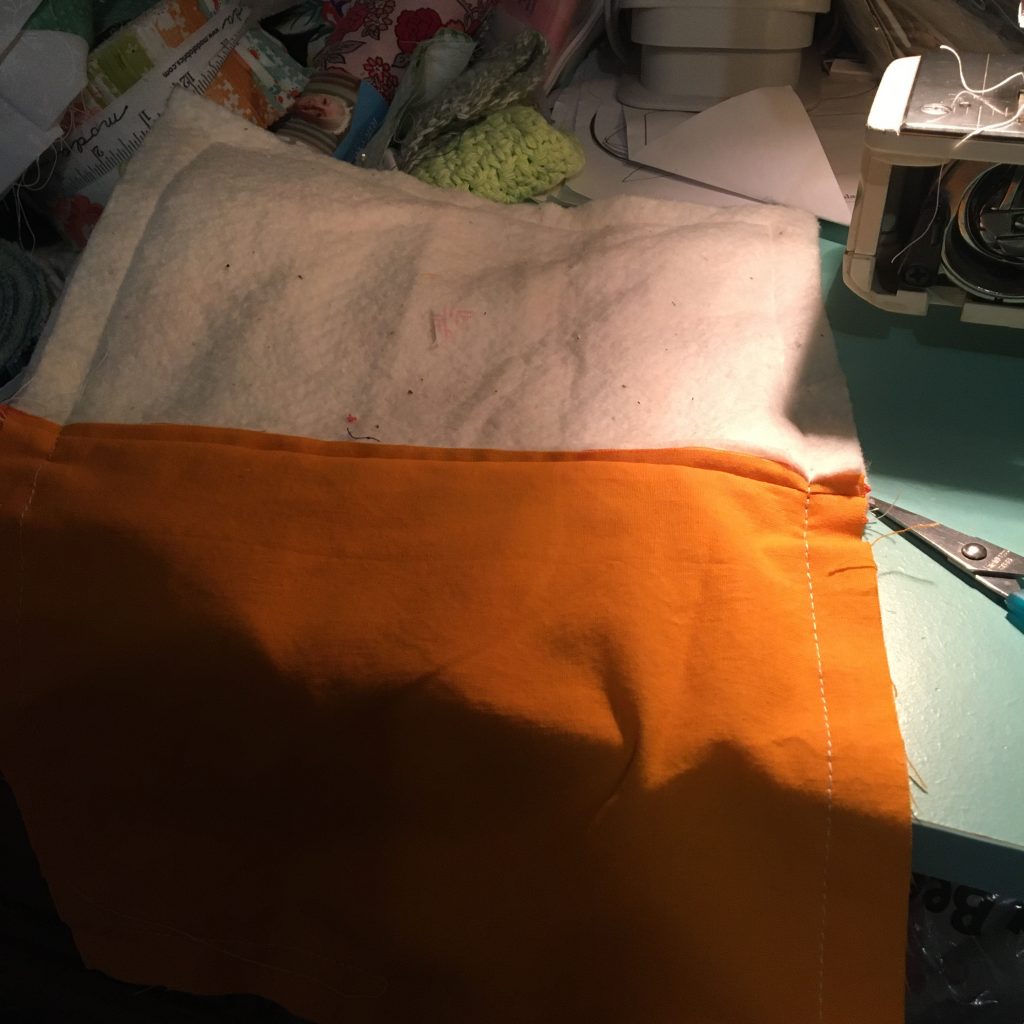
Now sew the lining fabric wrong side up to the zipper – so rights sides are together. Topstitch along the zipper on the outer fabric .
Repeat with the other side.
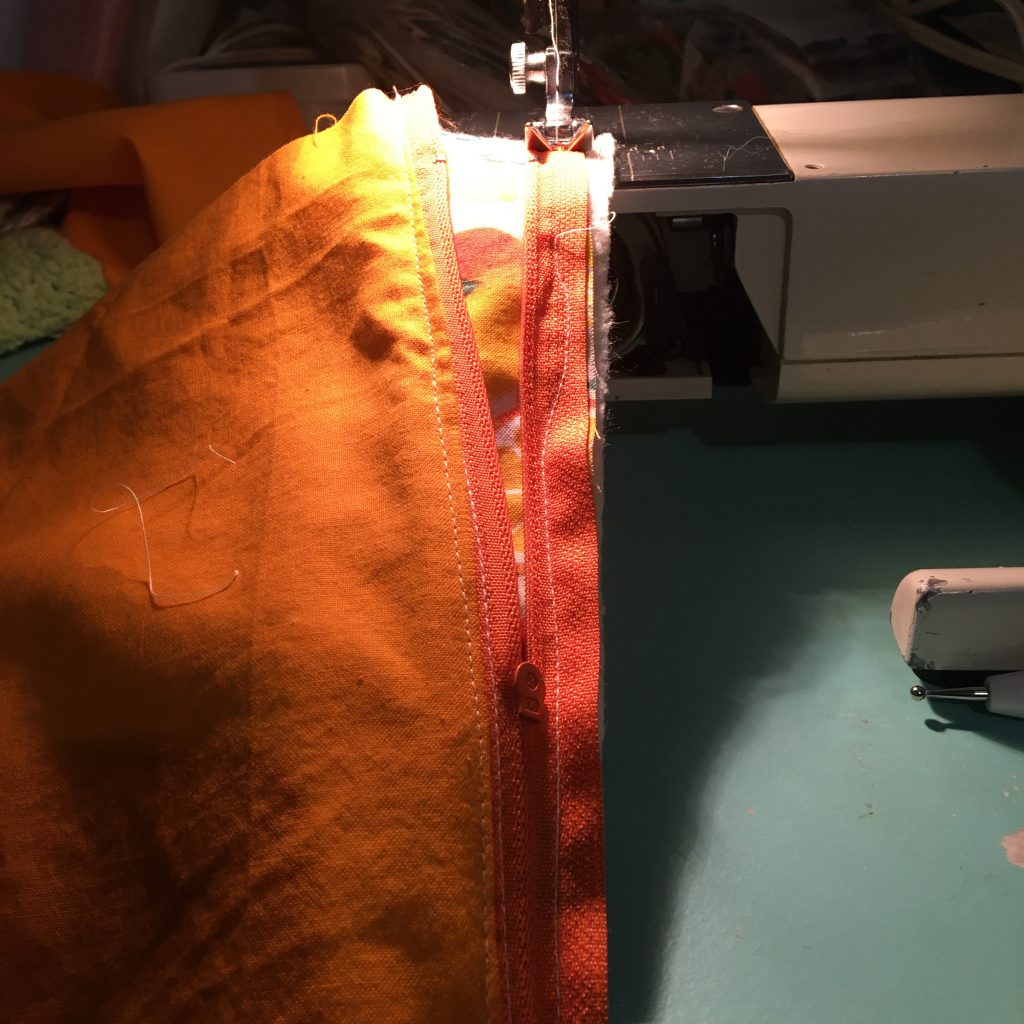
So it should look like this when you are done.
Pin the out fabric right sides together and lining fabric right sides together so it looks like this, with the zipper folded towards the lining.:
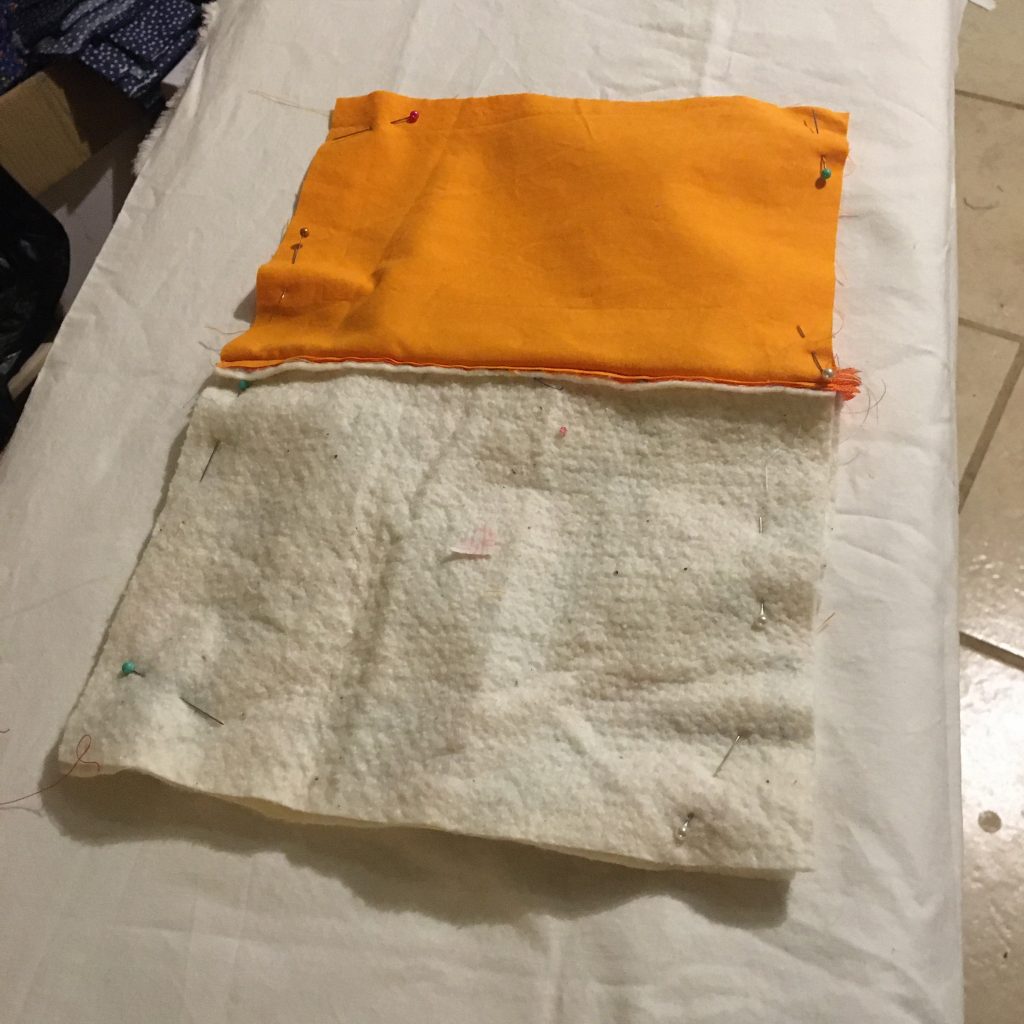
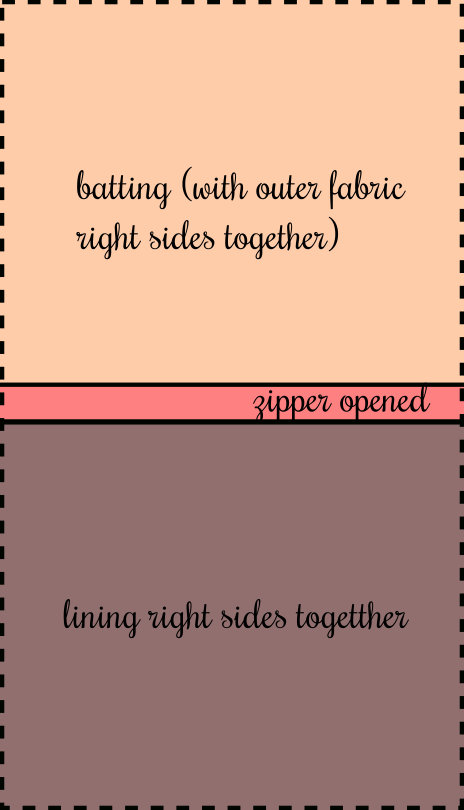
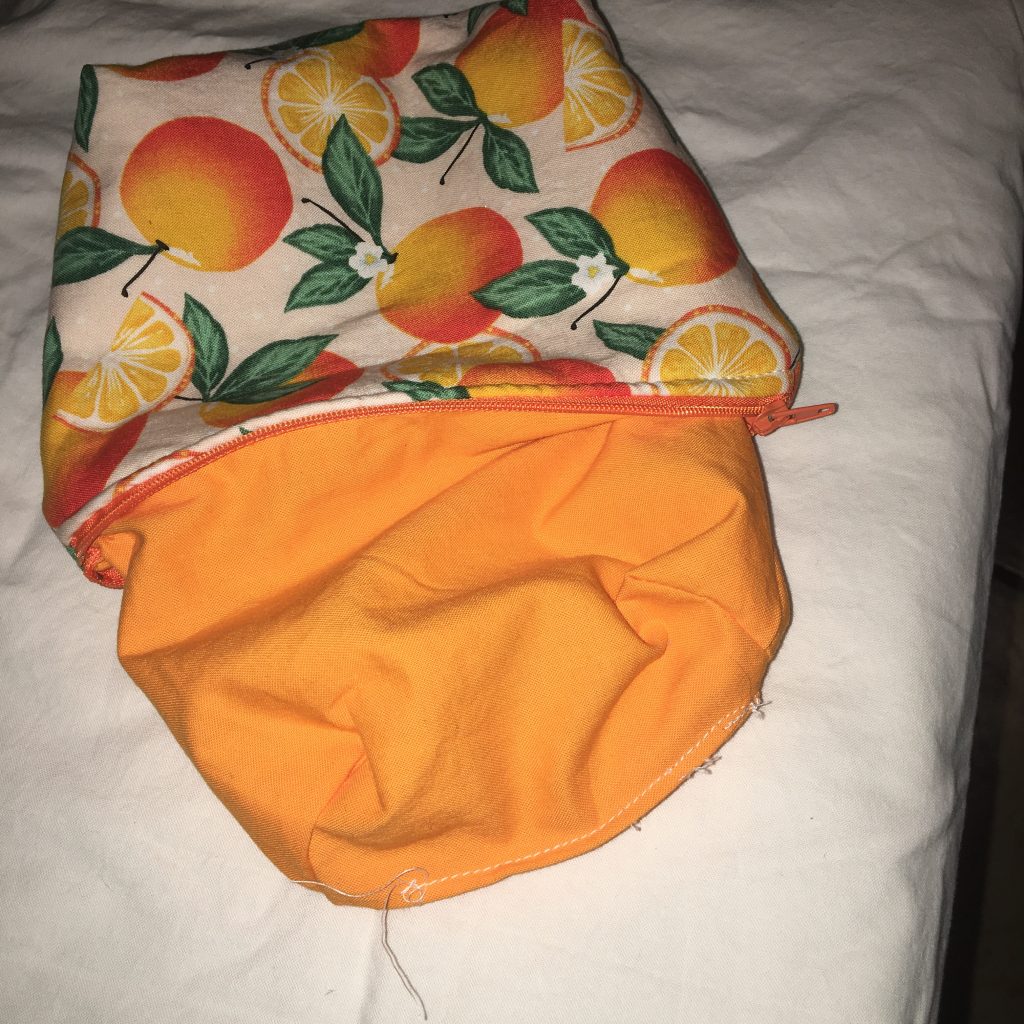
Stitch leaving an opening at the bottom. of the lining. Also make sure to open the zipper so you can pull it right side out.
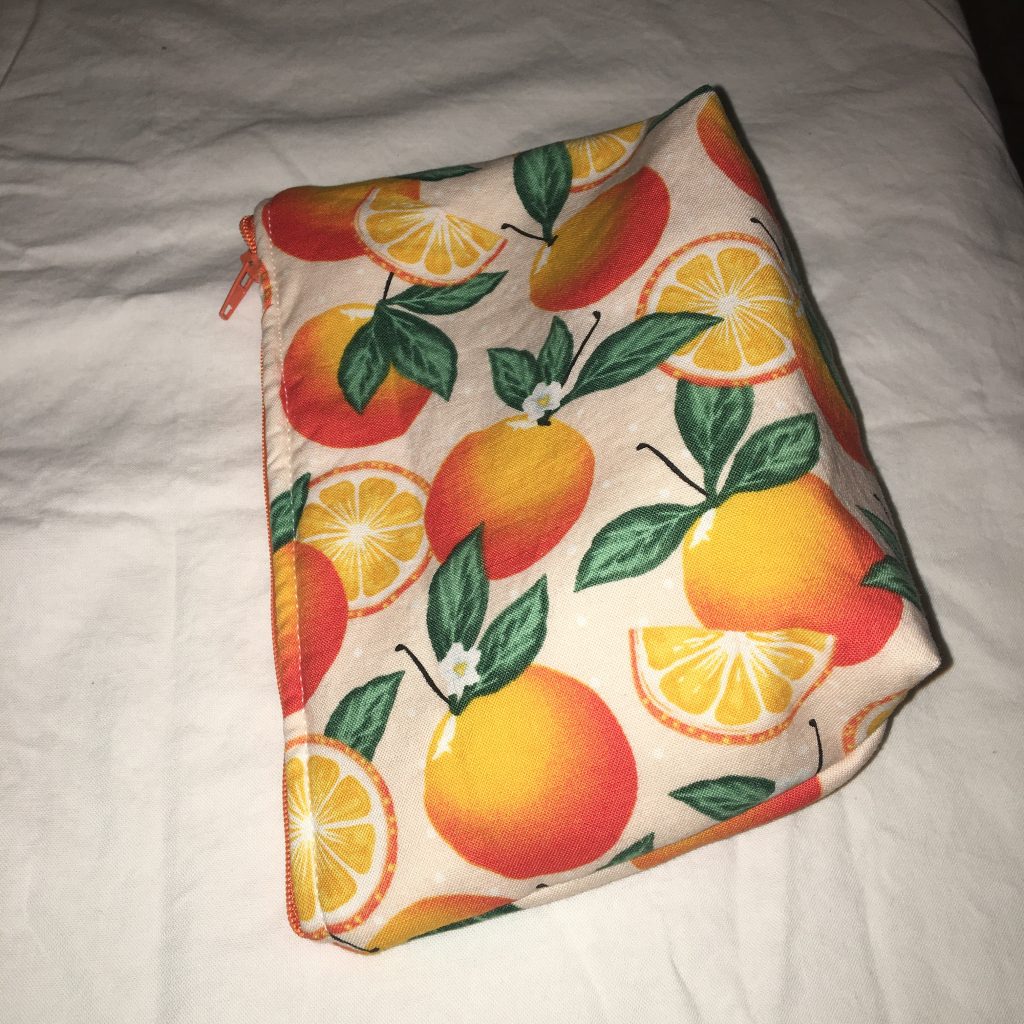
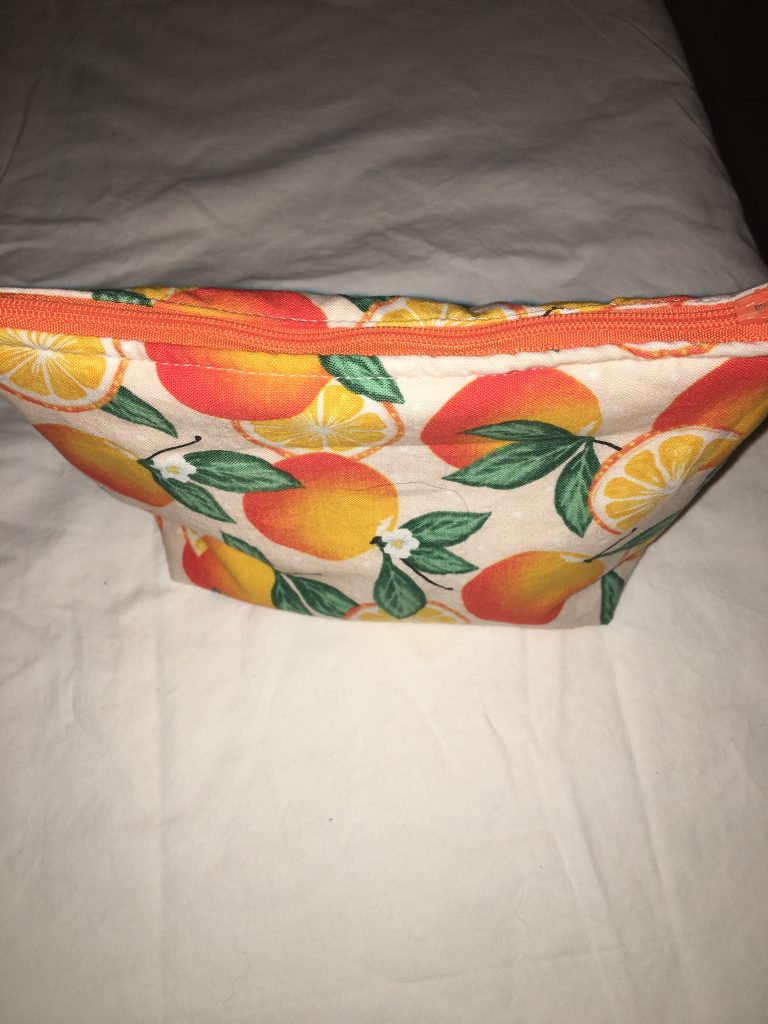
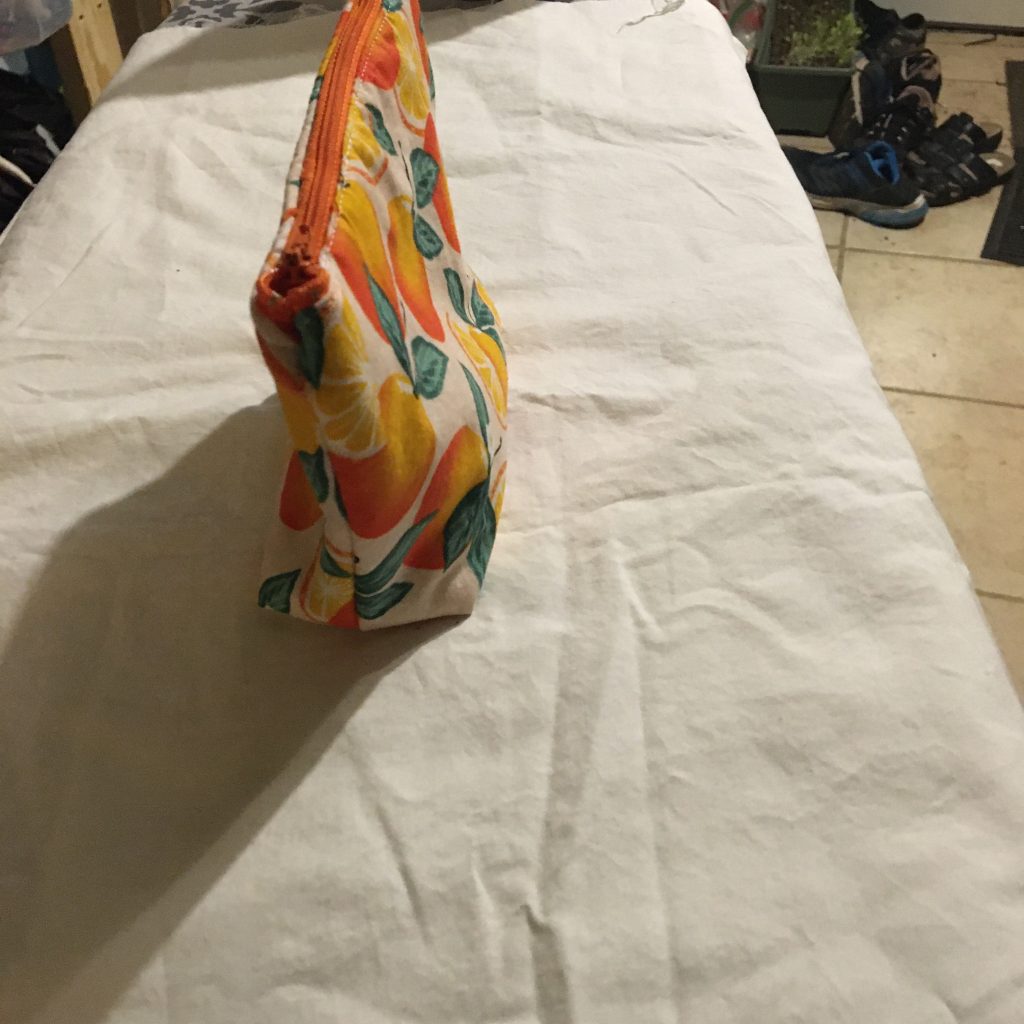
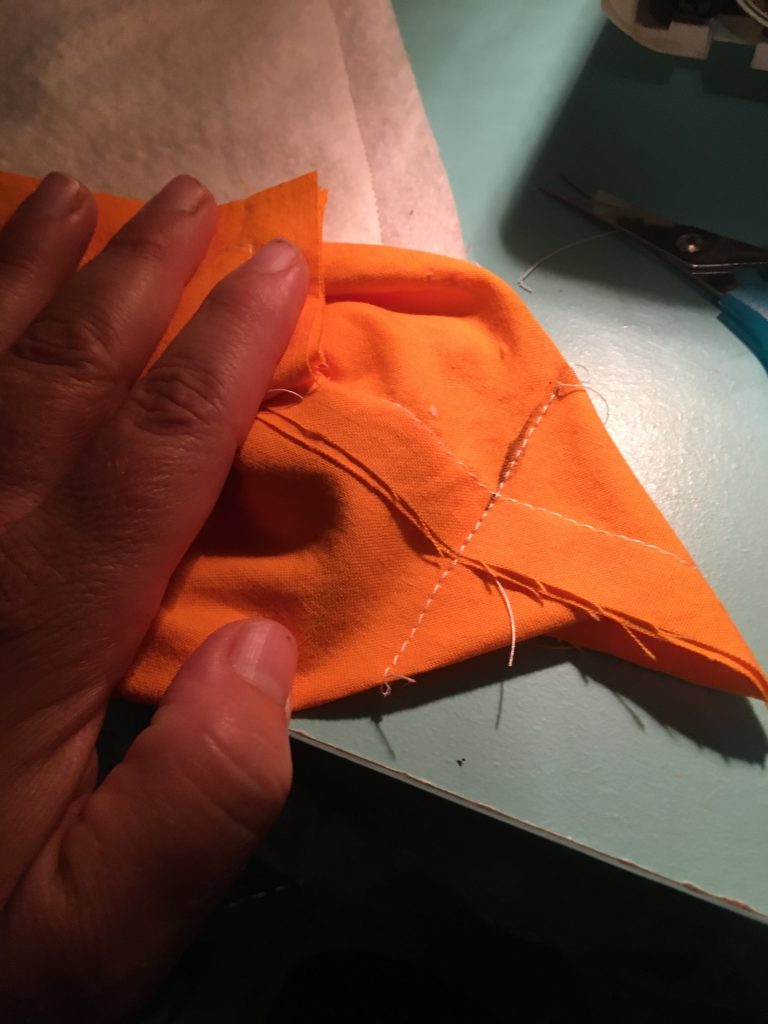
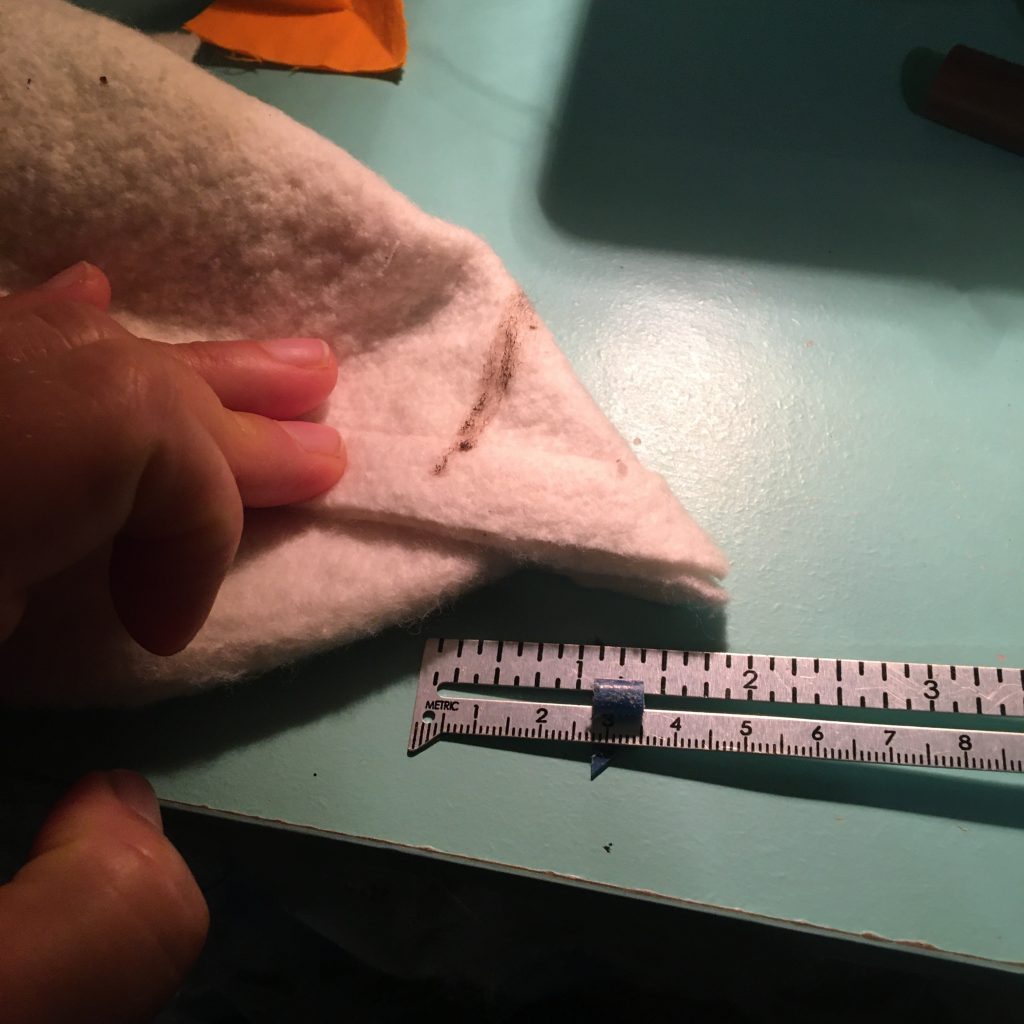
Time to make the box corners- fold the corner out and draw a line 1/2 – 1 inch from the tip, then sew along the line and trim. Repeat for all 4 corners.


Push out the corners with a knitting needle, pen or other tool.
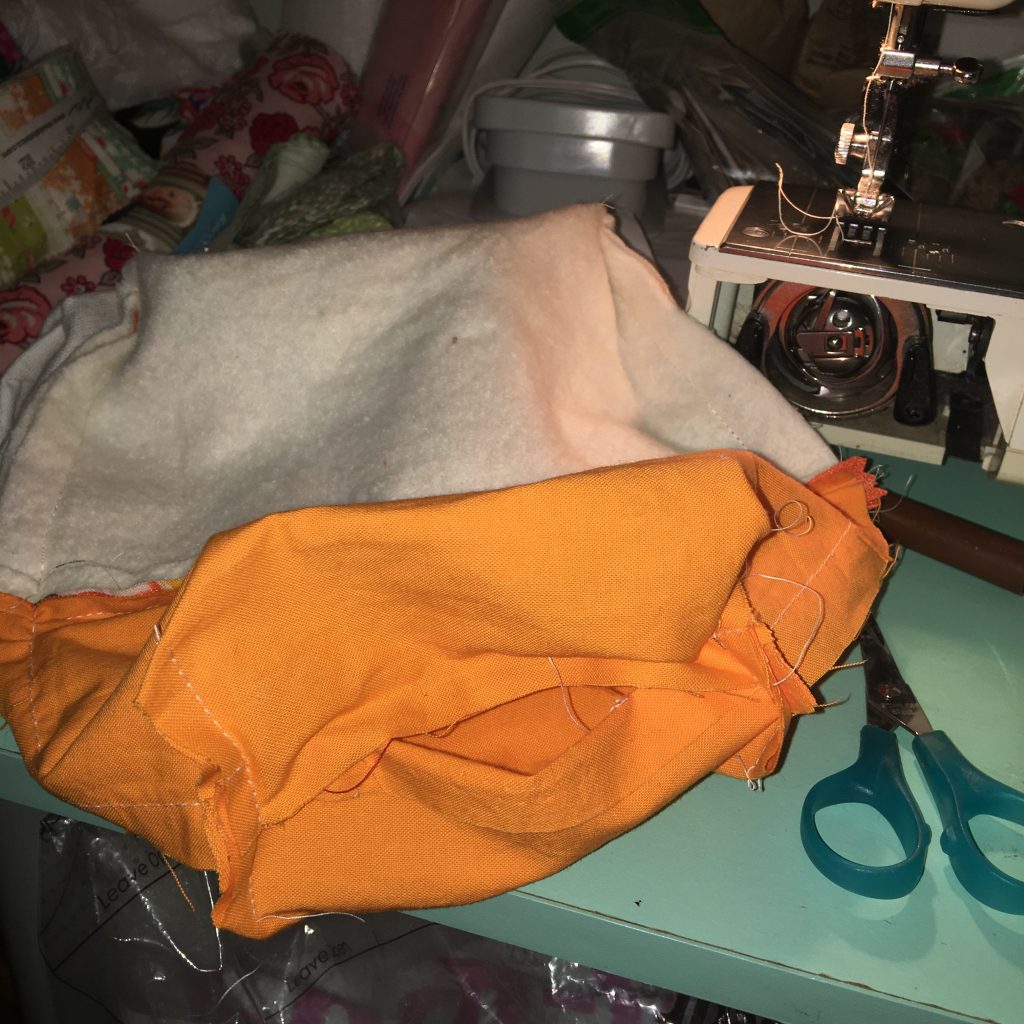
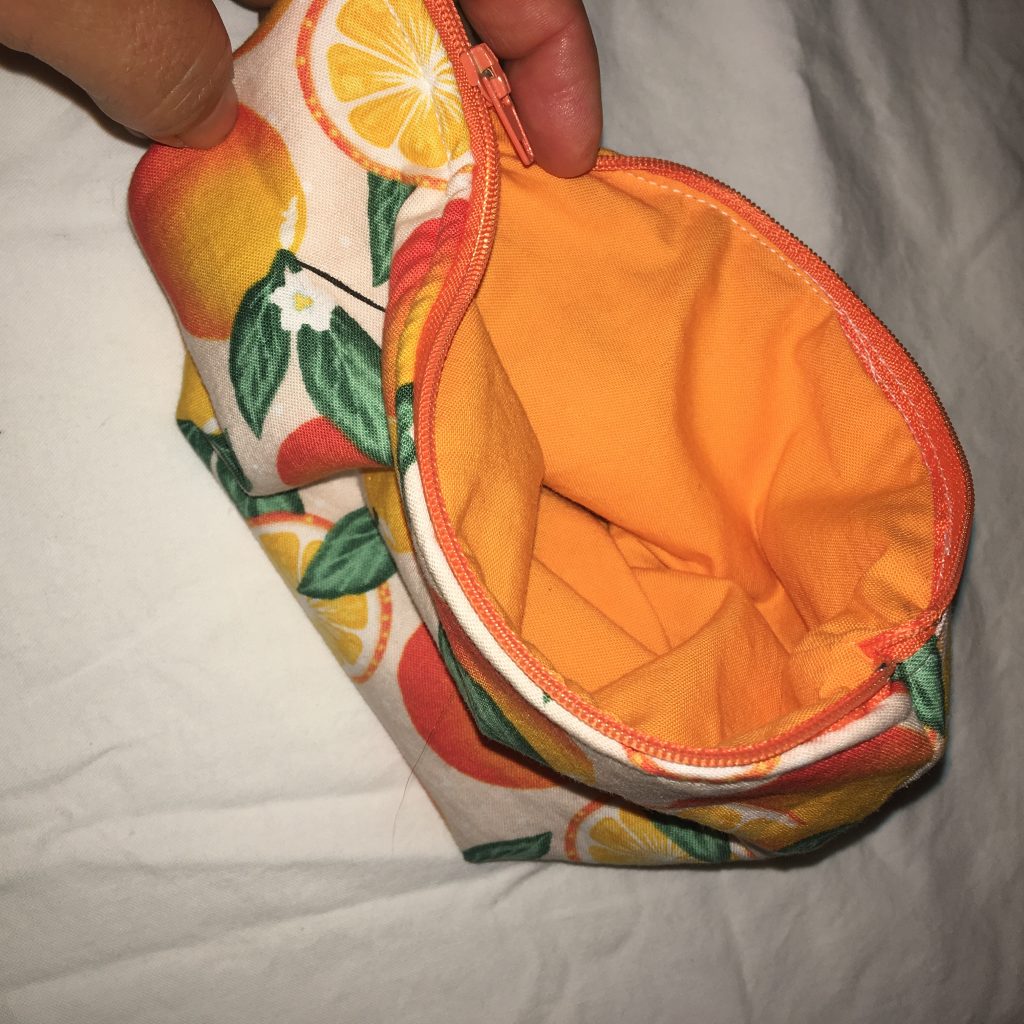
Now it’s time to turn the fabric right side out through the opening in the lining. Push out the corners by the zipper with your tool. Sew the opening in the lining closed.
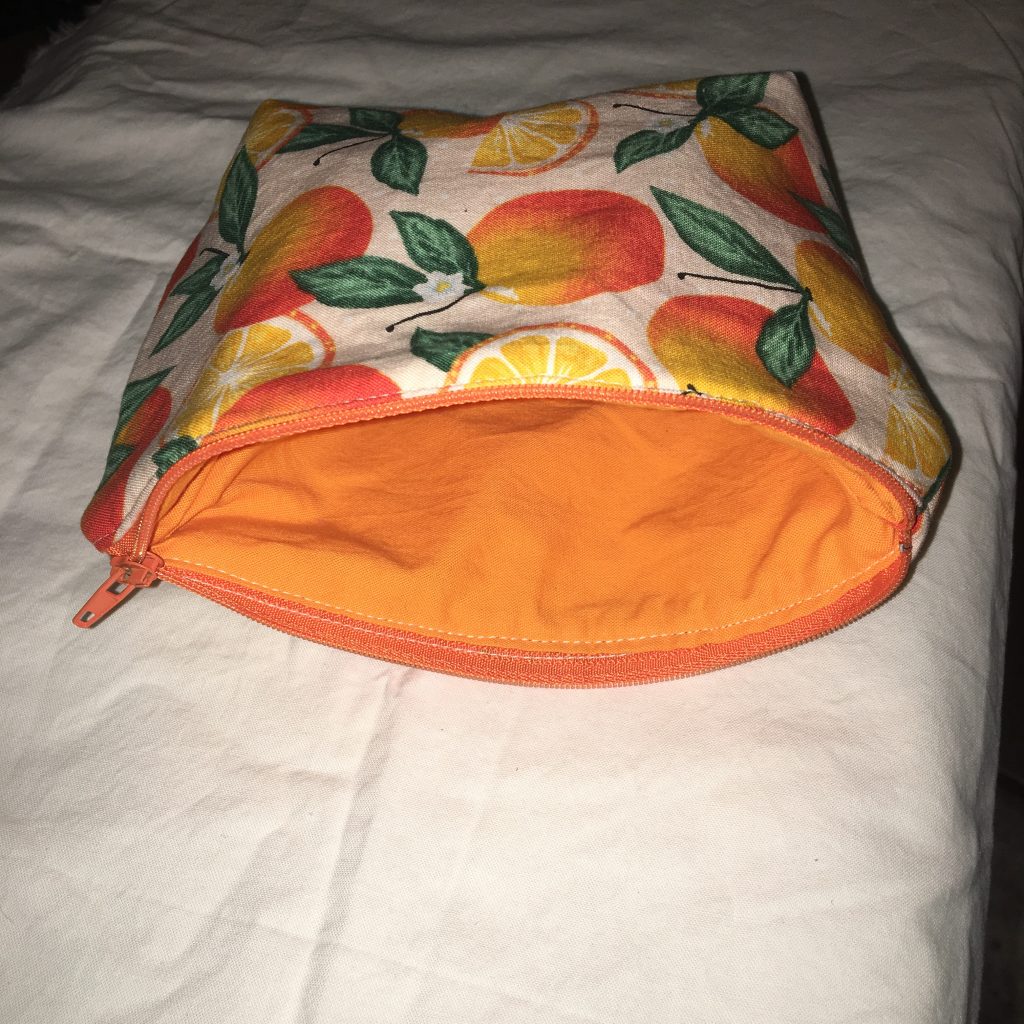
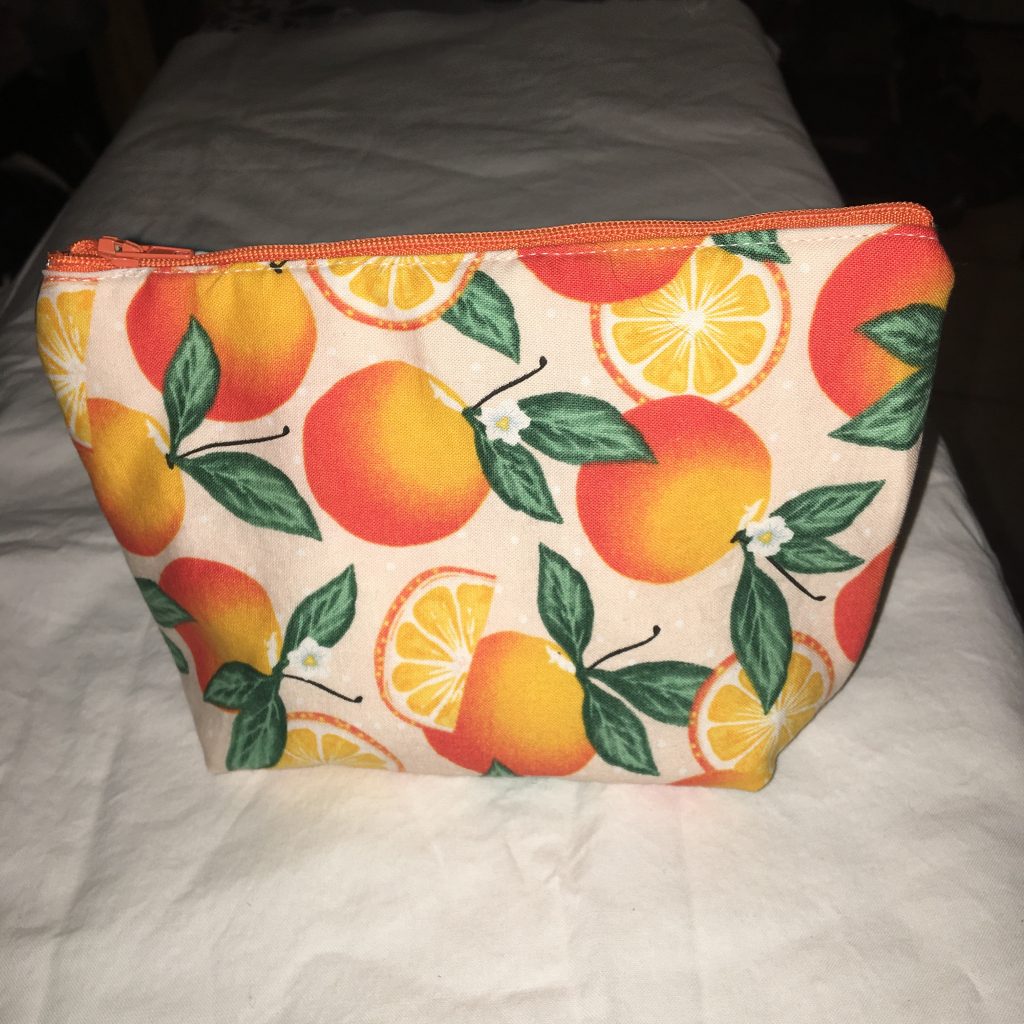
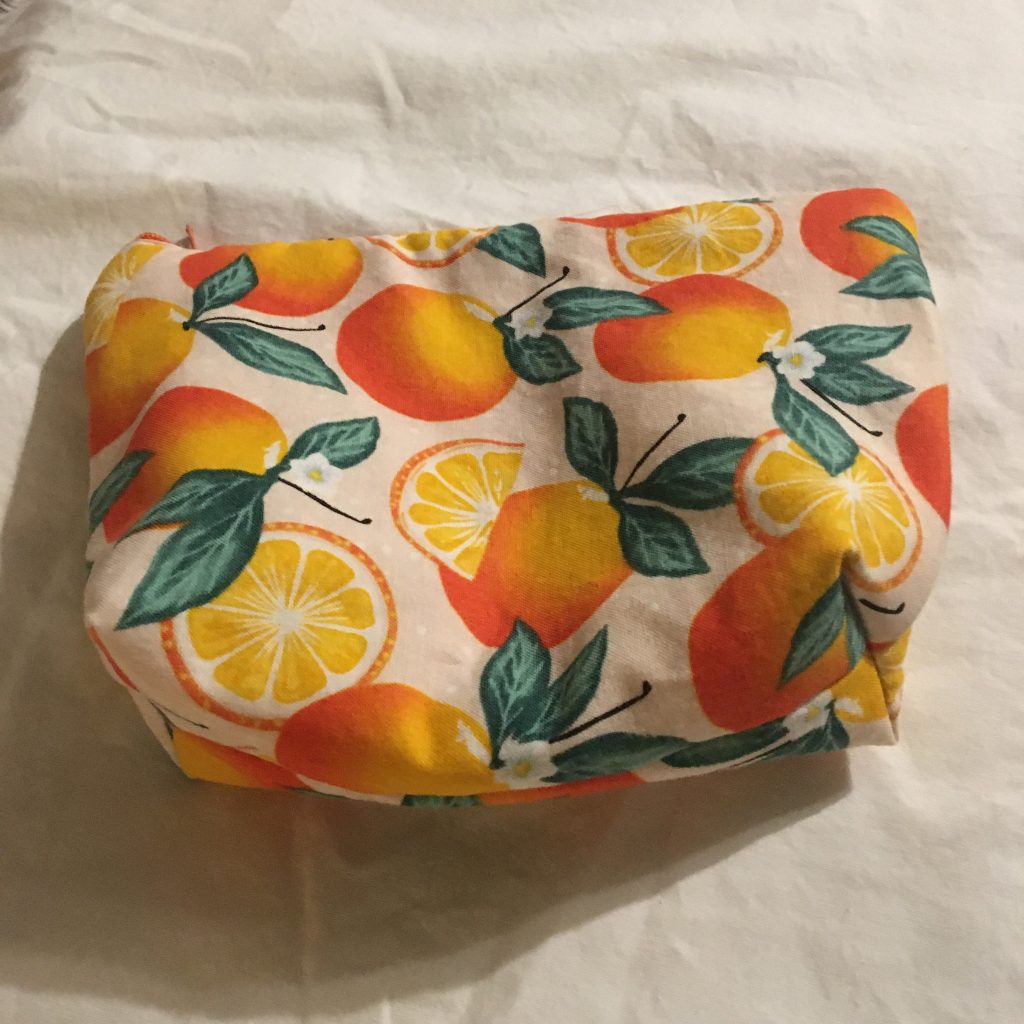
Put the lining back inside the pouch, and you are done!